|
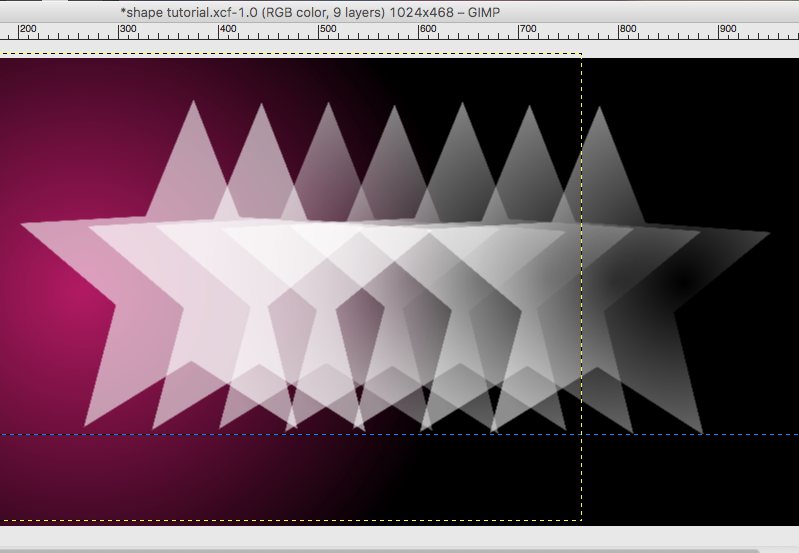
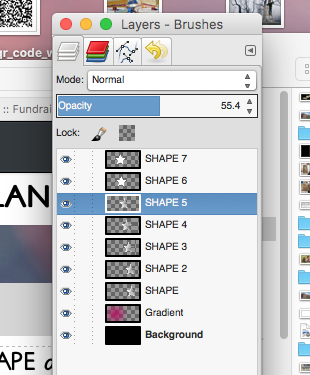
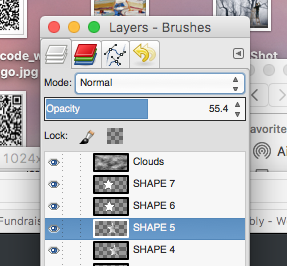
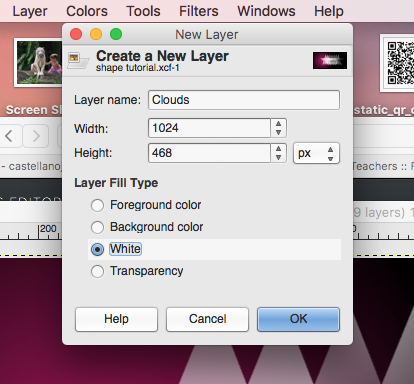
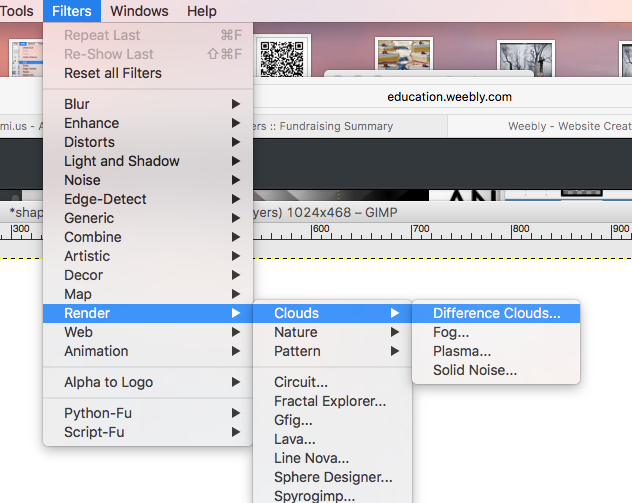
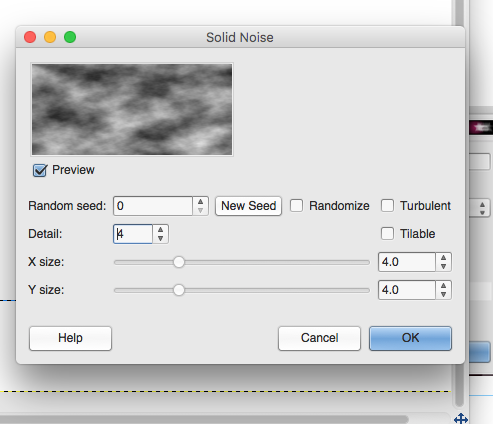
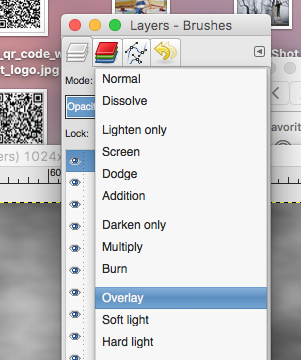
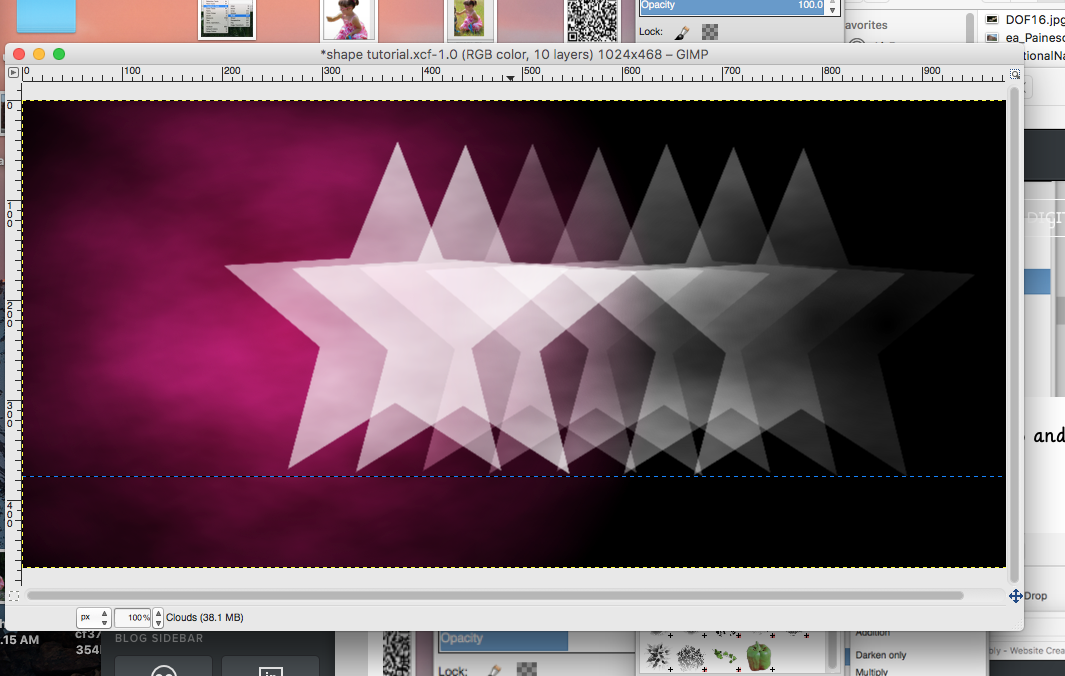
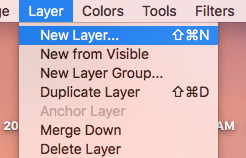
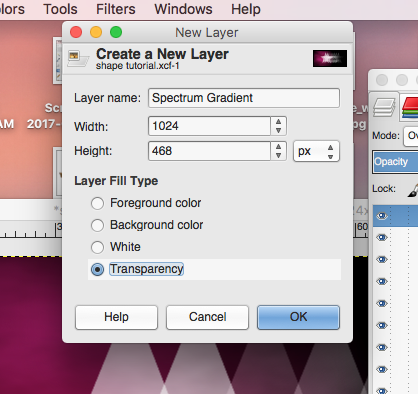
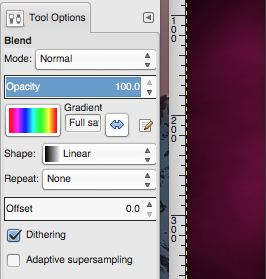
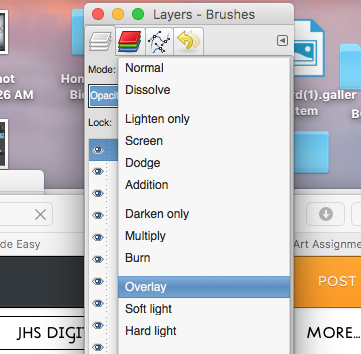
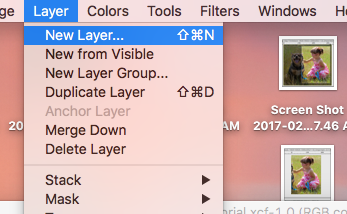
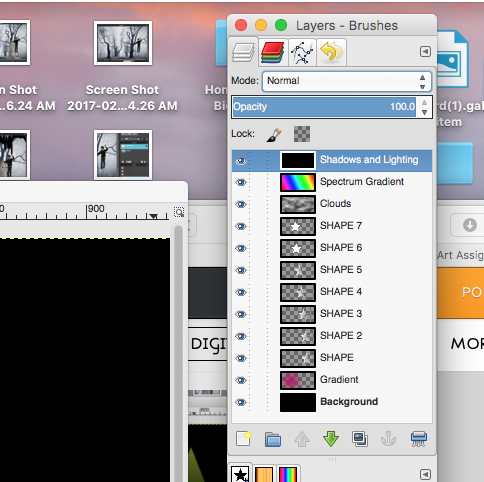
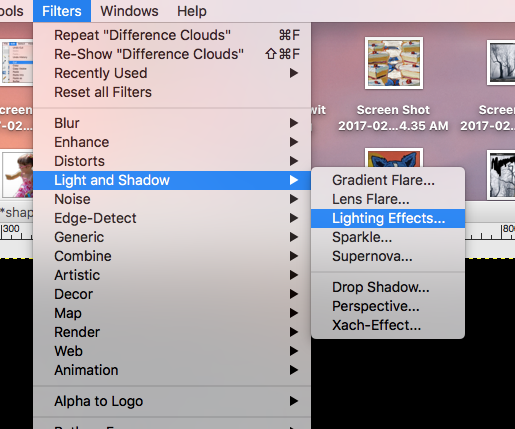
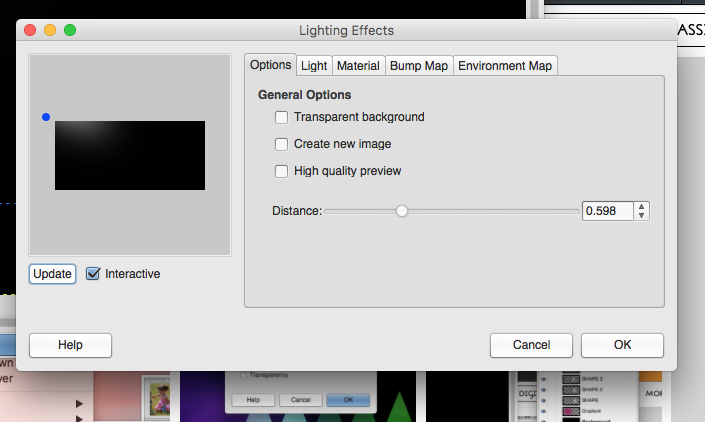
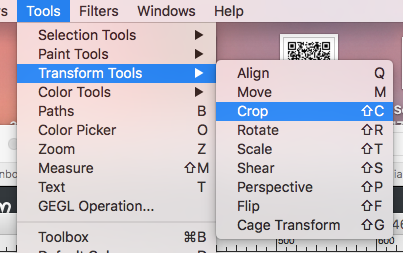
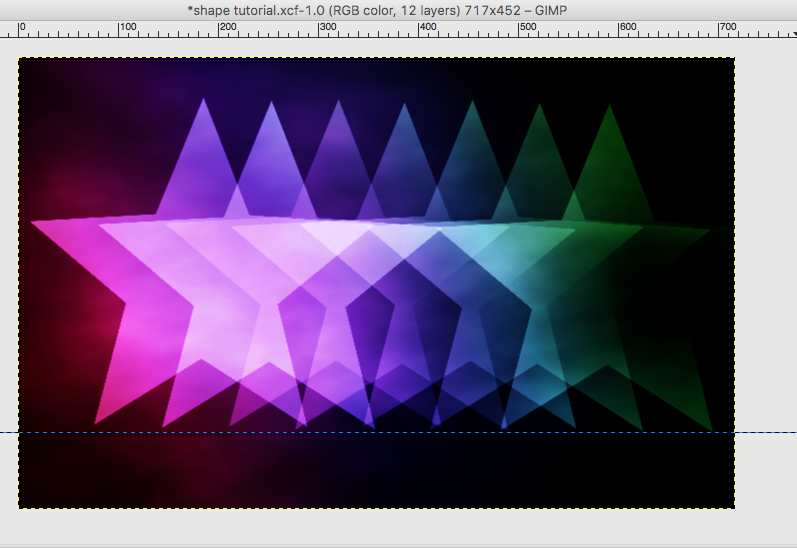
Your work should look somewhat like this and your Layers should be arranged as such. 1.) For SHAPE Layers 1-5 Change the Layer Mode to "Grain Merge" (keep layer 6 and 7 at Normal) 2.) Create a New Layer and name it "Clouds". Fill the layer with White. 3.) Go to Filter-->Render-->Clouds-->Difference Clouds. Set the Detail to 4 and click APPLY to apply the filter to your new layer. 4.) Change the "Cloud" Layer Mode to OVERLAY 5.) Create another New Layer on top of the rest and name it "Spectrum Gradient. Keep the Layer Fill Type set to "Transparency" 6.) Select the Gradient Tool Under Tool Options... -Gradietn-->FULL SATURATION SPECTRUM -Opacity--> 100- -Shape--> Linear 7.) Click and Drag from the Lower Left corner to the Upper Right Corner to Apply the Gradient. 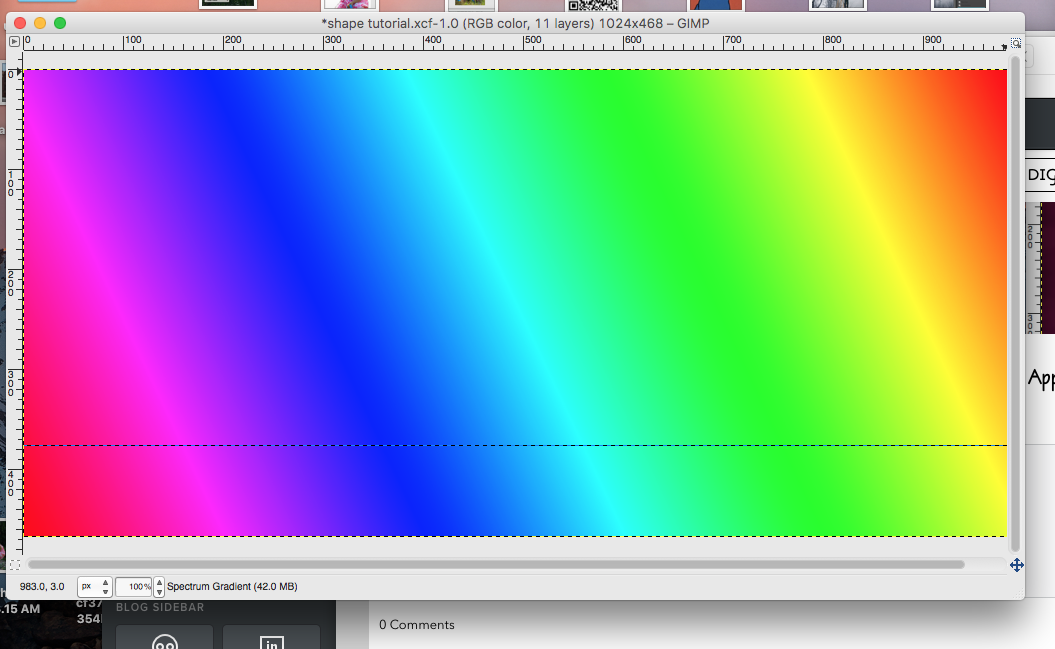 8.) Change the Layer Mode to Overlay 9.) Create another New Layer and name it Shadows and Lighting...this time fill your layer with Black. 10.) Go to Filter-->Lights and Shadows-->Lighting Effects First, set the distance to .598 and make sure INTERACTIVE is selected 11.) Change the Layer Mode to Overlay 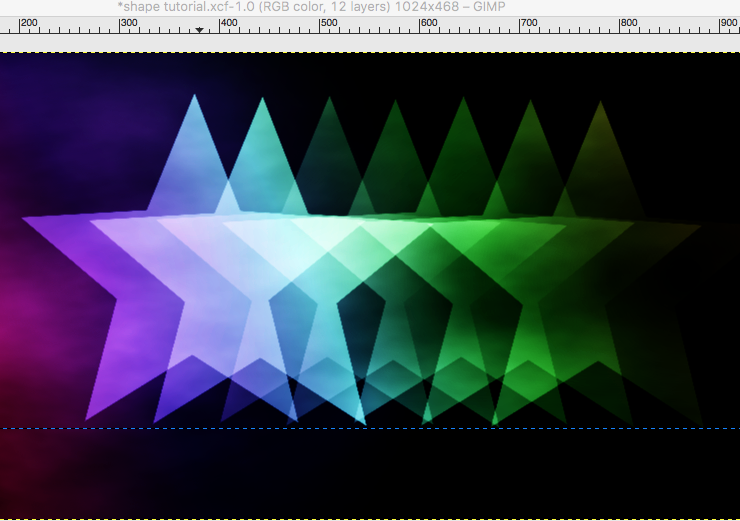 12.) Crop the Image however you would like Tools-->Transform Tools-->Crop 13.) Go to View-->Show Guides to hide the guides you have made. 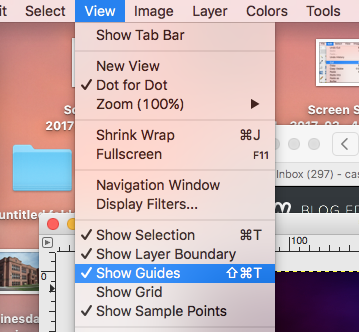 14.) Save and Print! 
0 Comments
Leave a Reply. |
Mrs. CastellanoDigital Art Archives
May 2017
Categories
All
|


 RSS Feed