|
Please write as much as you can about the work of art below. 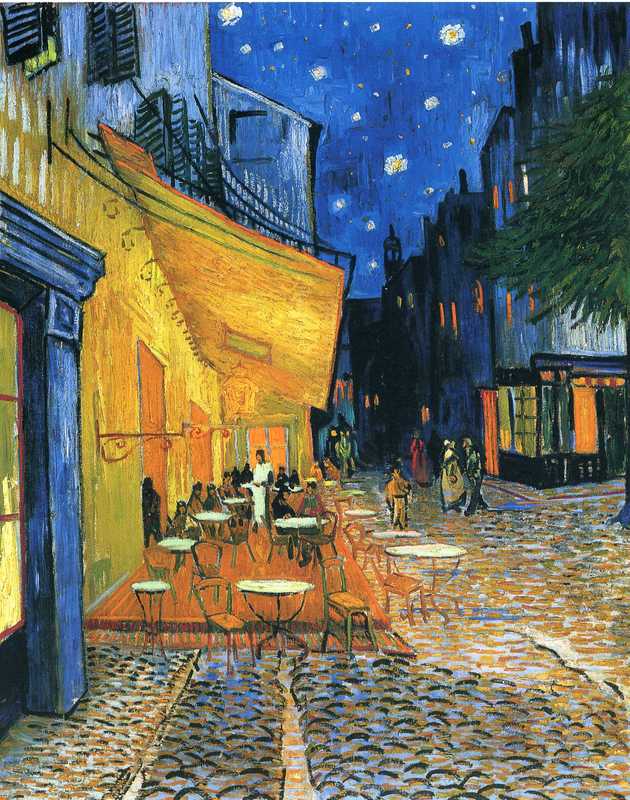 Cafe Terrace
Vincent Van Gogh Be sure to include your name and grade level. Click "SUBMIT" when you are finished.
60 Comments
Copy and Paste the paragraph and title below in to a word document. Save it to your desktop.
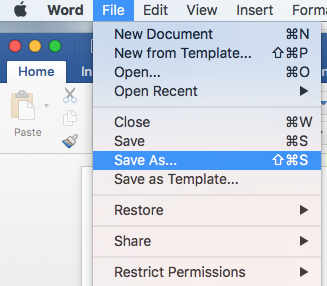
Goldilacks Eaats the 3 Bears' Porridge There once was a femily of biars: mama bear, popa bear, and babie bear. They weere just about to eat theire lunch, but their porridge was tooe hot, so they went for a welk and in the woods. just then a little girl named Goldilocks cime upon their house and wint inside. She siw the three bowls of poorridge on the table and tasted same from each bowl. The big Bowl was too hot, the medium-sized bowl was too cald, but the smallest bowl was just reght, so shee ate it all up. Copy= COMMAND+C Paste= COMMAND+V Go to File-->Save As to save your word document. Save to your Desktop and Drag to your drive. Go to Tools-->Spelling and Grammar to check your spelling and make corrections to the paragraph. When you are finished go to File-->Save Print your finished paragraph. 1.) Open your "creature" document you created yesterday.
2.) Copy and paste the text below into your document. 3.) complete your creature profile by filling in the spaces. 4.) Answers 5-10 must be in complete sentences. 1) Name: 2) Age: 3) I Live..... 4) My Family: 5) Physical Description: 6) Personality: 7) Activities: 8) Pet Peeves: 9) Fears: 10) Hopes and Dreams: ***Go to FILE-->SAVE to save your work. This site will allow you to roll dice to complete the Word Bump Spelling Activity. After you are finished. You will work on Paragraph 3 of your character profile.
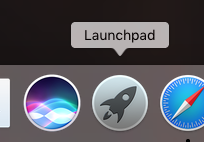
For this paragraph, please write about a challenge this character faces. - Do they have a hard time making friends? - Do they have an enemy that lives next door? Go to your Launchpad and Open Microsoft Word Create a New Document Go to "FILE"--> "SAVE AS" Type in a Title for your Document-- (Example: Creature Profile) Make sure the "LOCATION" is your "DESKTOP" Once your new document appears on your desktop. Drag it to your "Drive Folder", Located in your "DOCK" 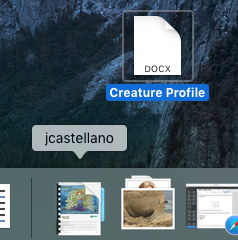 Click and open "Your Drive Folder" to double check that it saved.
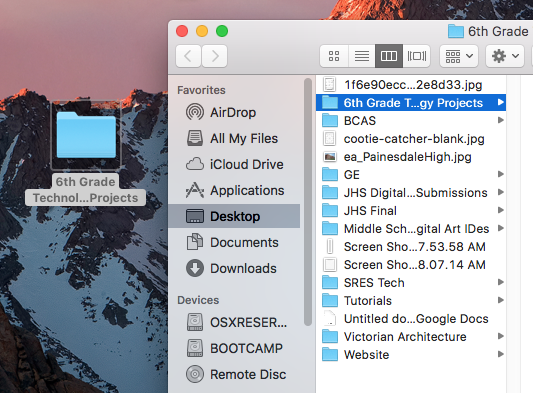
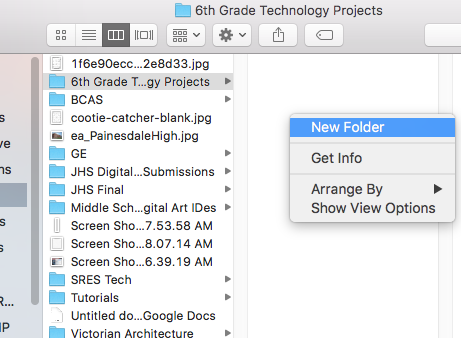
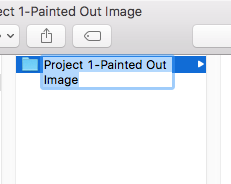
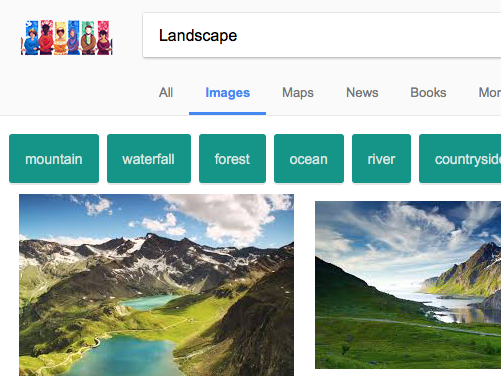
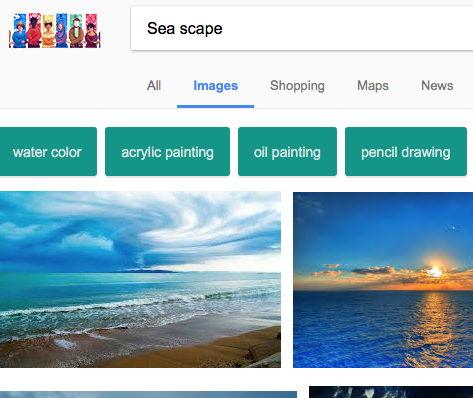
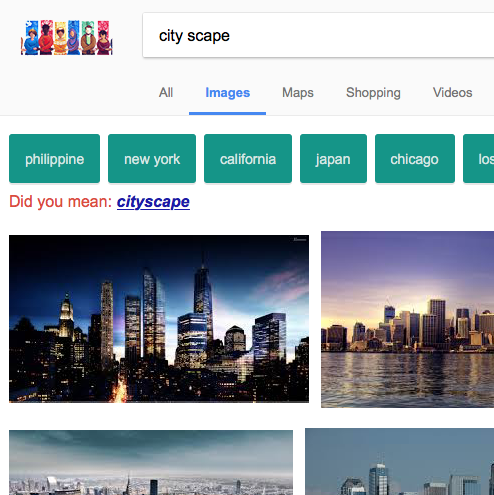
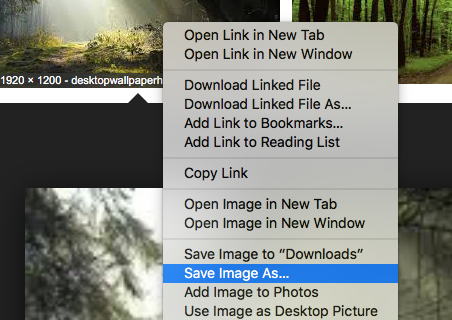
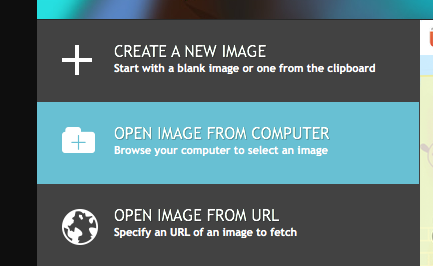
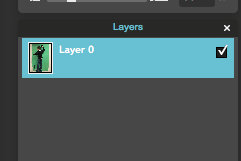
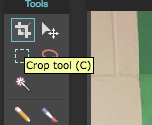
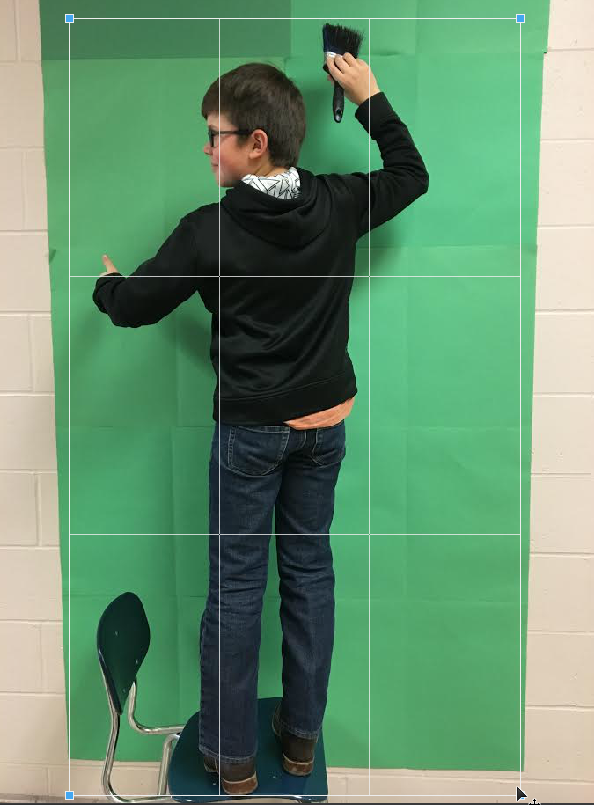
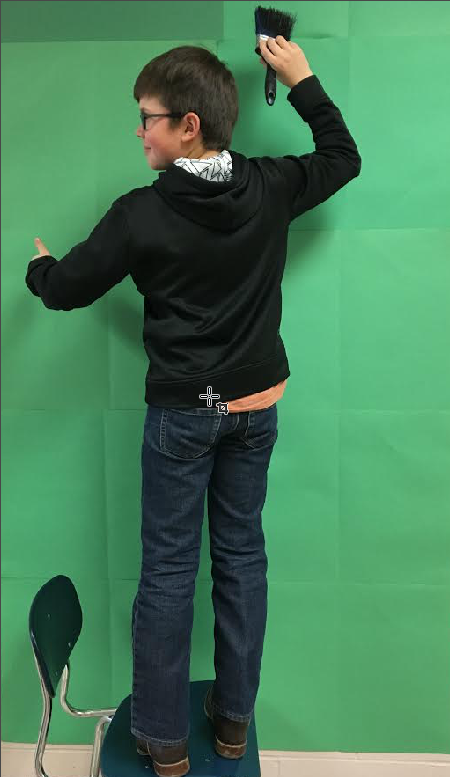
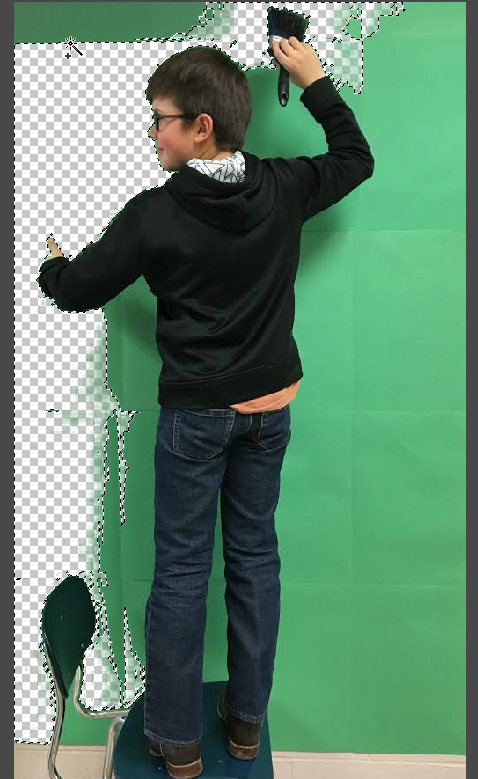
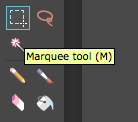
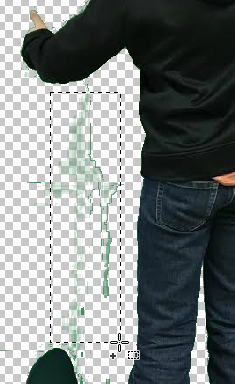
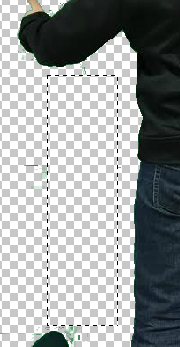
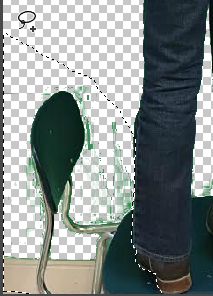
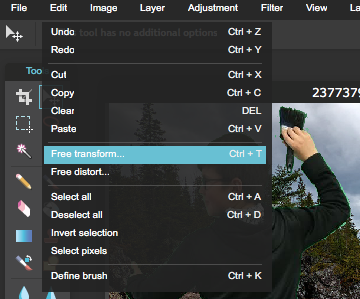
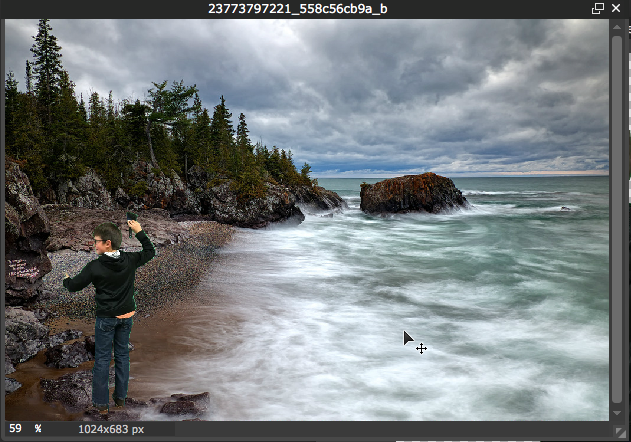
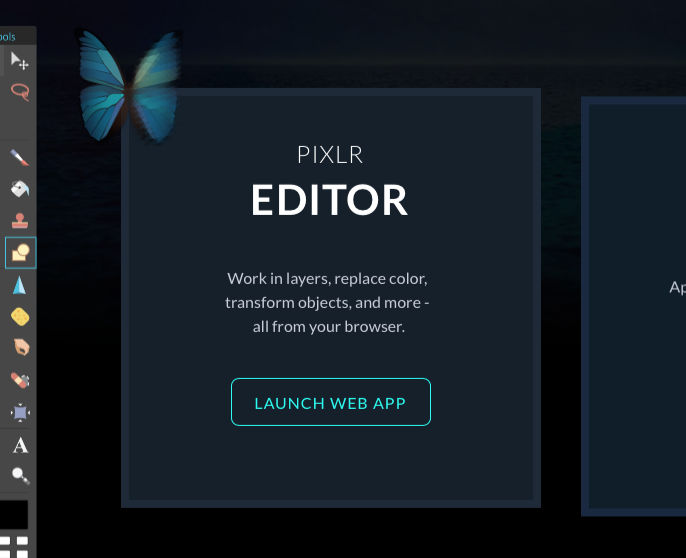
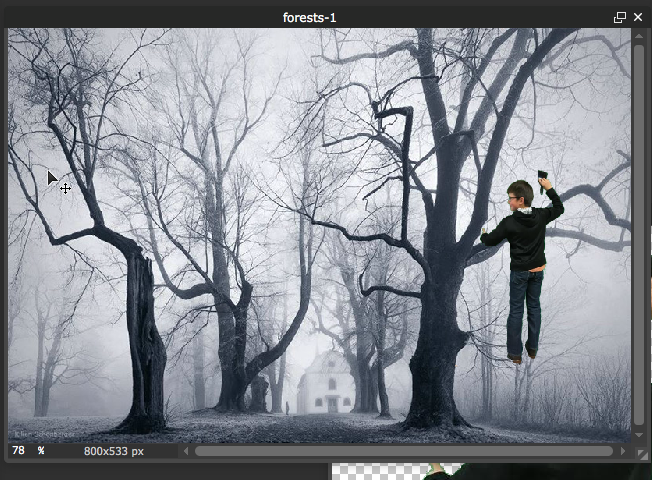
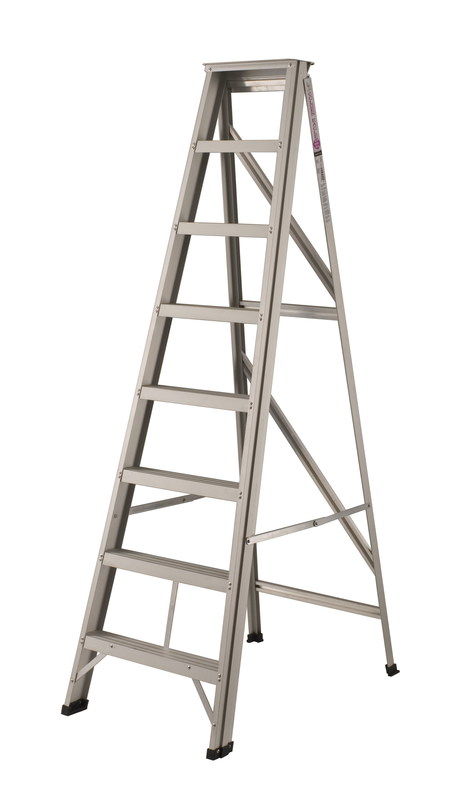
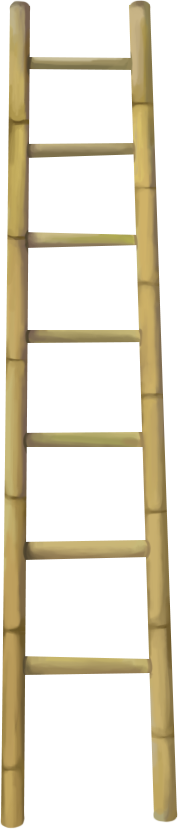
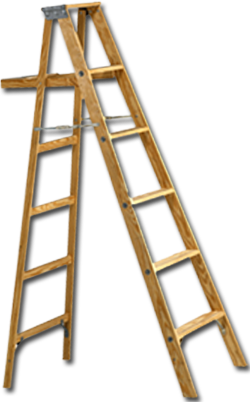
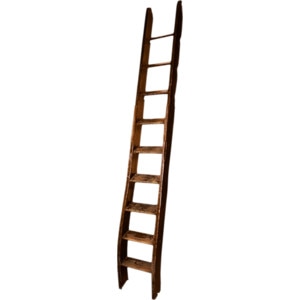
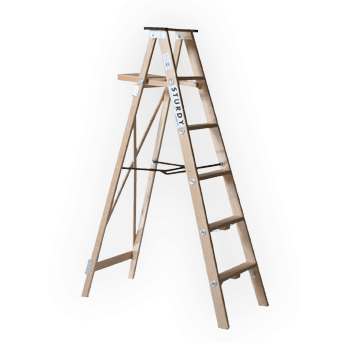
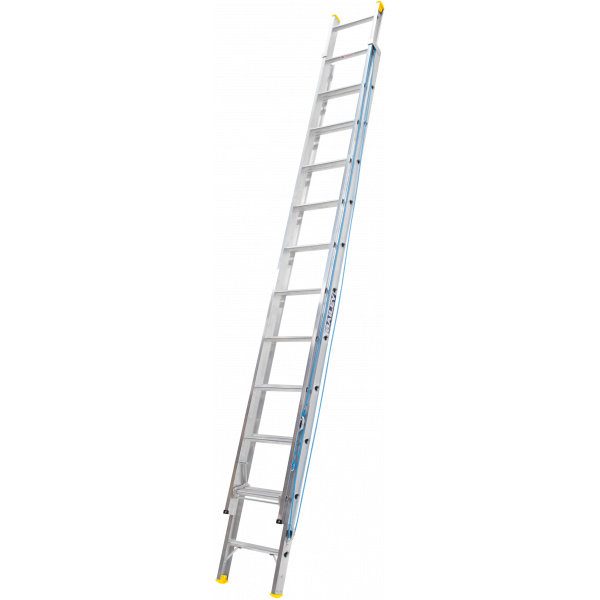
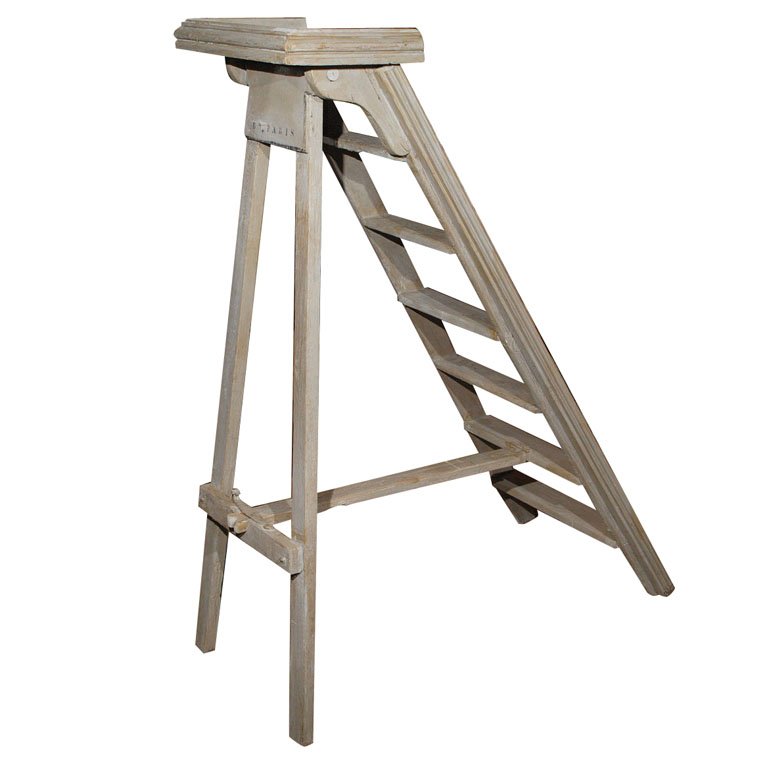
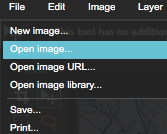
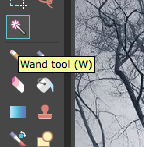
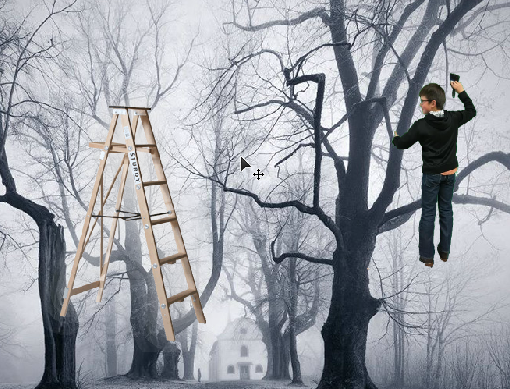
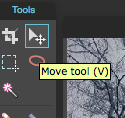
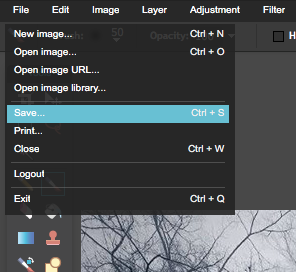
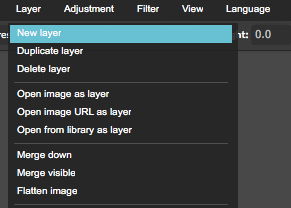
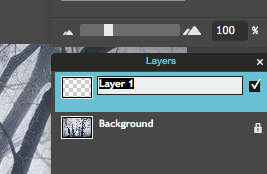
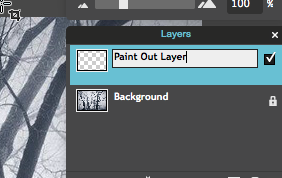
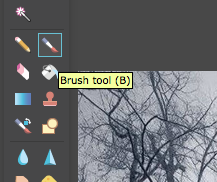
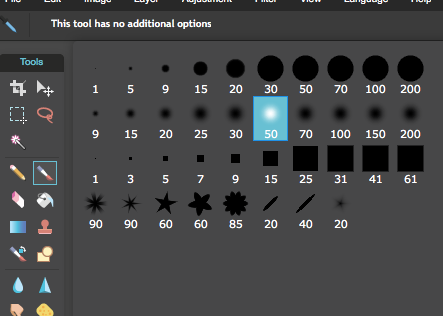
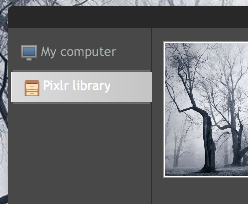
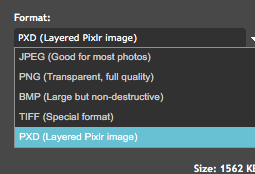
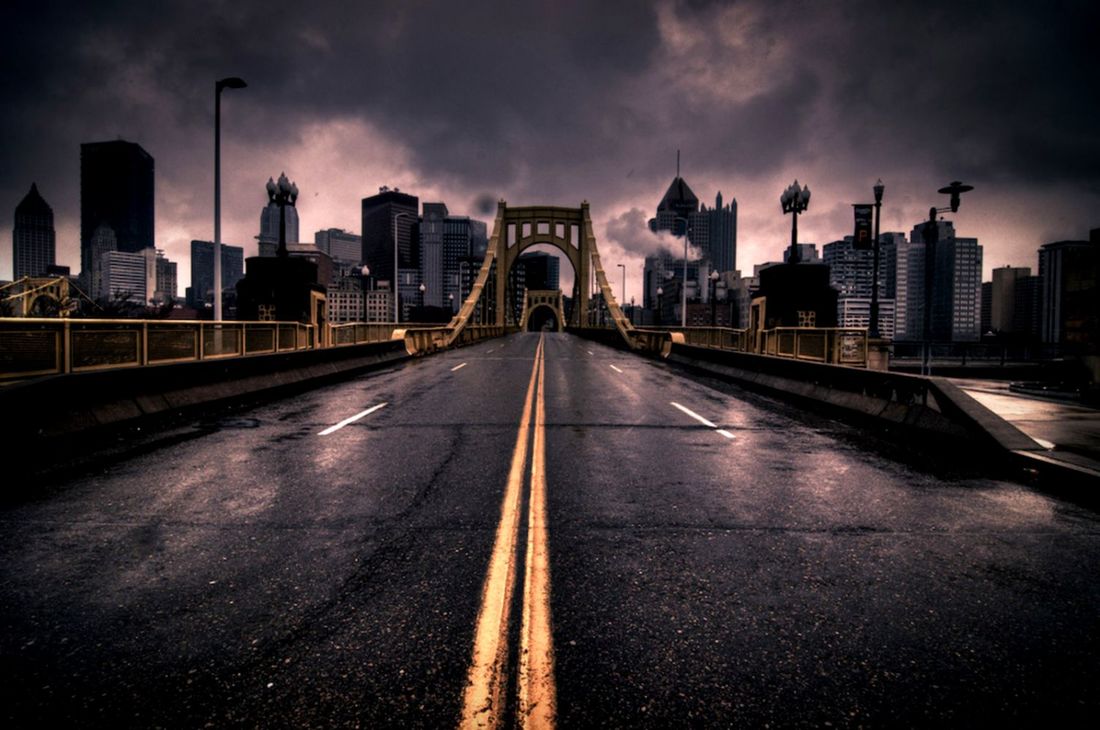
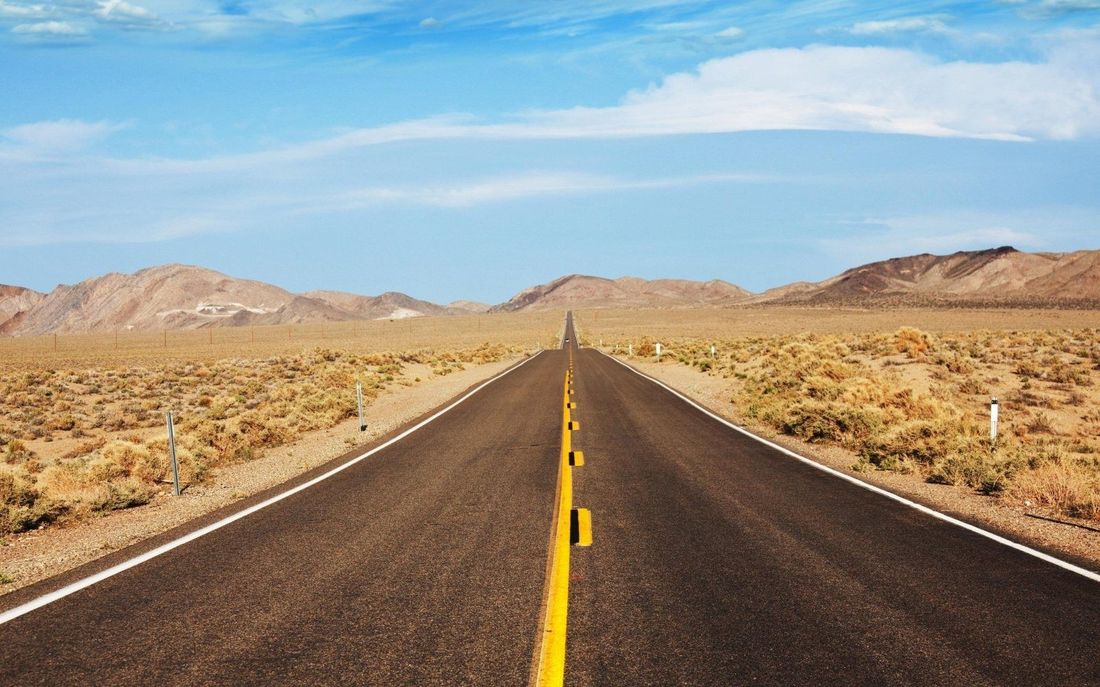
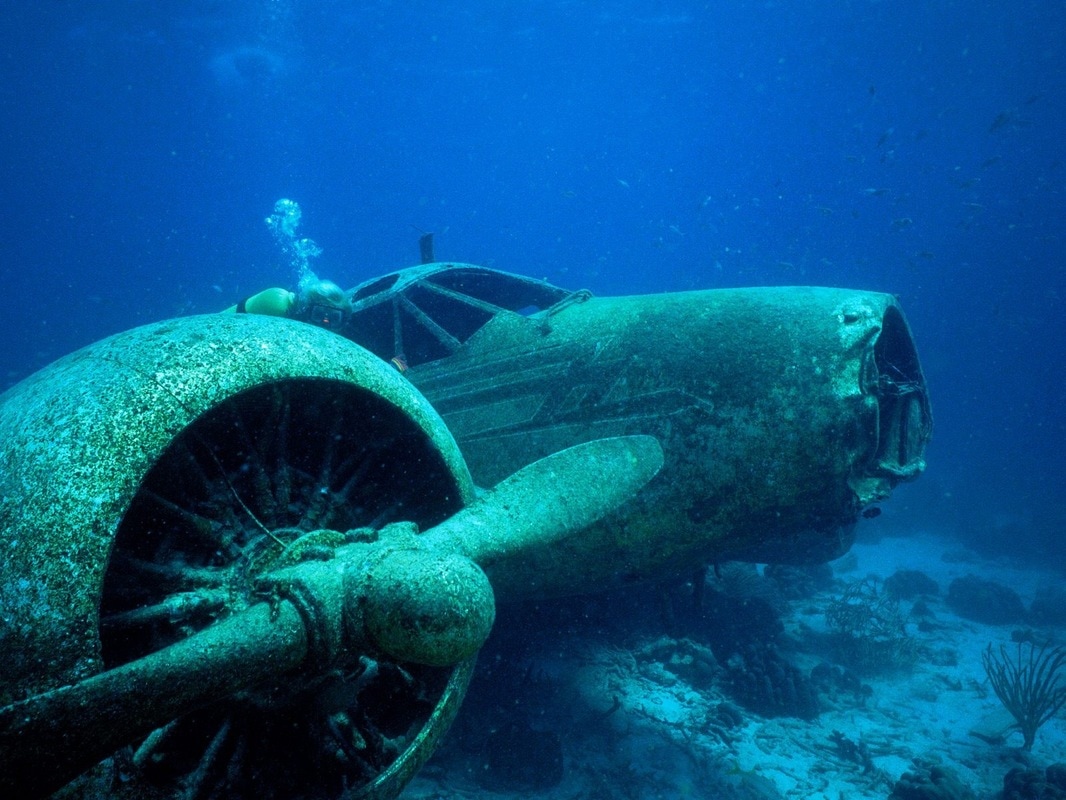
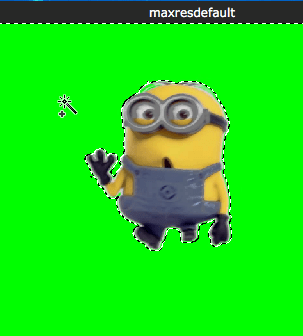
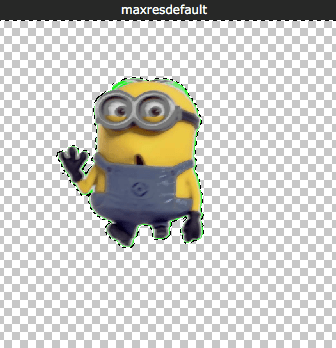
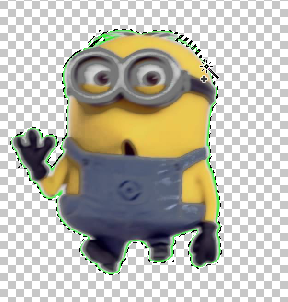
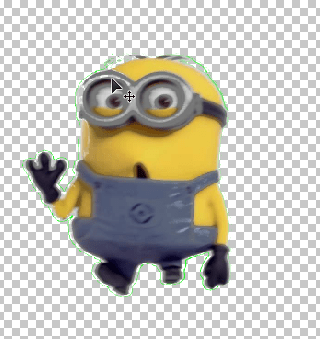
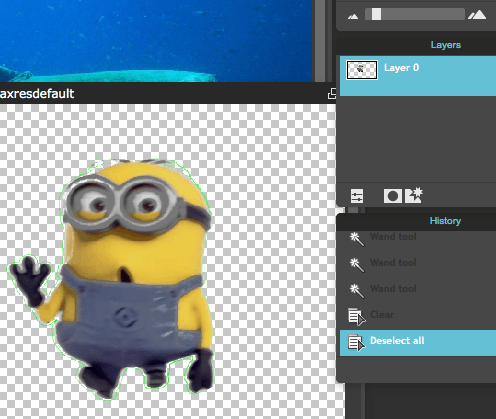
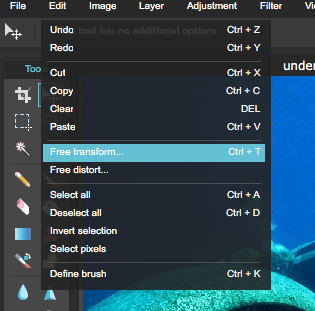
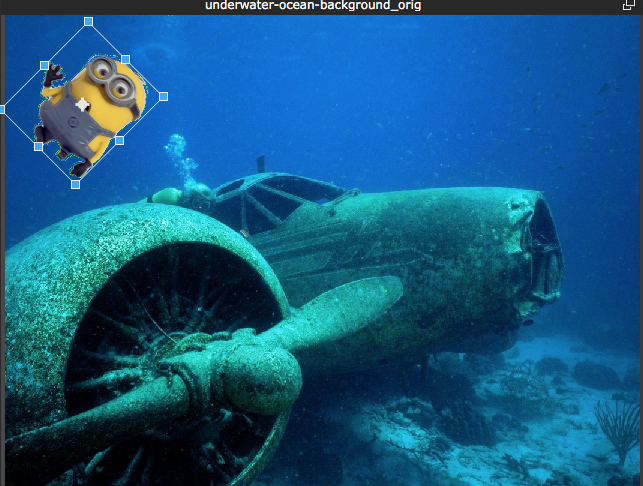
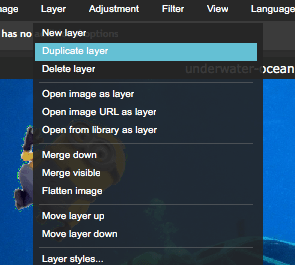
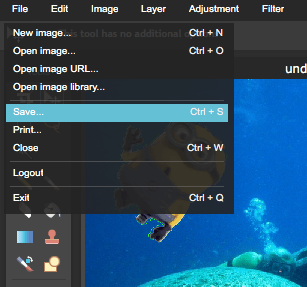
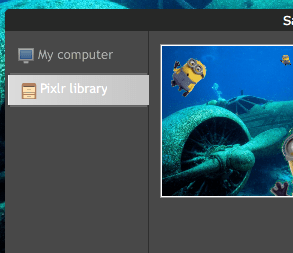
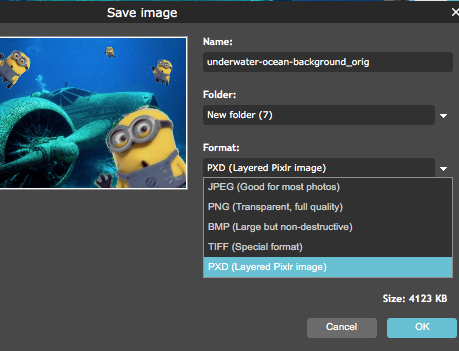
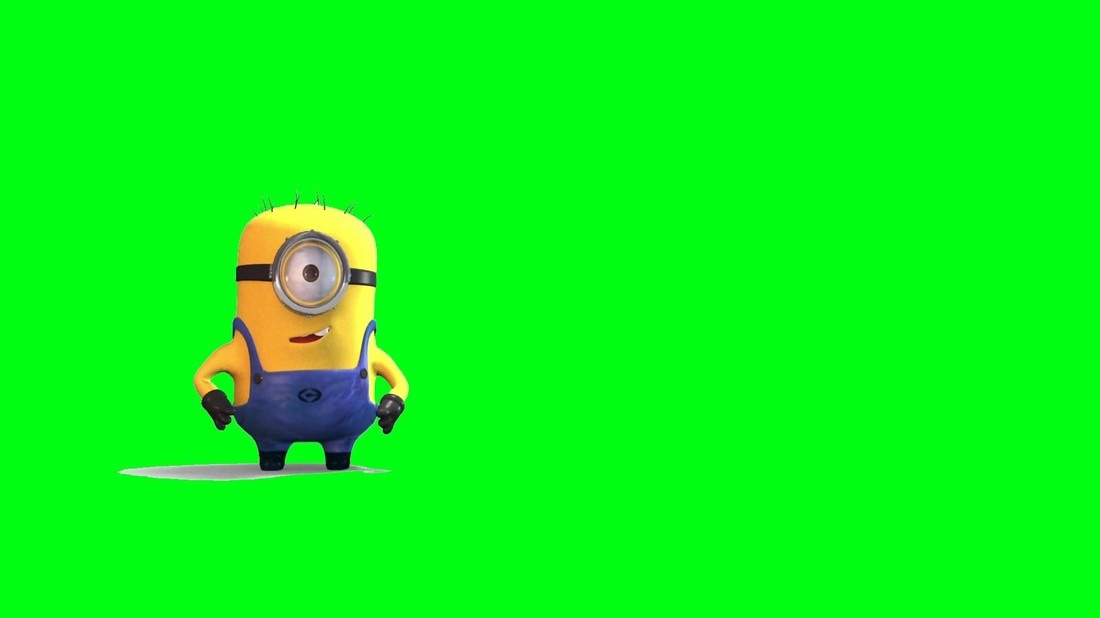
When you are finished creating and saving your new document you may choose to.... 1.) Spelling City 2.) Google a Day 3.) Typing Web 4.) AR Tests Today you will need to accomplish 4 things. 1.) Create a New Folder on your Desktop or Chrome Book for Technology Projects. 2.) Create a Folder "inside" that folder for our 1st Technology art project--Painted Out Image 3.) SEARCH for and SAVE a Landscape photograph that you like (at least 800X800 Pixels) 4.) Take a photograph in front of the "Green Screen" 1.) Create a "New Folder" on your DesktopMinimize all windows so you only see your desktop. Right Click, or Control Click on your desktop and Select-->New Folder 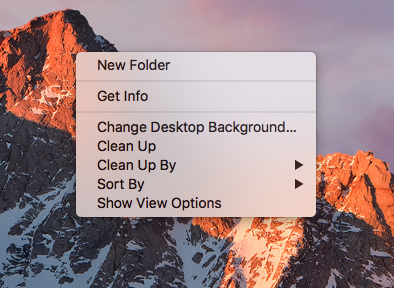 Click where it says "Untitled Folder" and change the name of the folder to "6th Grade Technology Projects" 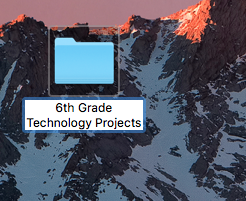 2.) Create a Folder "inside" that folder for your first project--"Painted Out Image"Double Click your new folder to "OPEN" it. Right Click, or Control Click, the empty space to the right and select "New Folder" Click where it says "Untitled Folder" and change the name of the folder to "Project 1: Painted Out Image" 3.) Search for and SAVE a landscape image that is at least 800X800 Pixels.Technology Vocabulary: Pixel: Small points or dots in a picture. Many pixels are combined together to create a picture. They are usually shaped like a square. Resolution: How clear an image is. The number of pixels in an image determines the resolution....Example 800x800 means that the image is 800 pixels tall and 800 pixels wide so the area of the picture is 640,000 pixels. The more pixels a picture has the better resolution it will have. 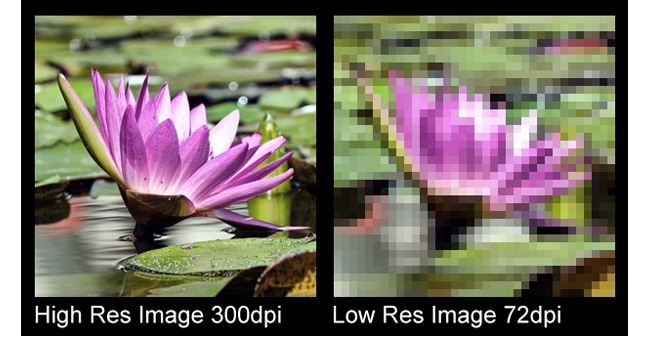 On Google Images, Search for a landscape, sea scape or city scape that you like. Look for images that have a Resolution of 800x800 Pixels or more. Hint: When you hover your mouse on the image, you will see a number in the lower right corner--that is the Resolution. 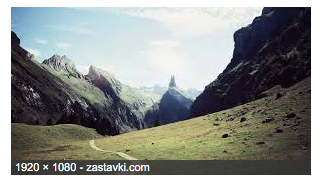 When you find the image you want, "Right Click" or "Control Click" on the image and select "Save Image As" 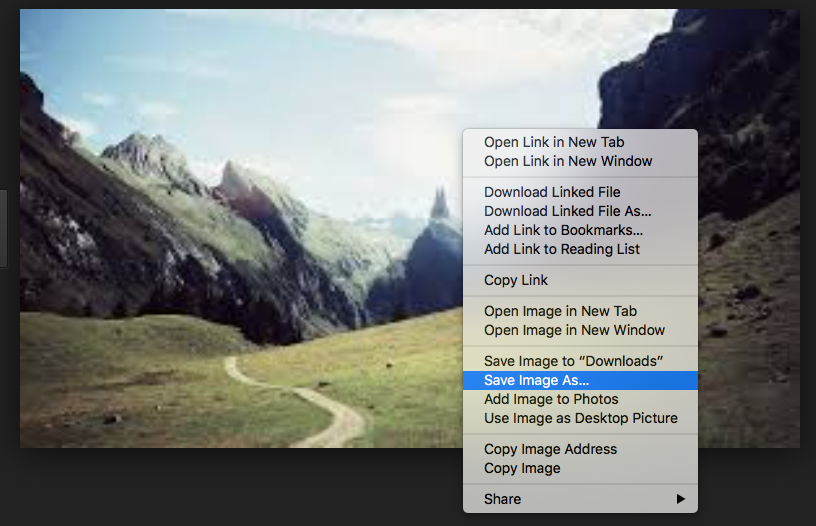 Save it to the "Project 1: Painted Out Image" folder that you just created. Give your image a TITLE when you save it (ex: Landscape Picture) 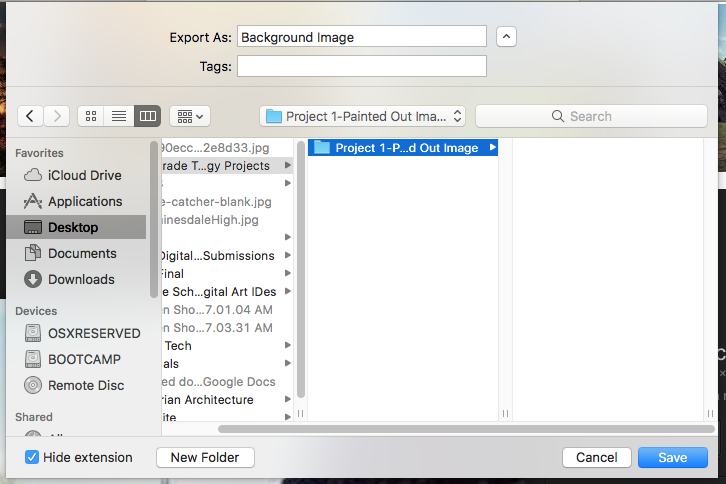 Open your "Project 1" Folder to double check that it saved in the right place. 4.) See Mrs. C to take your Photo in front of the Green Screen 1st you will need to find an image of a landscape that you would like to use. BE SURE IT IS A HIGH RESOLUTION IMAGE......(at least 800 X 800 Pixels) Save it to your computer. Go to Pixlr Editor and LOGIN Open your Landscape Image and "Unlock" the Background. Go to "File"-->"Open" to open your Green Screen Photograph with a paint brush/roller. "Unlock" the Background of your green screen image. Use the "Crop Tool" to crop your image so that you only have you and a green background (no wall). Use the "Wand Tool" to select as much of the green as you can....as you select green, you can delete it. Make sure you see a checkered gray and white background when the green is deleted! If you need to, "Zoom In" so that you can select any remains green. You should see a Gray and White checkered background.  Use your "Marquee Tool" or your "Lasso Tool" to select any green that was left over. You can also use these tools to delete the chair and any wall that is showing. Drag the Layer with you on top of your landscape image. 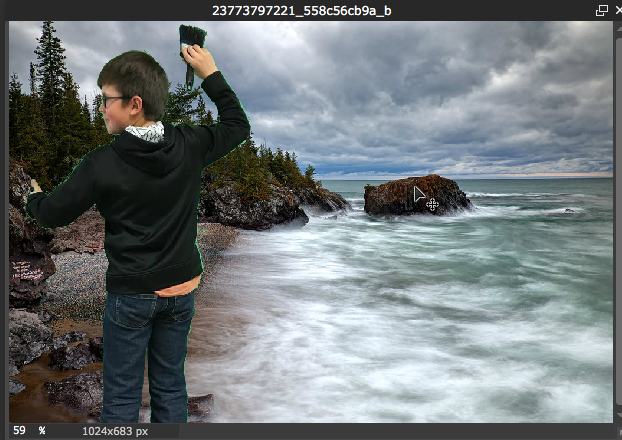 You may have to "Edit"-->"Free Transform" to ROTATE or change the SIZE of your photograph. Use the "Move" tool to place your green screen cut out wherever you would like on your landscape image. END DAY 1 Painted Out Image Project: Day 2 Once you login, select "Pixlr Editor" and Choose the option "Open Image from Library" Notice you have two layers in your Layers Toolbox (if you can't see your layers ask for help) Now we are ready to include our ladder. Choose the ladder that works best for your green screen picture and save it to your computer--(you will need to click on the image to view the whole picture) In PIXLR go to "FILE"-->"OPEN" to open your ladder image. Don't forget to Double Click the lock to unlock the background. Use the "WAND TOOL" to select and delete the background Drag the ladder layer onto your final project so that you have three total layers. Use the Move tool to reposition your layers and "EDIT"-->"FREE TRANSFORM" to change the size and rotation so that they are believable. 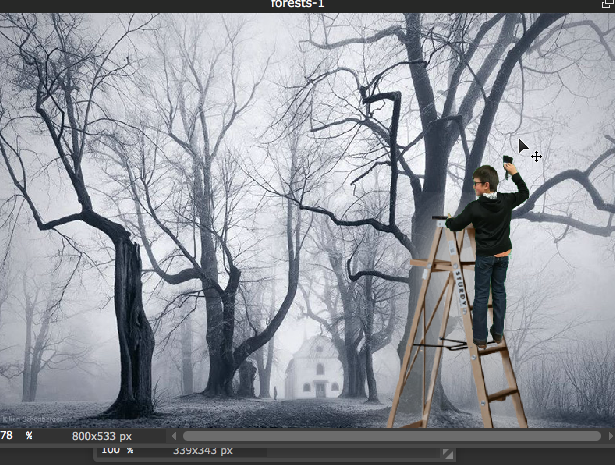 SAVE YOUR CHANGES!!!!!! YOU MUST SAVE AS A PXD! End Day 2 DAY 3: Painted Out Image Project Go to Pixlr Editor and Login You are now ready to paint out part of your image. To do this, you will need to create a NEW LAYER. Go to "File"-->"New Layer" (You should see your layer appear in your LAYERS window) Double click on the Name of the Layer and Re-Title it "Paint Out Layer". Select your "Brush Tool" You can also select the Size and Shape of your Brush Be sure you are select on your "Paint Out" Layer You can start brushing in the area you would like to black out. Make sure you make an uneven edge. 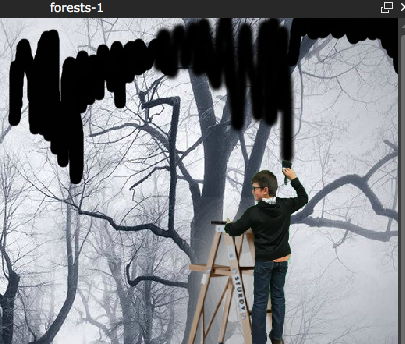 Your painting area should carefully go right up to the end of your paint brush or roller 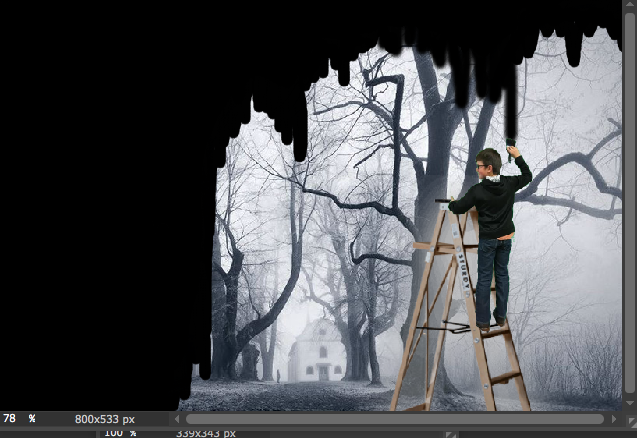 SAVING If you are still working on a project you need to save it in YOUR PHOTO LIBRARY, as a PXD format. If you are completely finished with your project, you may save it as a JPEG format to YOUR COMPUTER, so your teachers can access it. 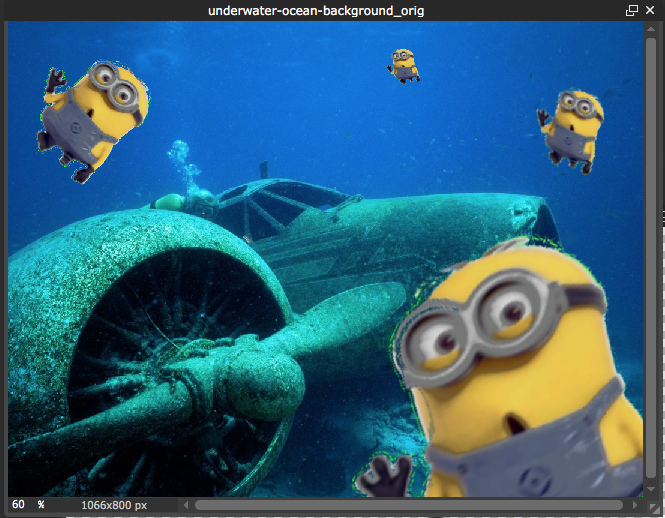 ***When you are finished with this assignment, call me over to your computer so I can check you off and give points. 1.) Go to Pixlr Editor First you need to create an accout. This is where we will save ALL of our work so it is important that you do this first. 1.) Use your School Email Address 2.) PASSWORD: Use the SAME password as you use to login to your computers at school....this way you WON'T FORGET!!!!!! 2.) Select Open Image From Computer. 3.) Choose One of the Images Below to download for your backbground (first save it, then upload it to Pixlr) Go to "File"--"Open"--"Image"s and open your background in Pixlr 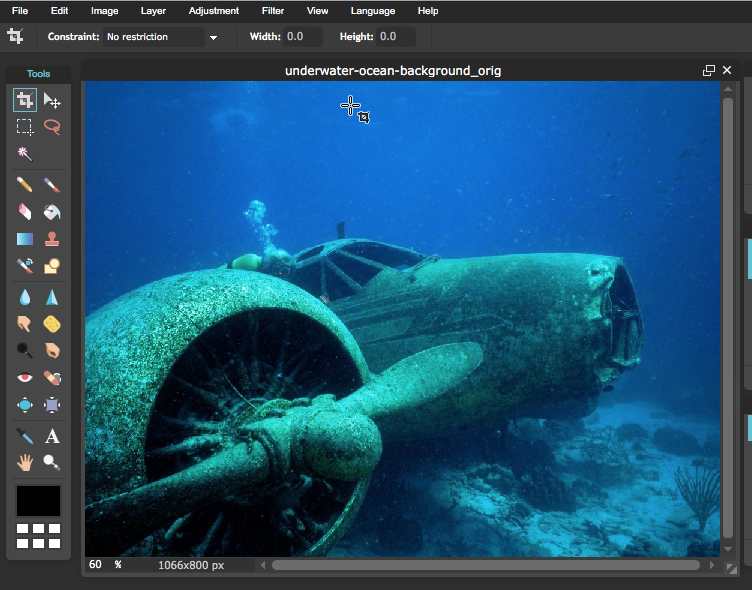 Save the picture below with a green screen background. (Right Click....or CTRL Click--> Save Image As) 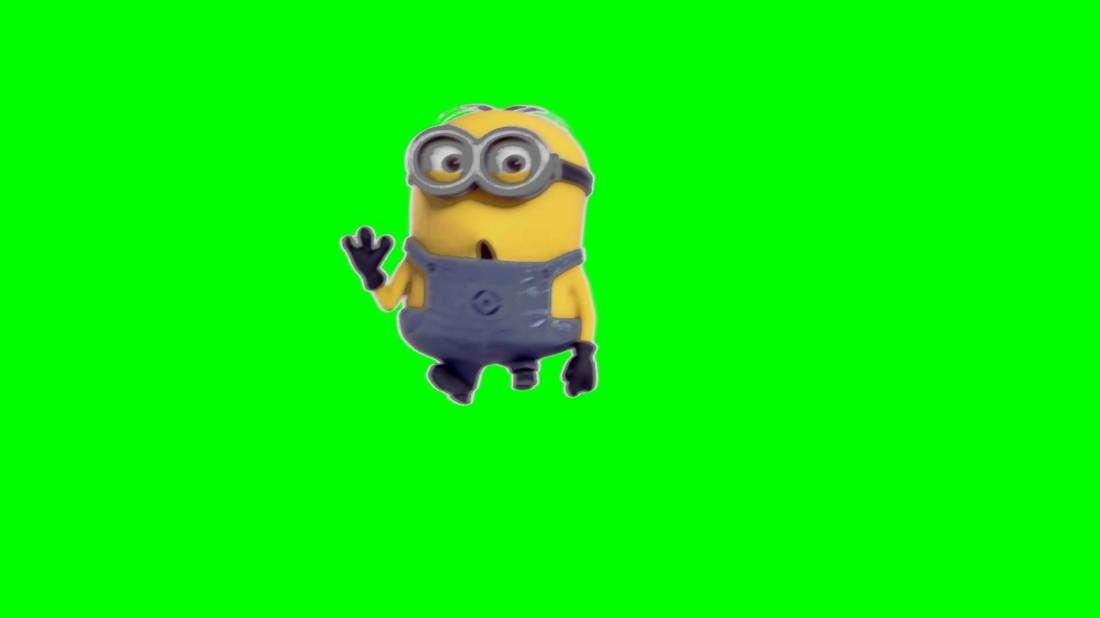 Go to "File"--> "Open Image" and open the minion image in Pixlr (you should have two windows so you can go back and forth between both images) 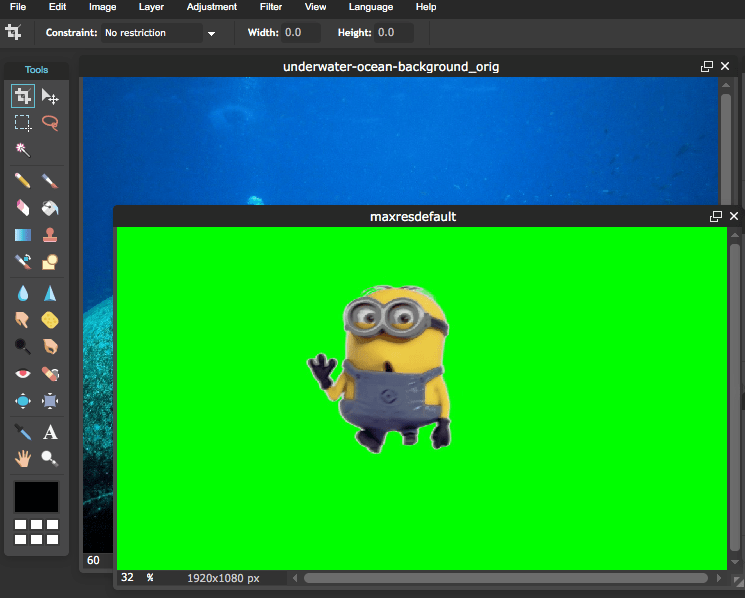 7.) First, you need to "unlock" the background of the Minion Image (double click the Lock Icon in the Layers Window) 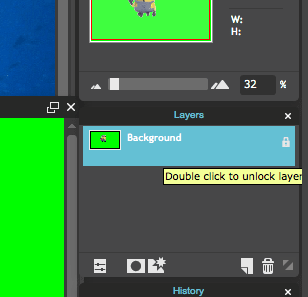 6.) Next, Select the "Wand Tool" in your Toolbar 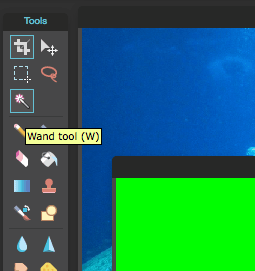 Click on the green area surrounding the minion. Once it is selected you will see a dashed line going around your image. As you select areas of green you can hit delete to remove the green background--You should see a gray and white checkered pattern appear when the green is deleted. This means you are removing the background. Click and delete until there is no green left (see images below). Now you are ready to drag the minion layer onto your first background image. Click on the minion layer and drag it onto the background picture. Now you can go to "Edit"--> "Free Transform" to change the size and rotate your Minion. Hit "Return" when you are done editing. The "Move Tool" allows you to move the Minion wherever you want (arrow icon)  You can also "Duplicate" your layers to create more minions! If you have time, try it out! While Selected on your Minion Layer go to "Layer"--> "Duplicate Layer" Before you leave, be sure to go to..... 1.) "File"--> "Save" 2.) Make sure your file is being saved to your "Pixlr Library" 3.) Make your "Format" a "PXD" Feeling Adventurous???? Here are some other Minion green screen pictures you could play around with adding to your artwork. |
Mrs. CastellanoArt/Technology Teacher South Range Elementary School Archives
March 2017
Categories
All
|


 RSS Feed