|
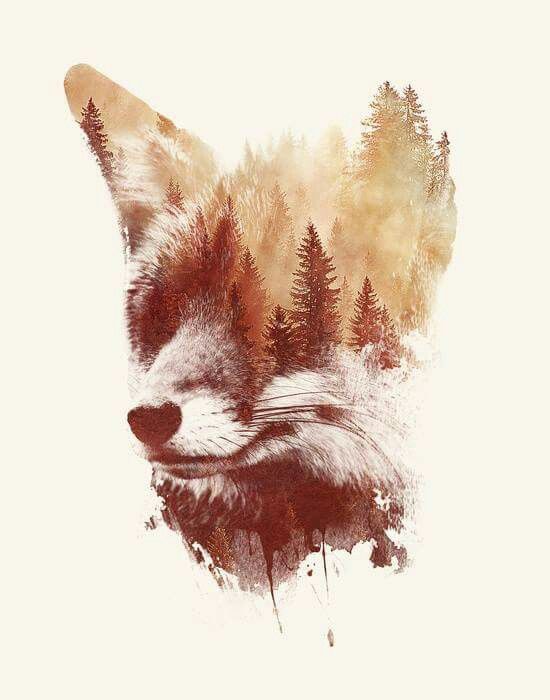
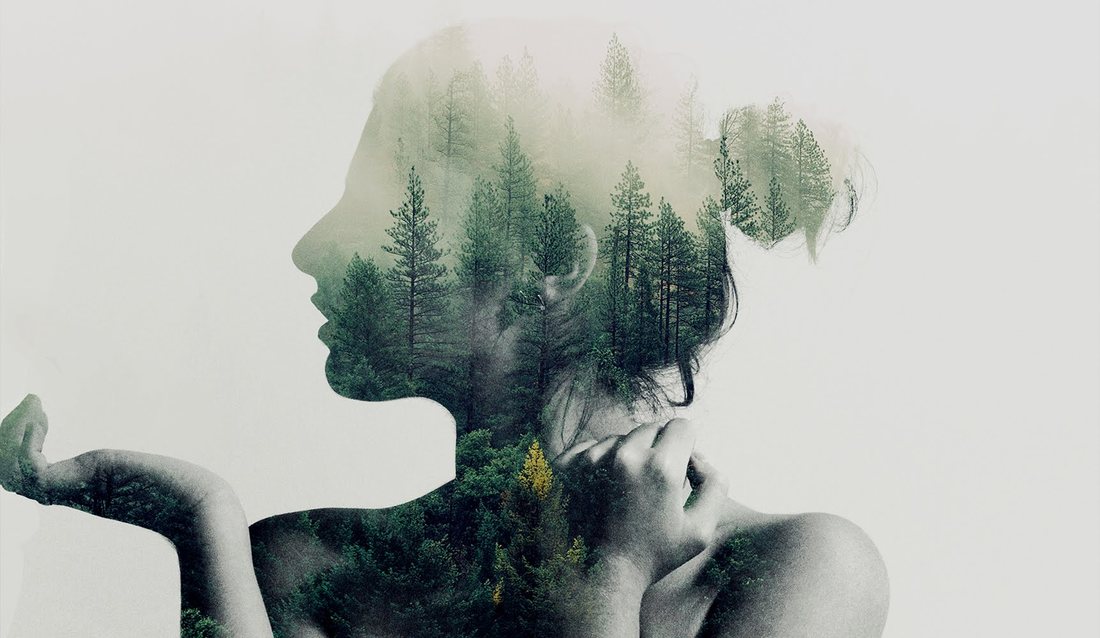
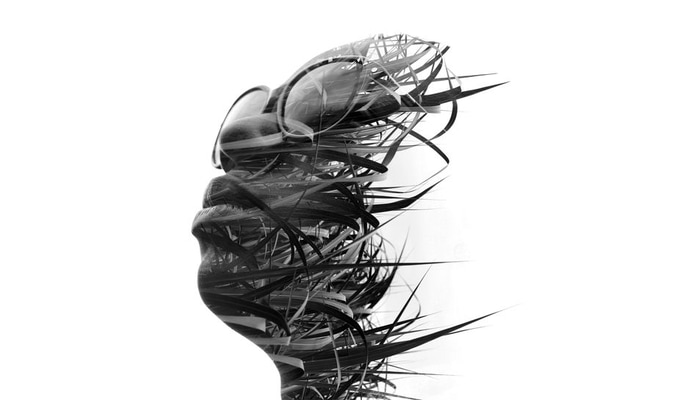
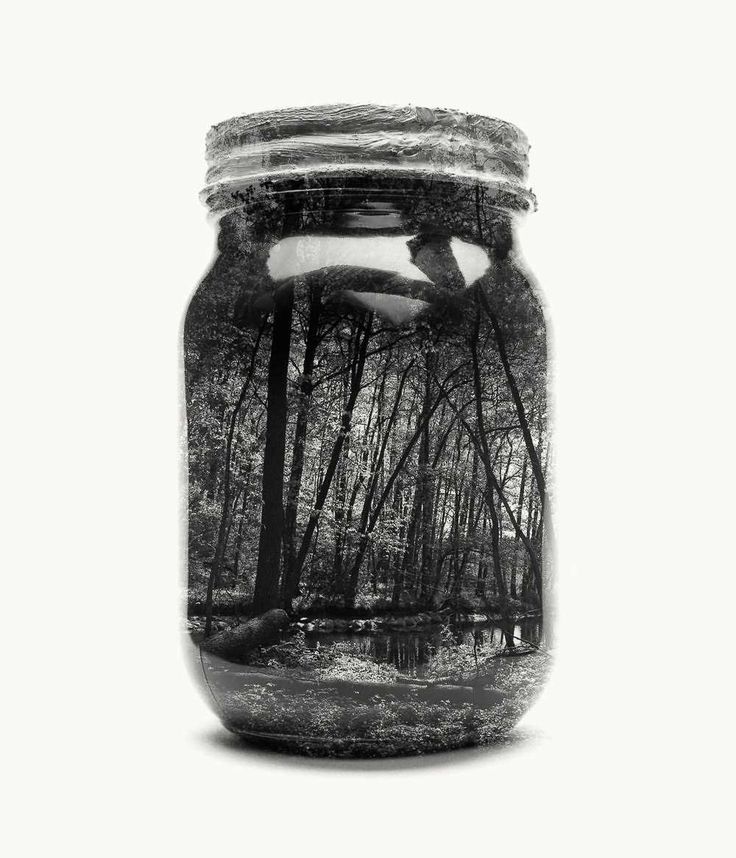
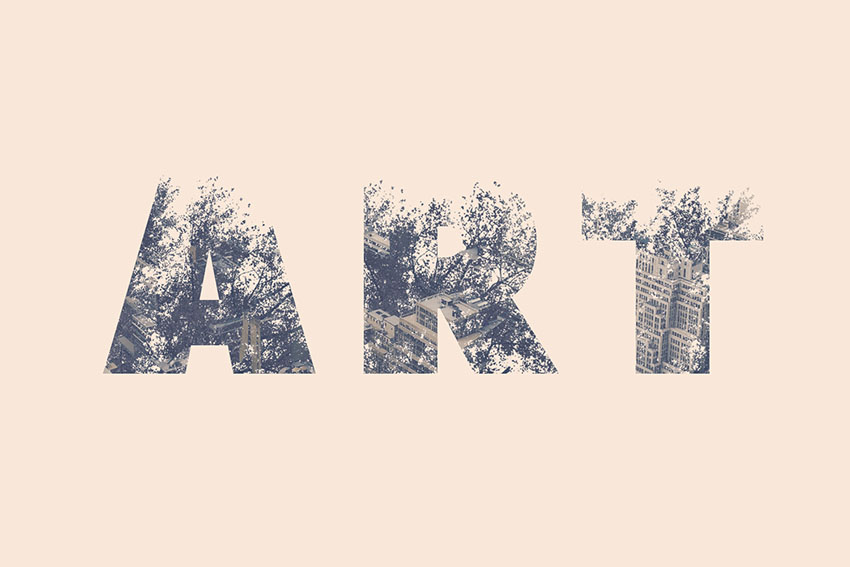
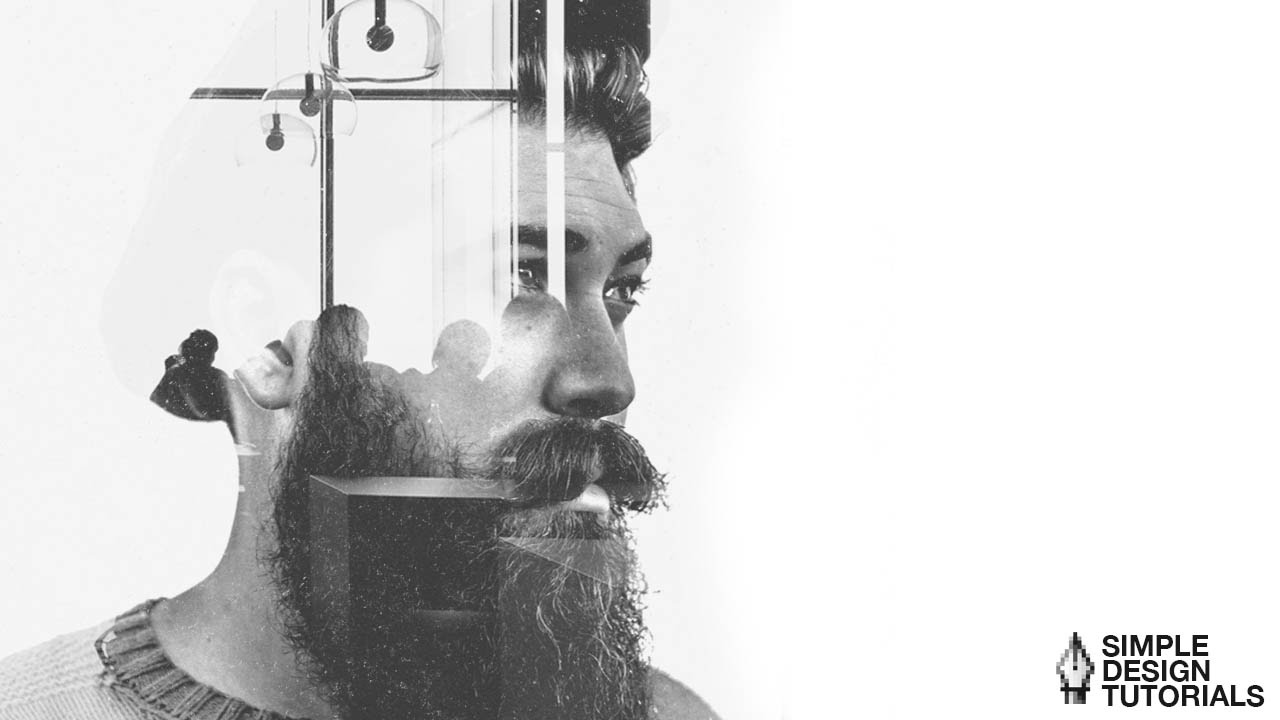
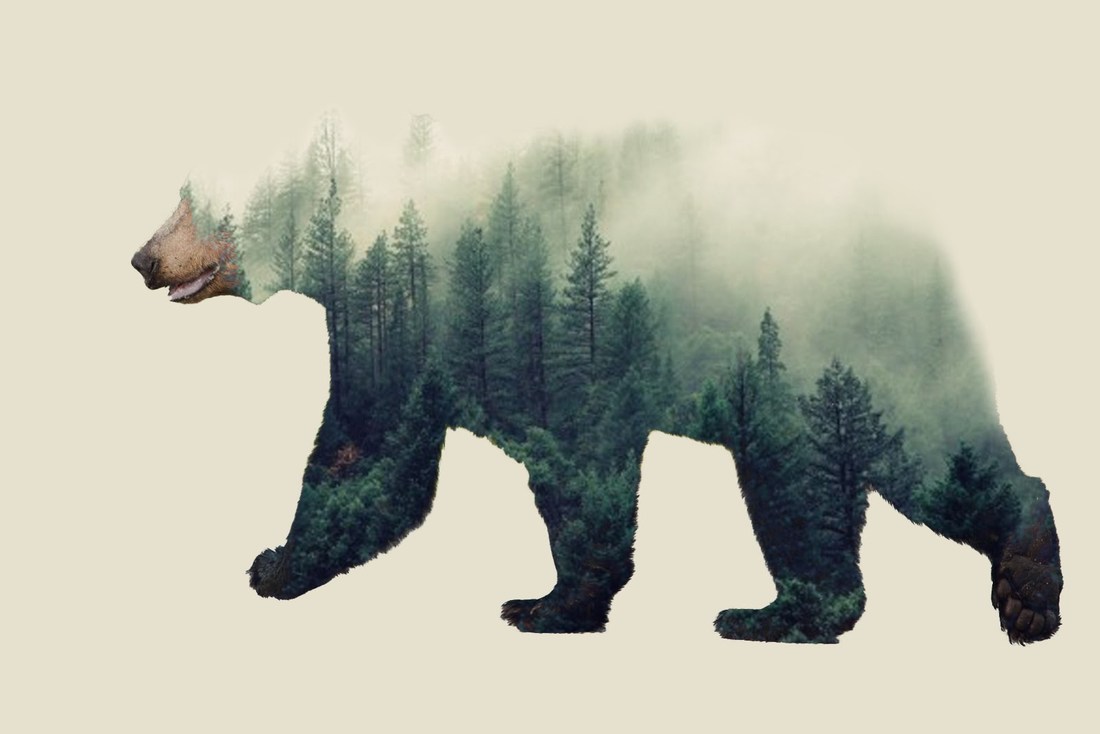
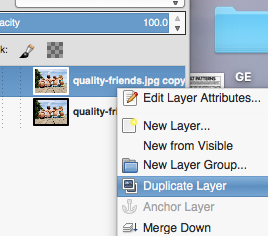
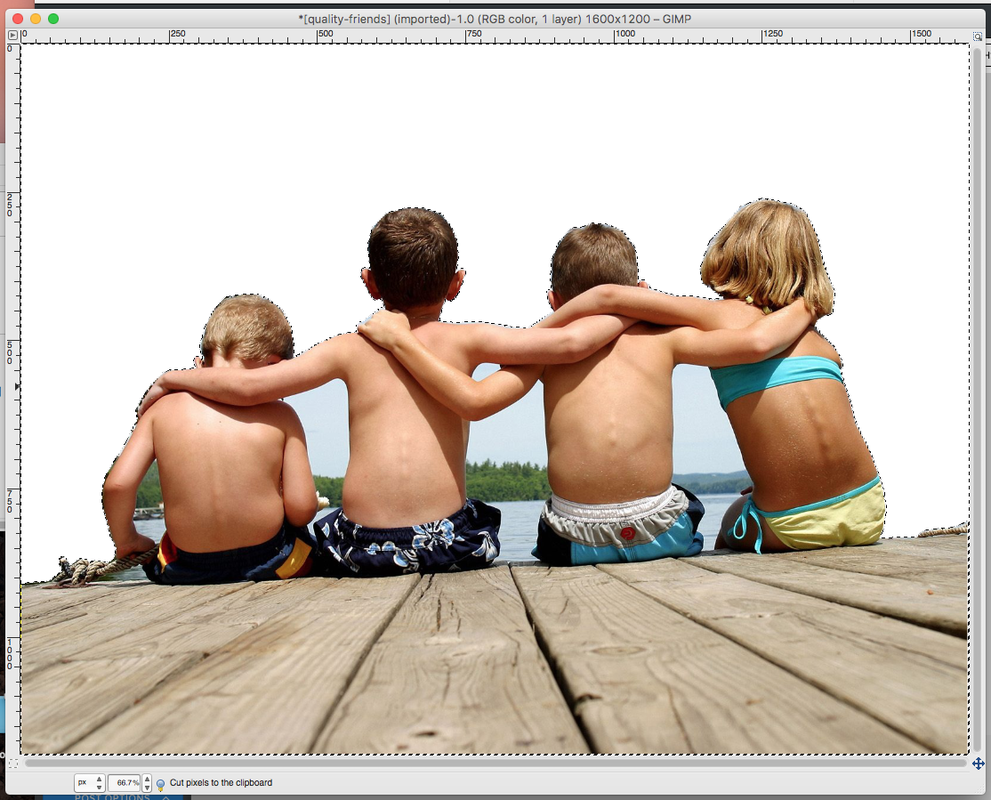
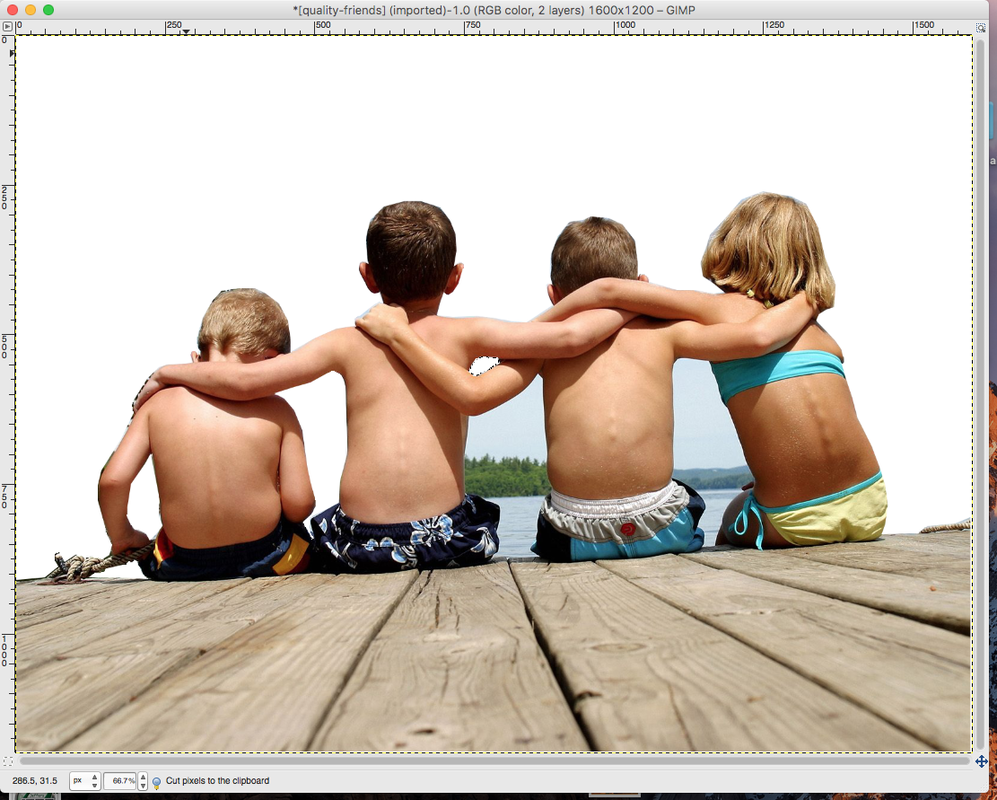
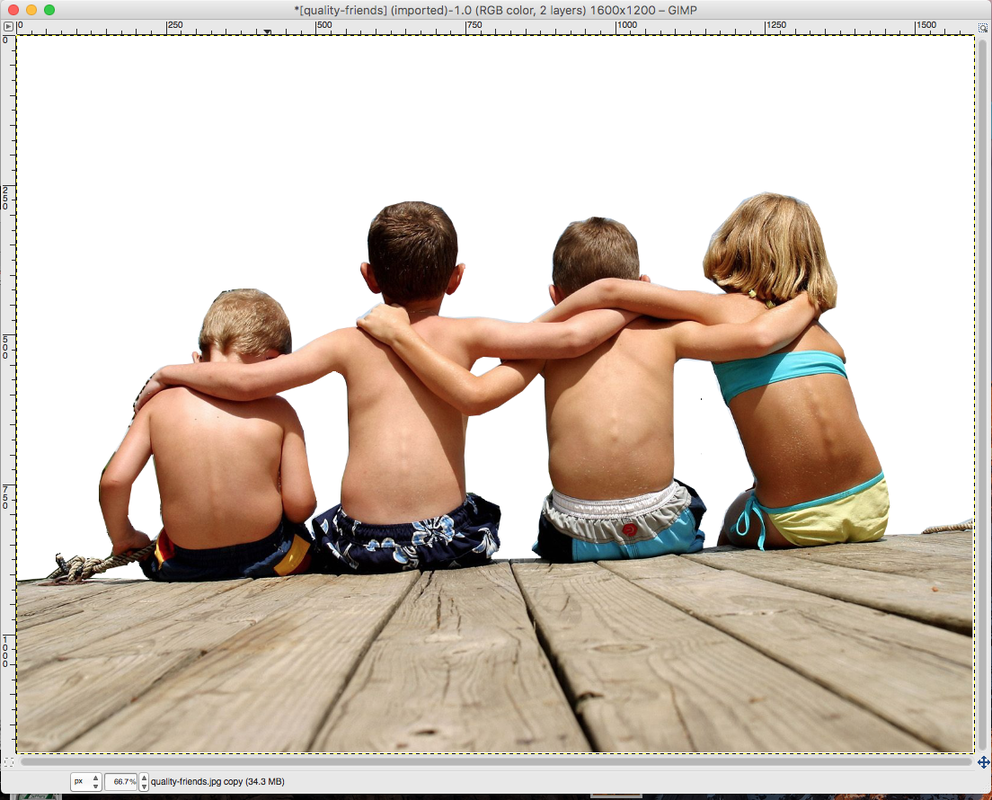
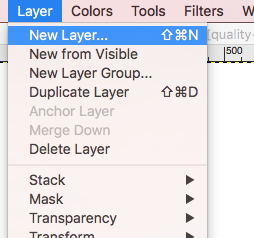
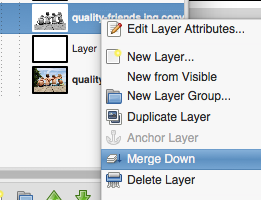
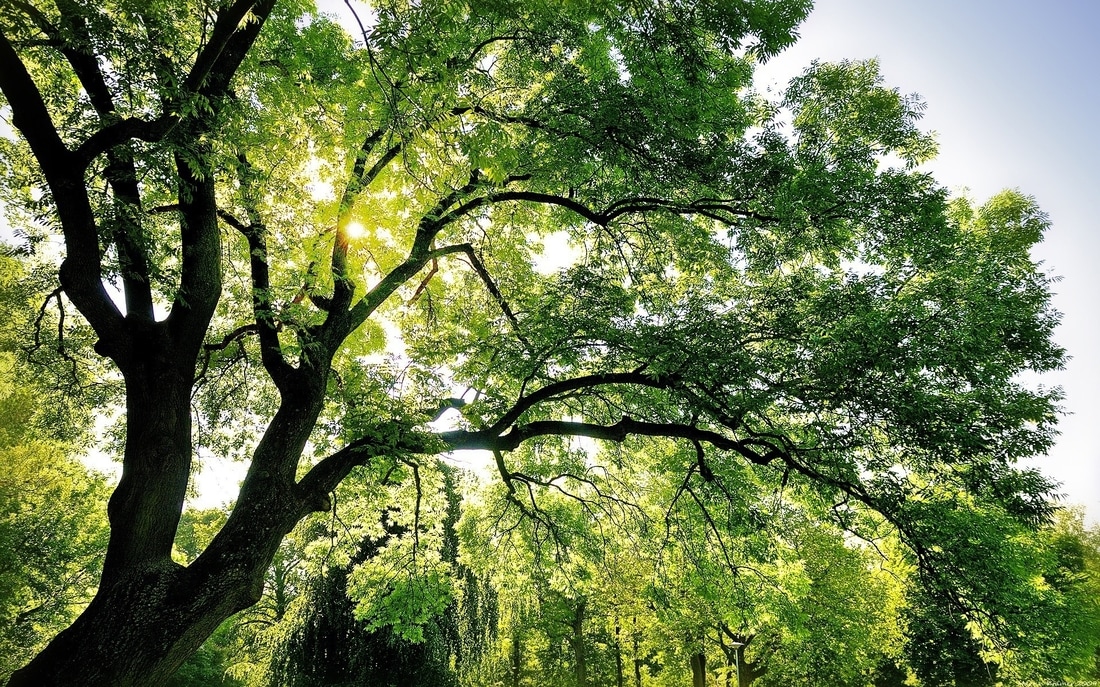
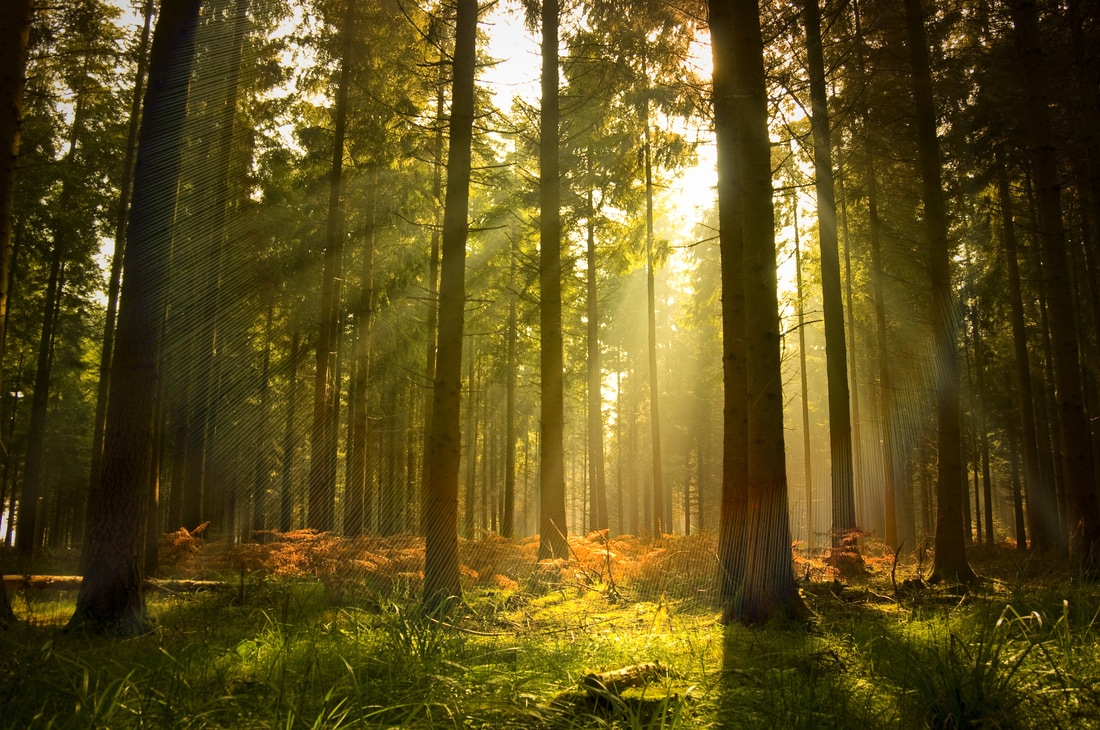
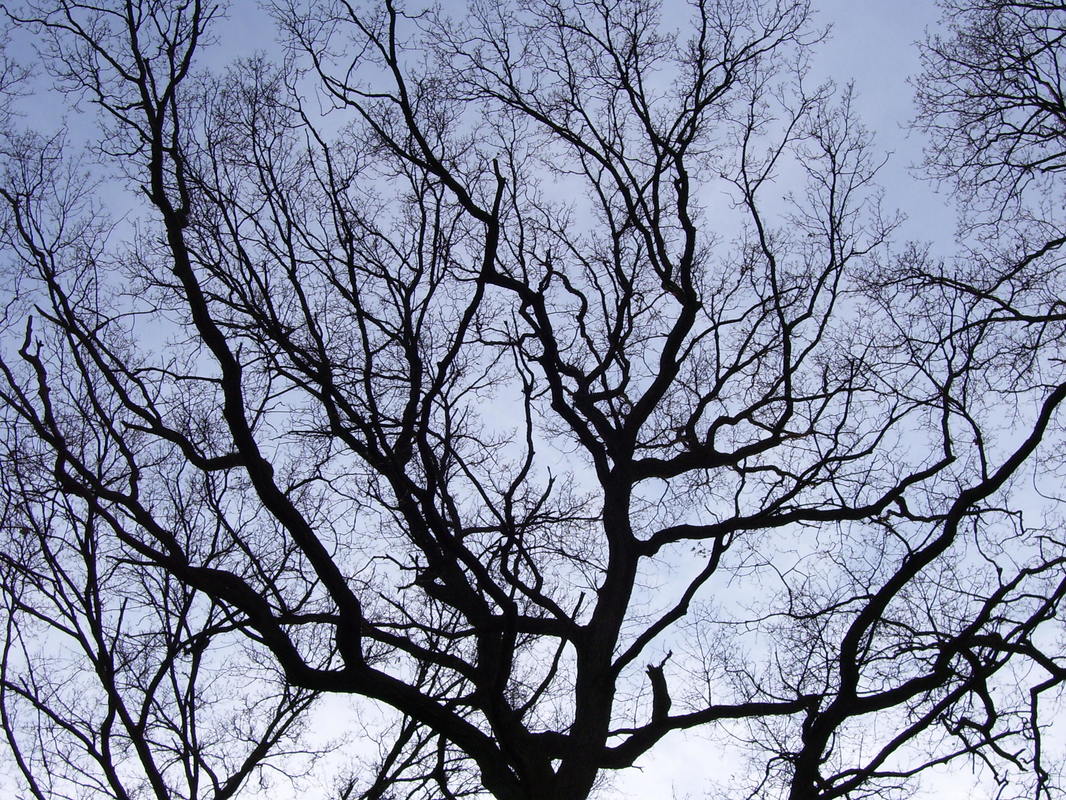
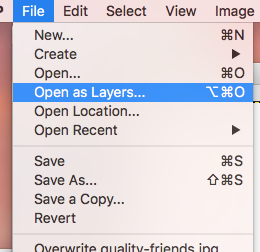
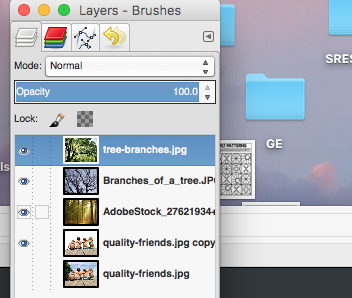
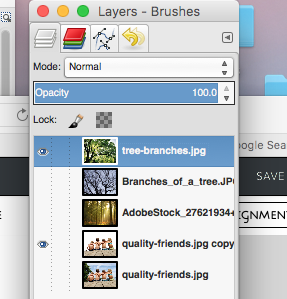
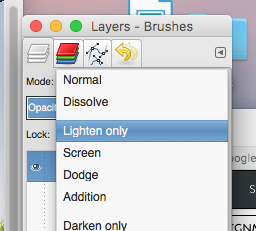
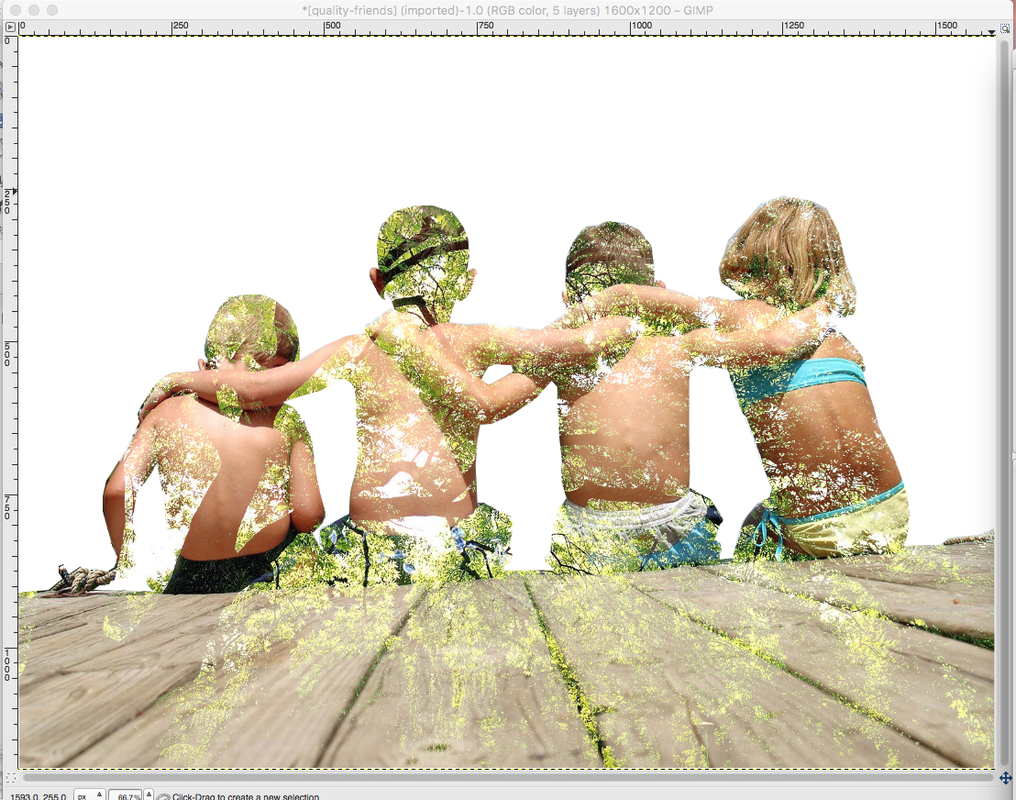
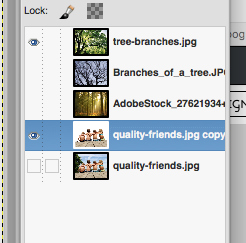
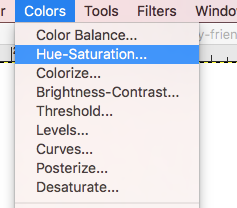
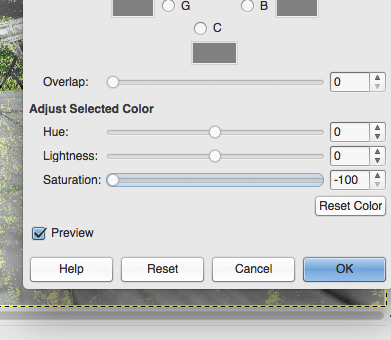
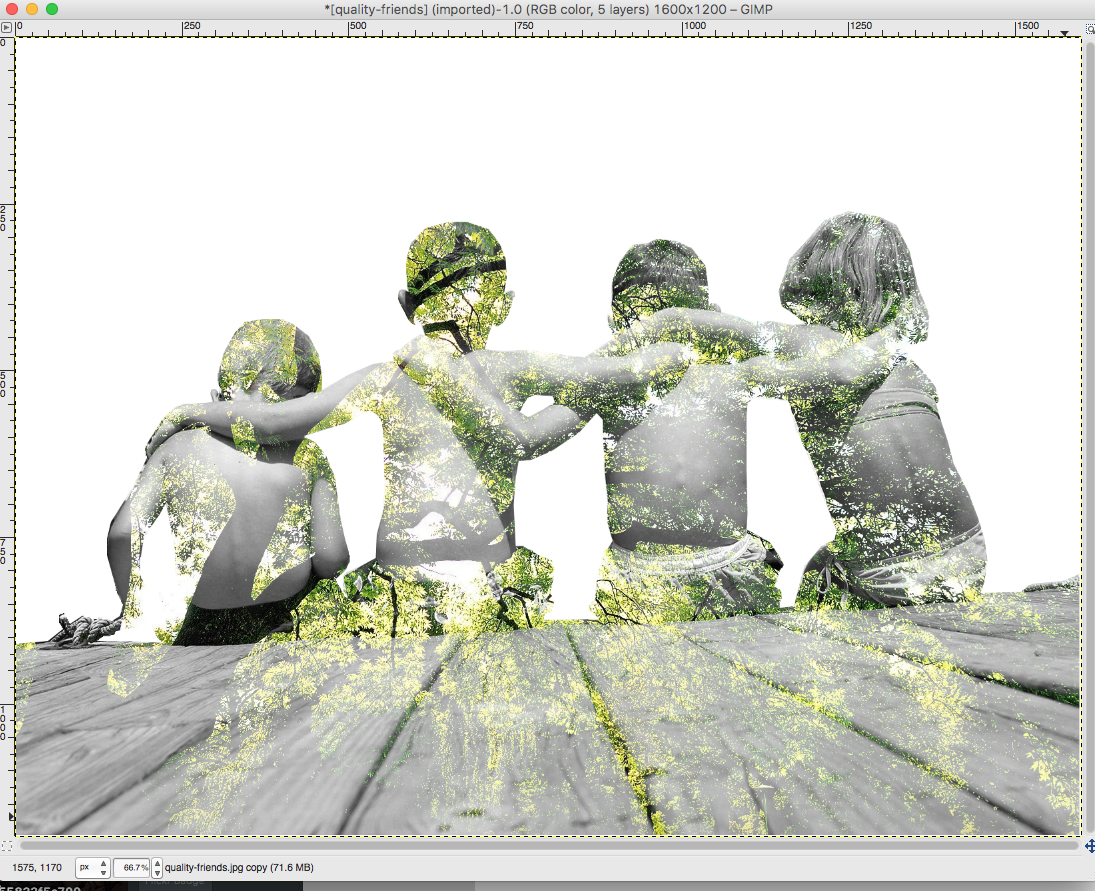
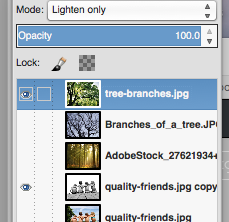
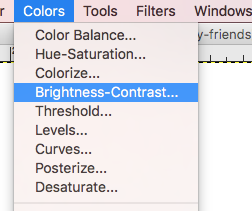
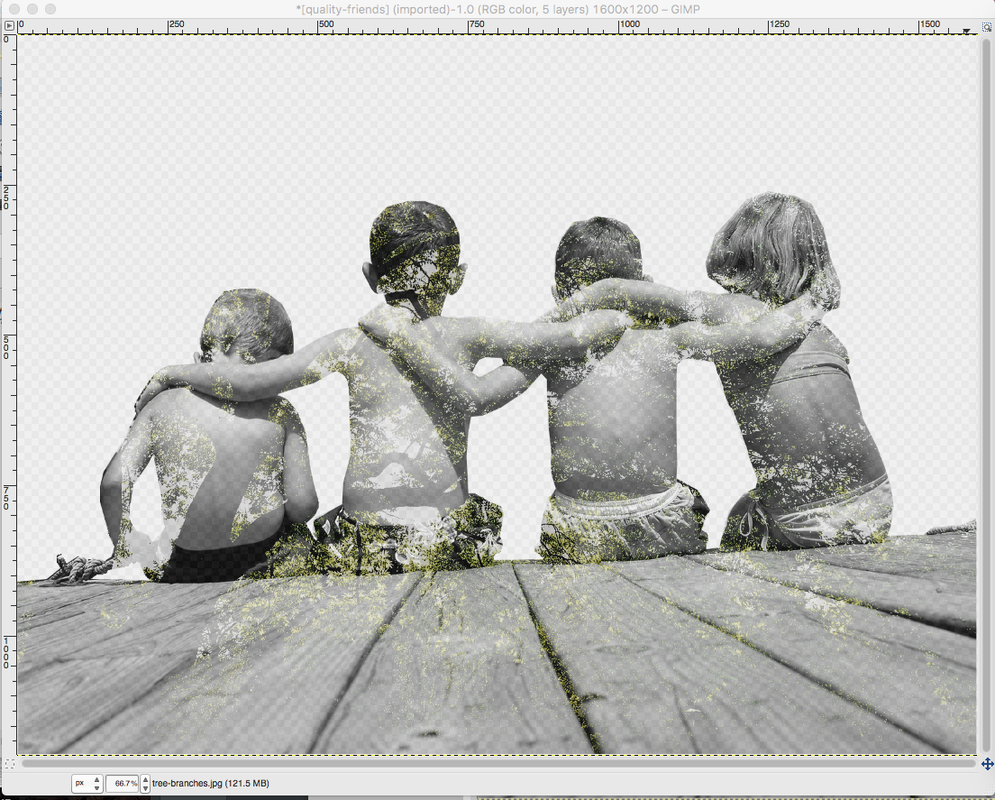
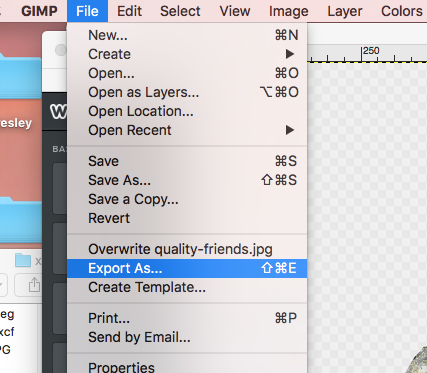
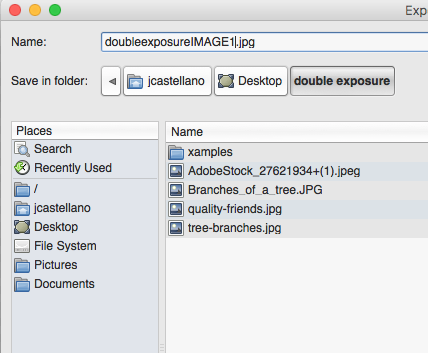
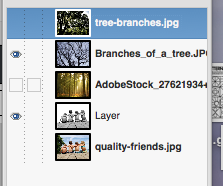
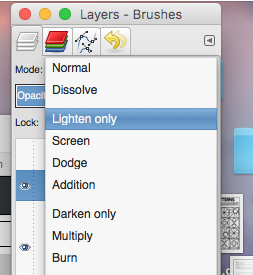
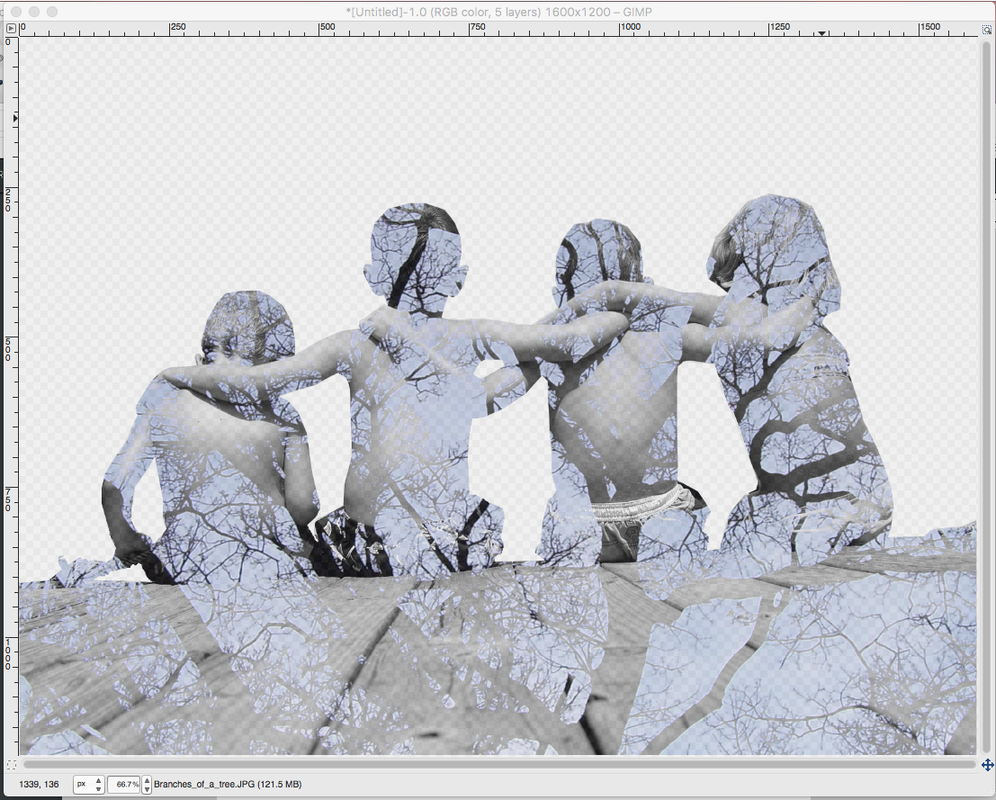
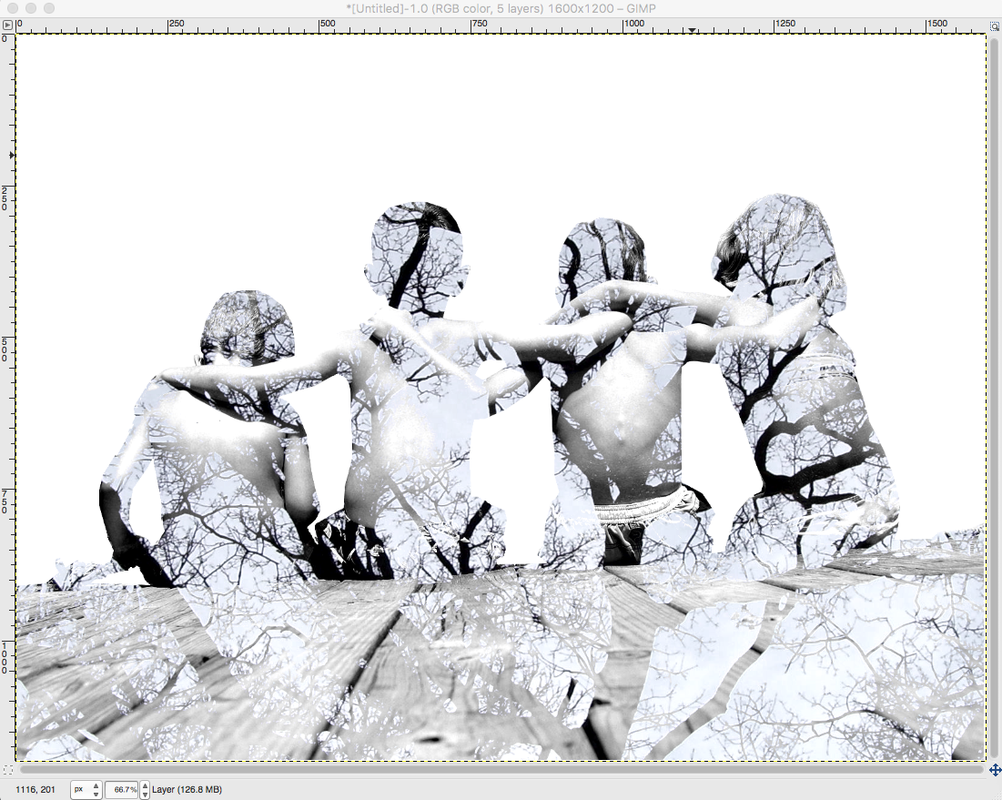
Double Exposure, or Multiple Exposure, is a photographic technique that combines 2 different images into a single image. This can be done using traditional photography as well as digital photography and through the use of a photo editing software such as Photoshop or GIMP. Here are some examples of Double Exposure Photography--feel free to google double exposure to see some other examples/ideas. 1.) To start this project you will want to find an image you would like to use. Try to find an image that is personal to you. This does not have to be a portrait of yourself but it could be. If you need to use Facebook that is fine....just don't dilly dally :) Below is the photo I am choosing.  2.) Open this Image in GIMP and Duplicate the layer. Hide the bottom copy. 3.) Using your lasso tool, remove some of the background. This will add nice contrast when we add our texture layer. Make sure you remove the negative space as well. 4.) Create a New Layer (Layer-->New Layer). Set the background to white. Make sure that the white layer is below the image you just cut out. 5.) Merge your cut out image with the white background layer. 6.) Now find at least 3 possible images for your textured layer. This could be a landscape, a city, another photo of your friend(s) or family. We want to have several different options to work with. Below are the three images I am going to try. 7.) Open all three images as layers in GIMP. Your first image should be on the bottom. You will only work with one of these images at a time so make sure to hide the other two. 8.) While selected on your texture layer change the Layer Mode to "Lighten Only" 9.) Now select your original image layer and change the Layer Mode to "Overlay". You won't notice much of a change after this step but it is important that the Mode is in Overlay. 10.) Go to Color-->Hue and Saturation. Play around with your saturation....I am choosing to desaturate my image completely. 11.) Do the same with your texture layer. You can desaturate your image partially as well so that there is a hint of color. The choice is yours. 12.) Now go to back to your original image layer. Then go to, Colors-->Brightness and Contrast. Play around with the Brightness and Contrast Toggles until you get a look you want. 13.) Do the same for your texture layer. 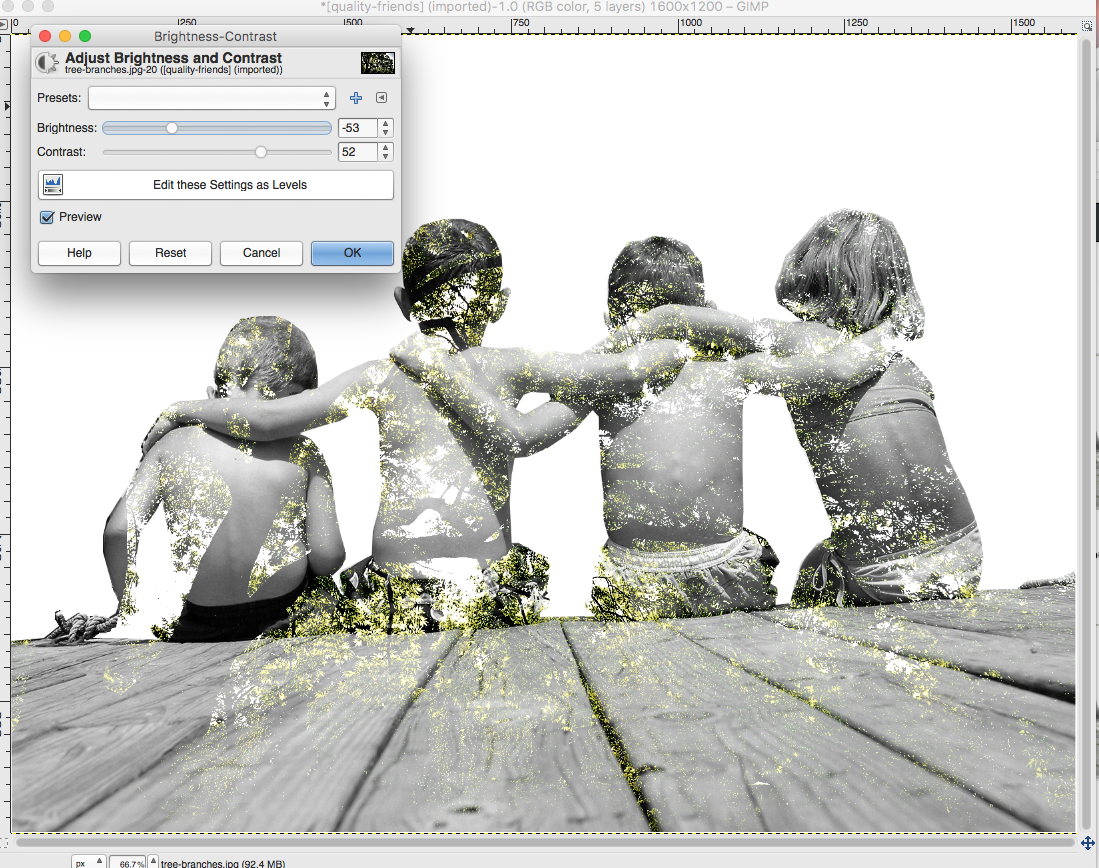 14.) Lastly, play around with the opacity of both layers until it looks how you would like it. 15.) You are finished with your first image. Go to Export-->As to save this image as a .png. Be sure to export it to a place you will be able to find later. 16.) Hide your current texture layer and unhide a different layer. Set the Layer Mode to "Lighten Only". 17.) Adjust your Colors, Saturation, Contrast, and Opacity (Steps 10-14) just like you did before until you have the look you want.  18.) Export it as another .png or .jpg and repeat this process with your final image. When you are finished you should have at least three double exposure images. Send all three to me and upload to your Website Portfolio.
0 Comments
|
Mrs. CastellanoDigital Art Archives
May 2017
Categories
All
|


 RSS Feed