|
If you would like to add text to your pixlr project, the TYPE tool is what you will need to start with. 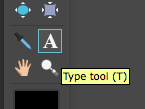 Click anywhere on your image. A New Layer will automatically be created. Type whatever you want. Your new layer will be labeled whatever text you type. 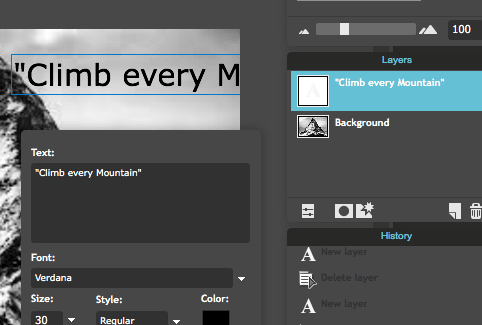 Edit your font, color and size. 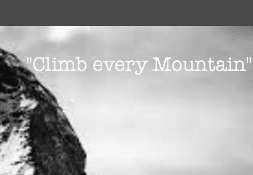 Click ok. At this point you can move your text wherever you would like on your canvas. However, you cannot use any of the transform tools or other editing tools because it is still a text format. You will need to RASTERIZE the layer. go to "Layer" and down to "Rasterize Layer" 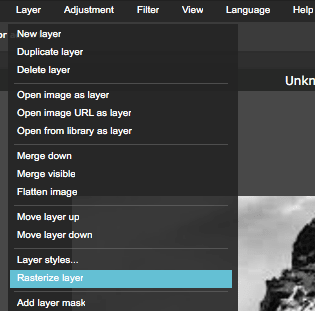 By Rasterizing a layer, it makes it into an editable layer versus a text layer. You can now use the transform, color adjustment and other editing tools. **NOTE: be sure you are done typing any text before you rasterize. Once you do this you will no longer be able to edit the content of your text. 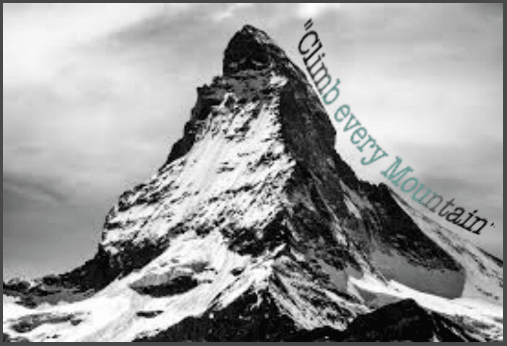
1 Comment
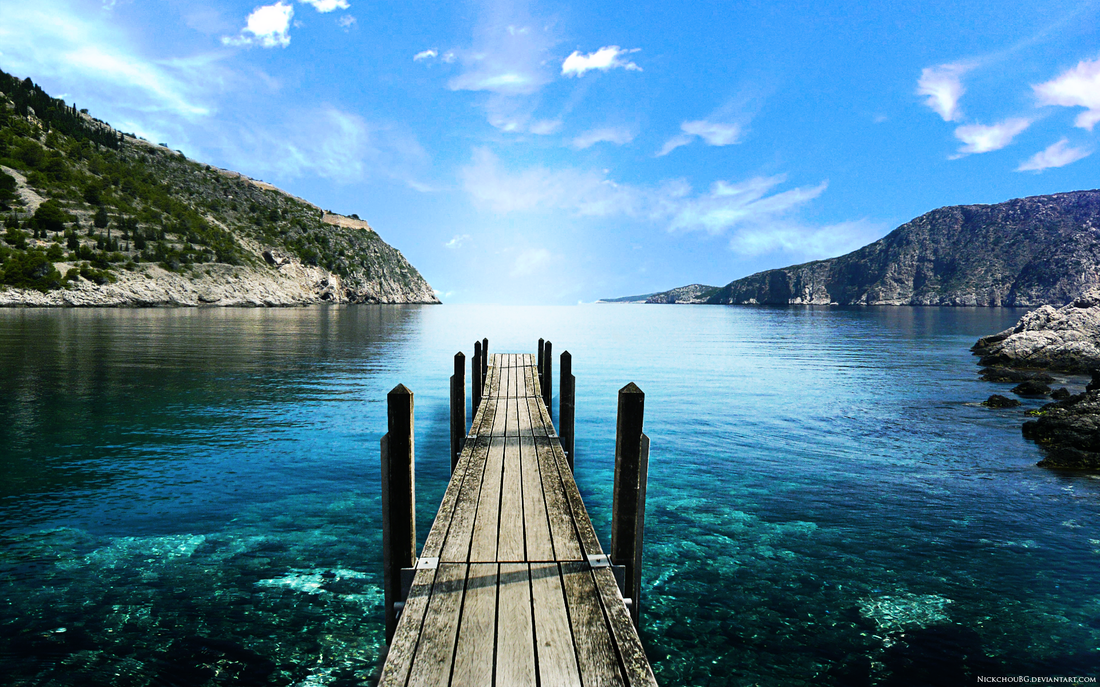
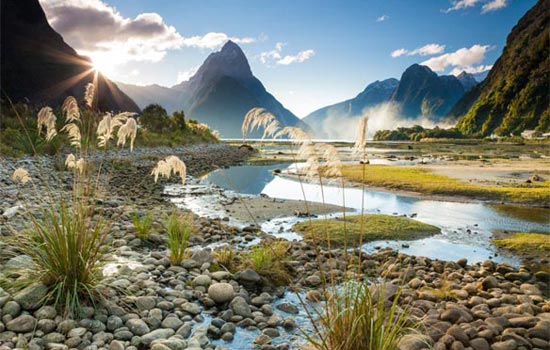
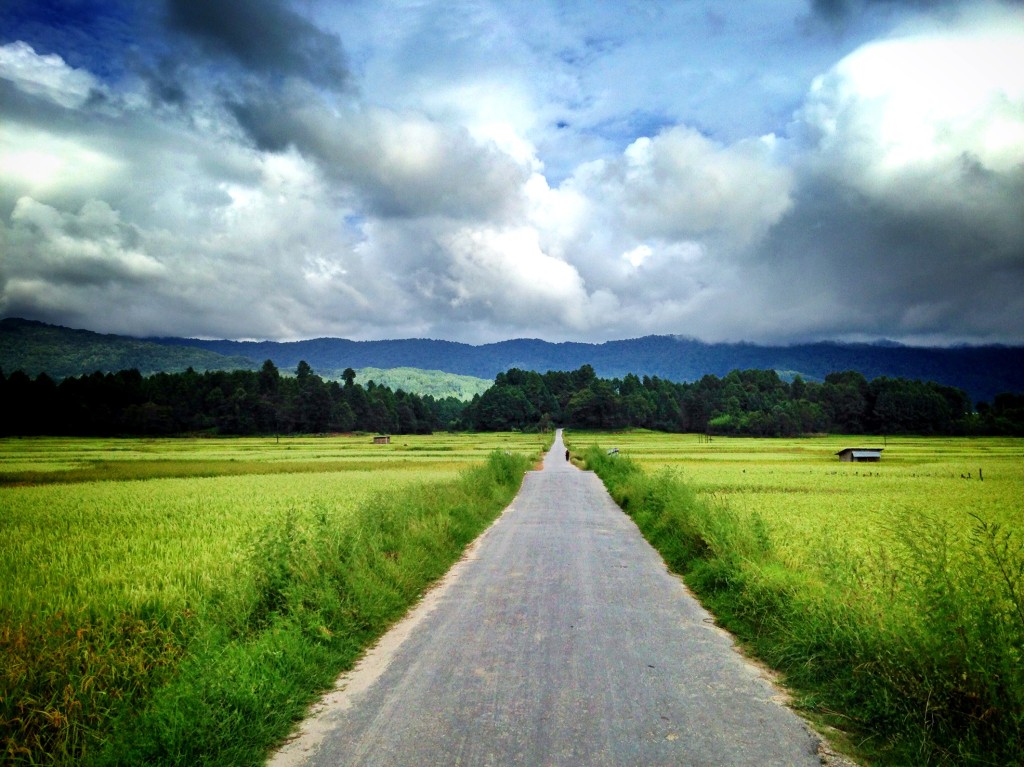
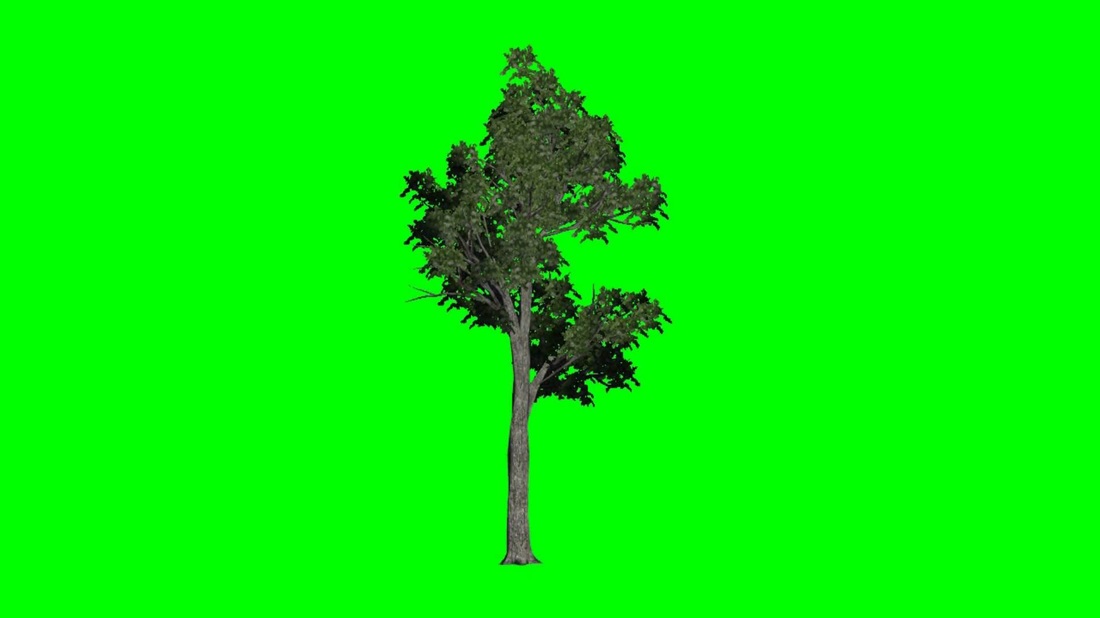
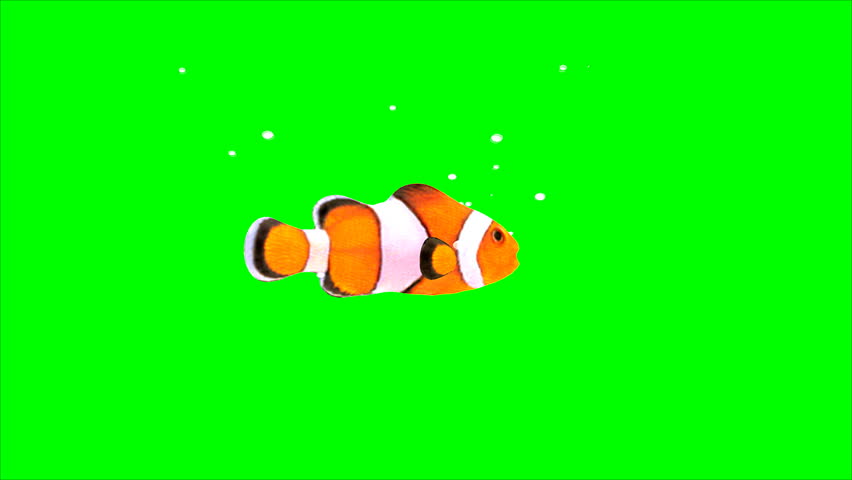
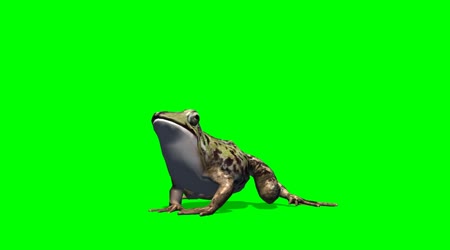
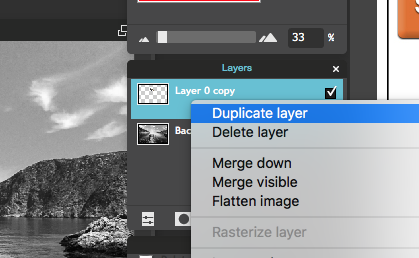
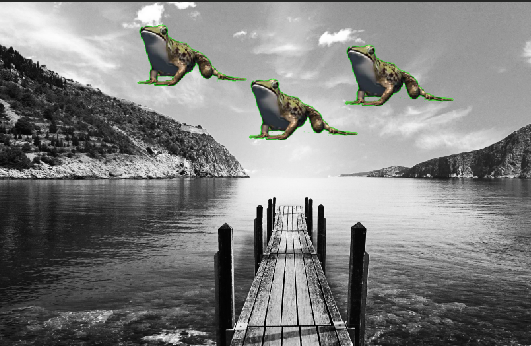
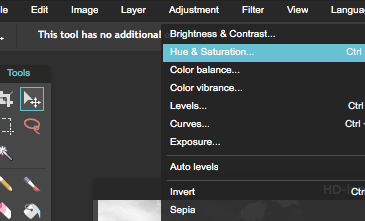
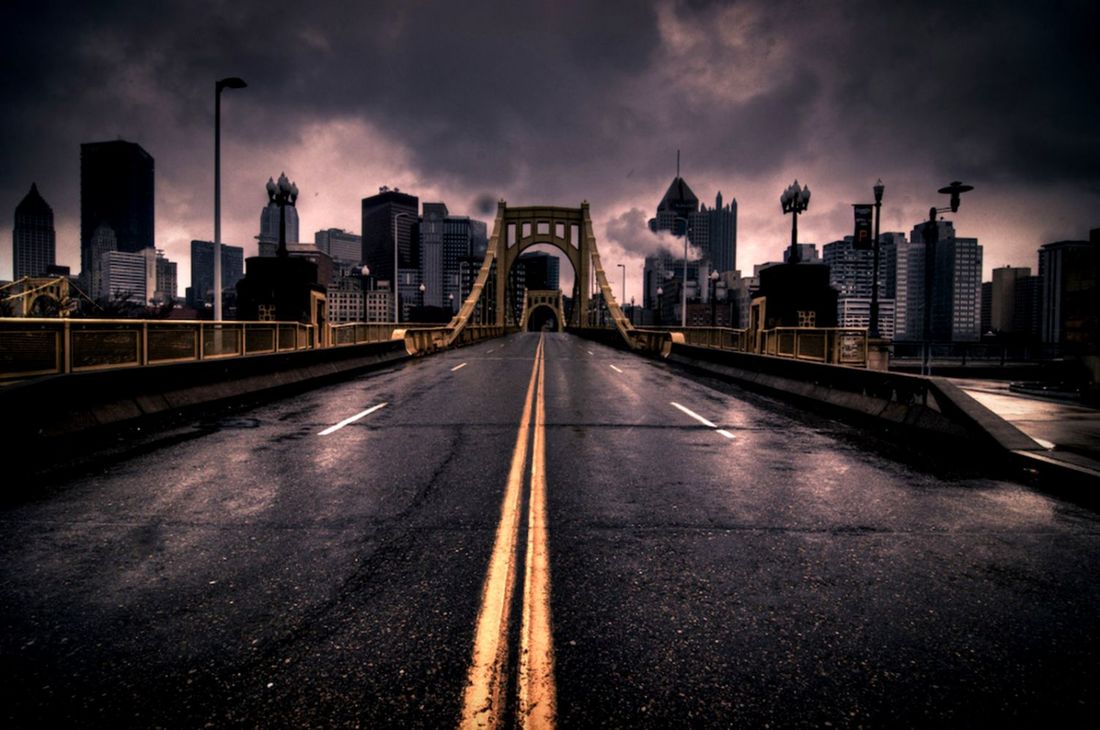
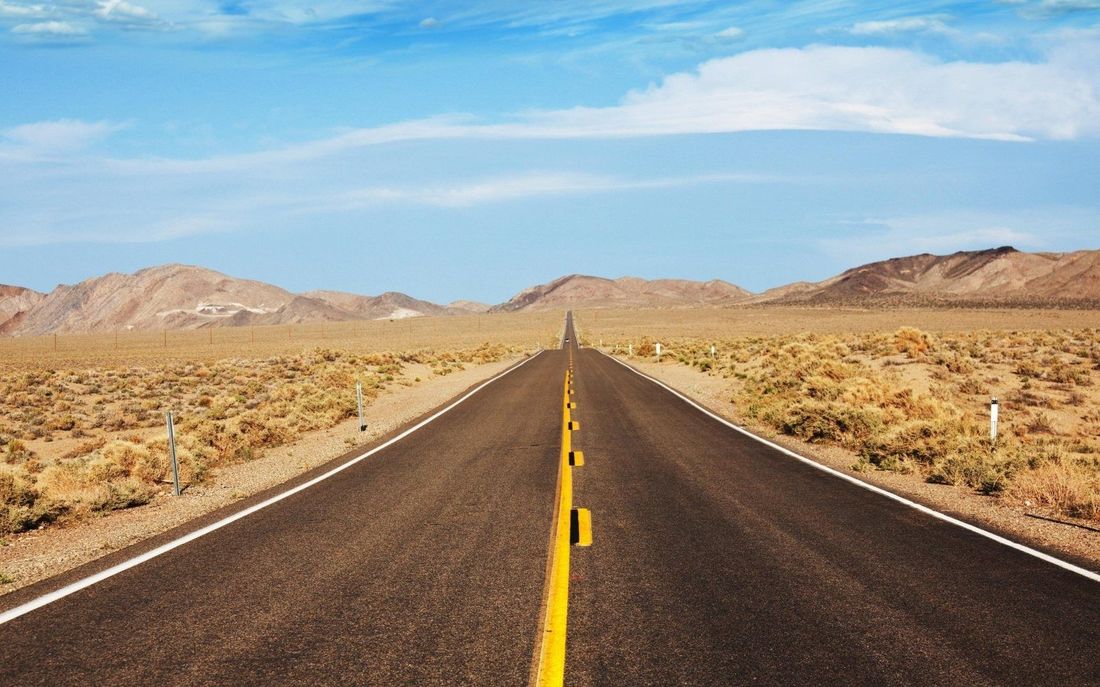
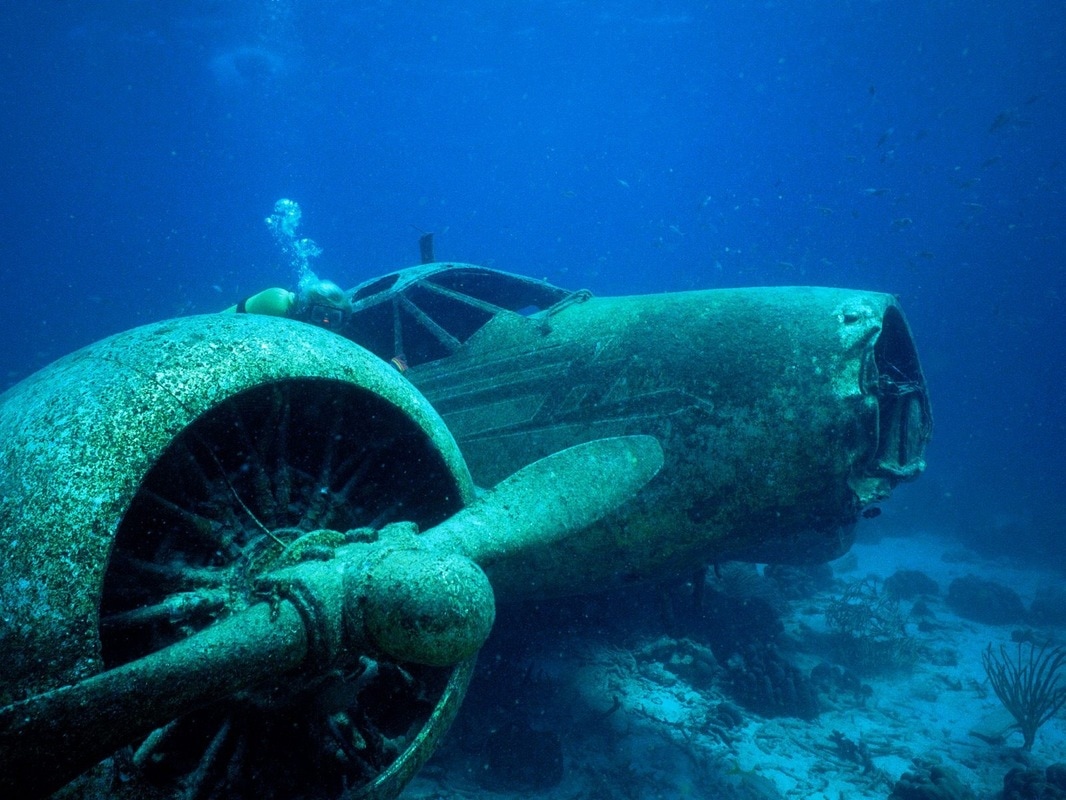
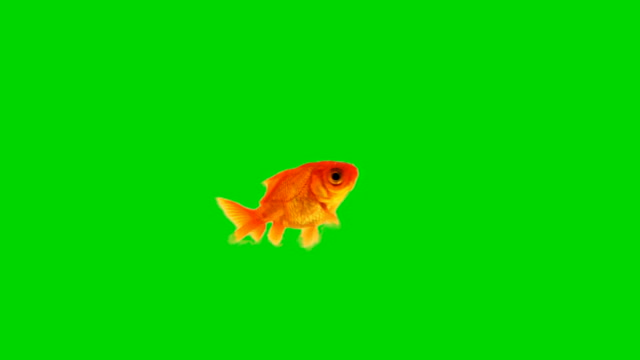
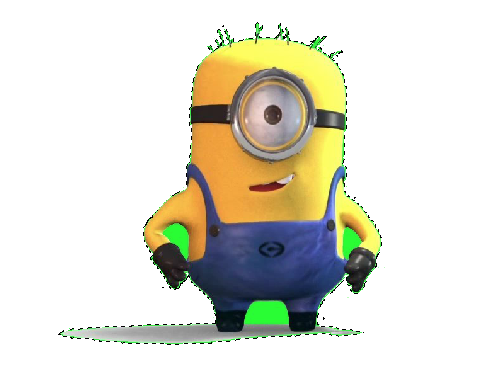
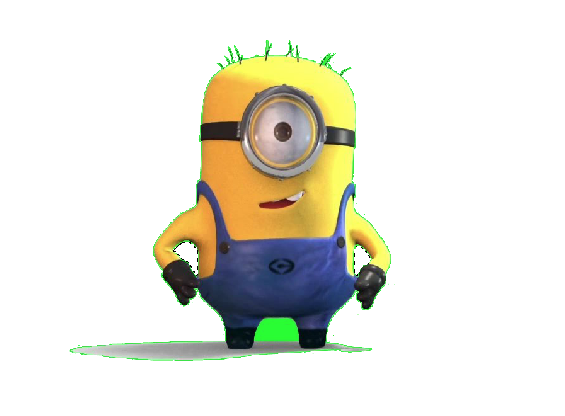
For this Pixlr Tutorial you will be experimenting with Hue and Saturation. HUE = Color SATURATION = How BRIGHT or DULL a color is. Open Pixlr Editor 1.) open one of the images below in Pixlr. 2.) Go to "Adjustments" and "Hue and Saturation" 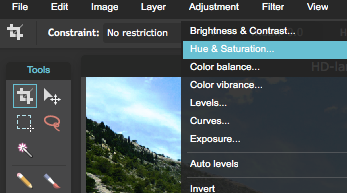 3.) Drag your Saturation Bar all the way to the LEFT. It should read -100. Your photo is now desaturated. 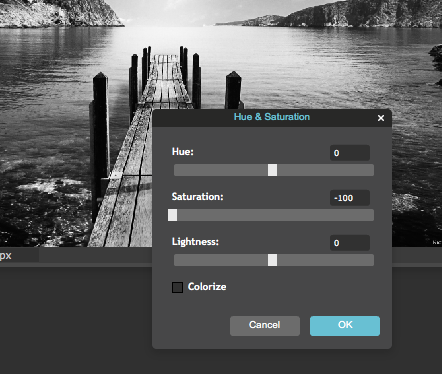 4.) Adjust the "Lightness" of your image as well so there is not as much CONTRAST 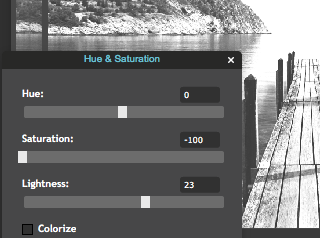 5.) open one of the below images. Be sure to UNLOCK the background layer before you do anything else. 6.) Using the Magic Wand Tool and other selection tools remove the green screen from this image and add it to your original photo. 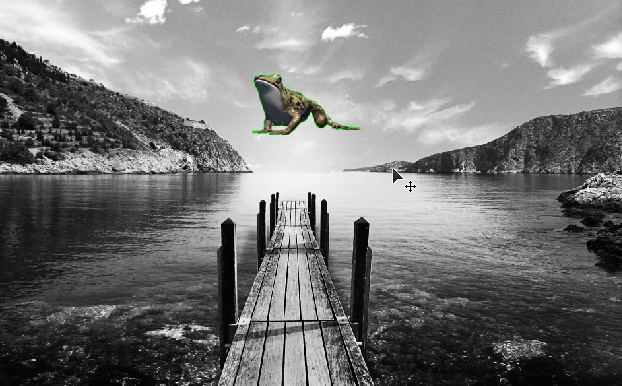 7.) Duplicate your layer so you have at least 3--From this point forward you will need to be select the layer you want to work with. 8.) Play around with the size and placement of each image so that you have an interesting composition. 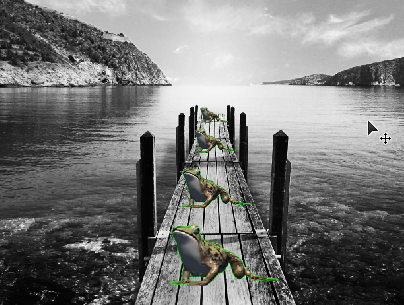 9.) For each individual image, change the HUE and SATURATION so that they all are a different color. 10.) When you are finished. "Save" and "Print" a copy and turn in with your name on it for credit.
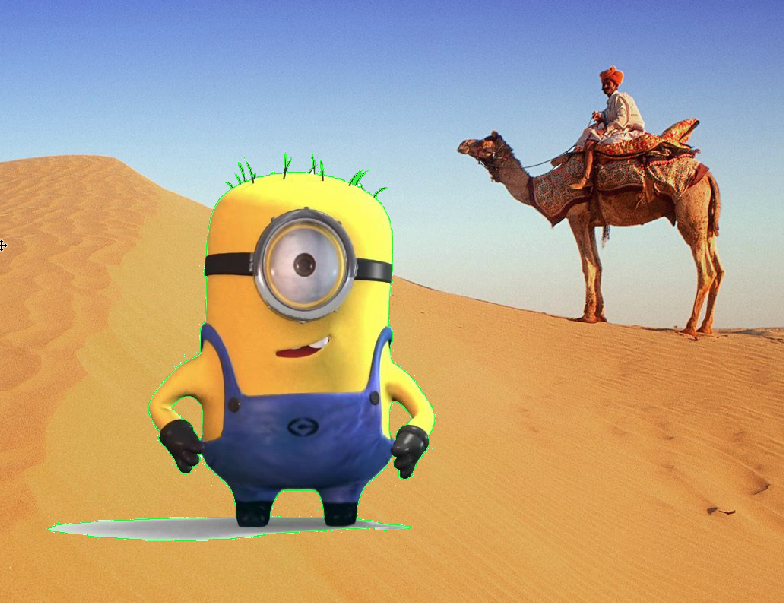
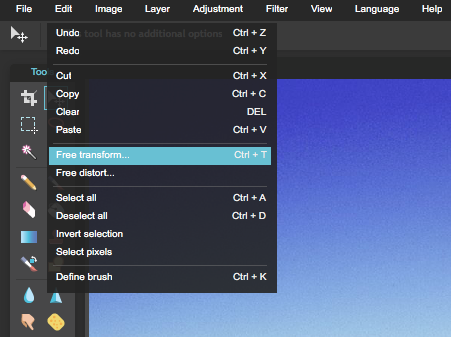
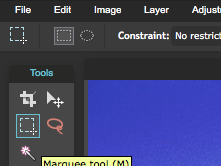
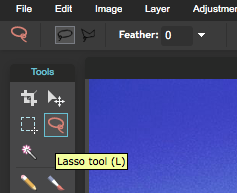
***When you are finished with this assignment, call me over to your computer so I can check you off and give points. 1.) Login to Pixlr Editor 2.) Choose One of the Images Below--Save it to your Computer 3.) Go to "File"--"Open Image" to open the image you just saved 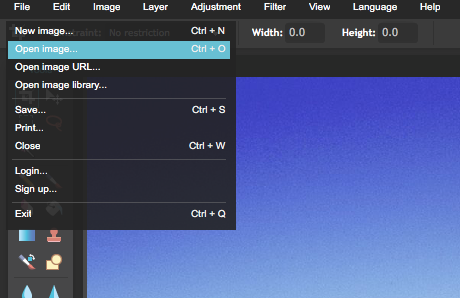 4.) Select one image with a Green Screen background from below and save it to your Computer 5.) Go to "File" "Open" to open your Green Screen image. 6.) Select the "Wand Tool" 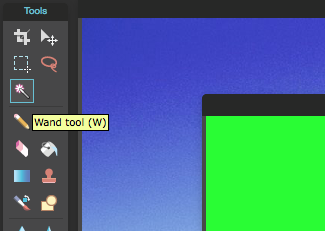 7.) Click on the green area surrounding the image. Once it is selected you will see a dashed line going around the green in you image. 8.) If there are areas of green remaining, hold "Shift" and select those with the wand tool as well. When you are finished there should be no green left that is unselected 10.) Go to "Edit"--"Copy" to copy your selection. 11.) Switch back to your original image and go to "Edit"--"Paste" 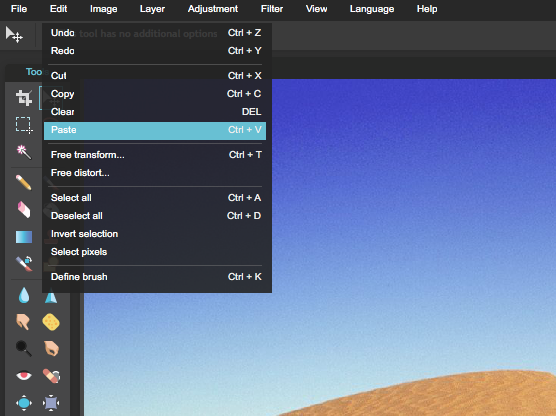 12.) The image you selected should now appear on your background (Far Left Image) 13.) You will also see that a "New Layer" as appeared in your Layers Window (Center Image) 13.) Go to "Edit"--"Free Transform" to change the size and rotation of your image (Far Right Image) 14.) The "Move Tool" allows you to change the placement (arrow icon) ***HINTS! 1.) When selecting your green areas, adjust the "Tolerance" Bar in the upper left corner of your screen to change the sensitivity of your "wand tool".  2.) There are other selection tools to help you select areas of your image if the Wand Tool is not working. - Marquee Tool (Left) - Lasso Tool (Right) |
Mrs. CastellanoDigital Art Archives
May 2017
Categories
All
|


 RSS Feed