|
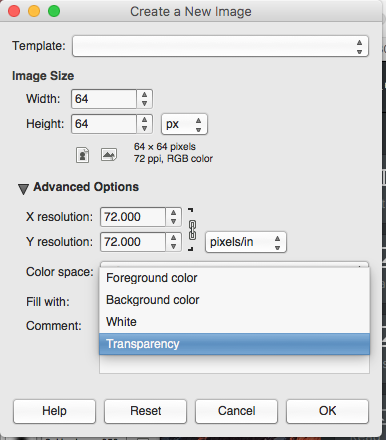
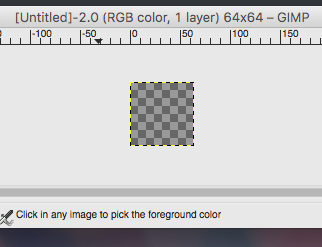
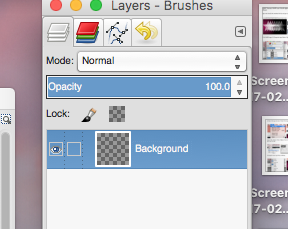
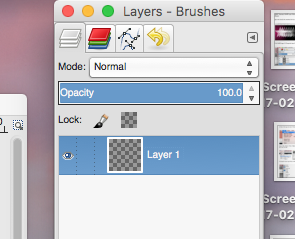
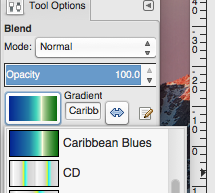
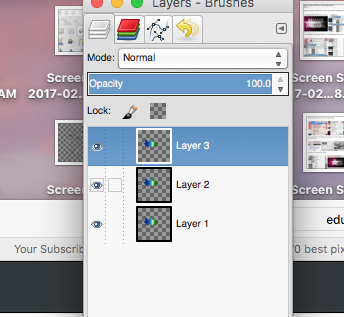
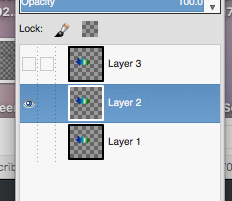
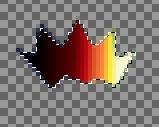
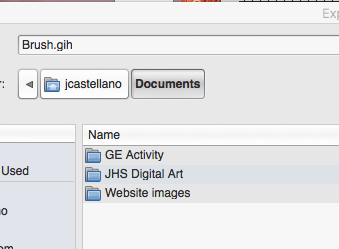
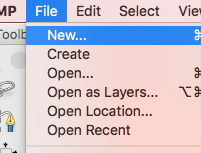
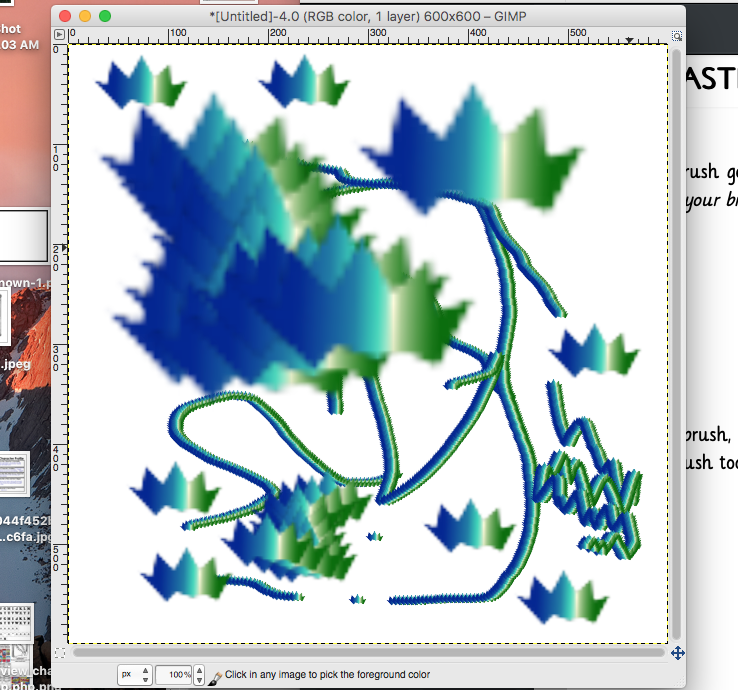
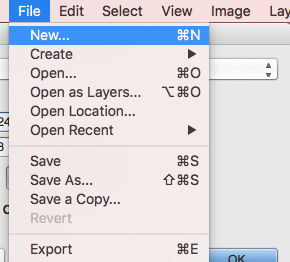
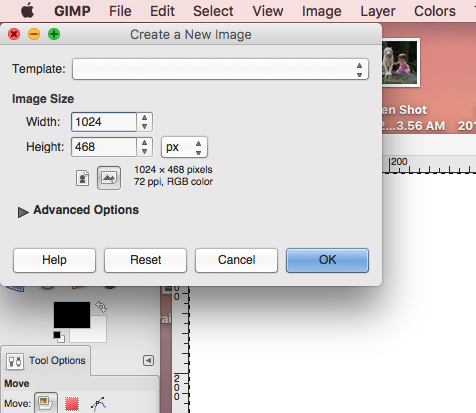
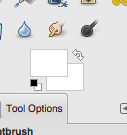
In the previous tutorial you used a brush that was included in the GIMP Software. You can also create your own custom brush tools several different ways. This allows you to really personalize your work. 1.) Create a New Image (File-->New). The image should be the size of the brush you are creating, which is fairly small....64 X 64 pxl. Make sure your background is set to Transparent. 2.) Double click on the word "Background" to rename the layer--> "Layer 1" 3.) Use the Lasso Tool to create a new shape and fill it however you would like. 4.) I used the Gradient Tool to fill by shape, but you can use a solid color or a filter if you would like. 5.) Duplicate this Layer Twice (rename your new layers, "Layer 2" and "Layer 3") 6.) Hide Layer 3 and Layer 1 (click on the eye icon to the left of the layer) so that you can only see Layer 2. Change the fill of the shape on Layer 2...do not move the shape. 7.) Repeat this step for Layer 3. 8.) Make all of your layers visible now. 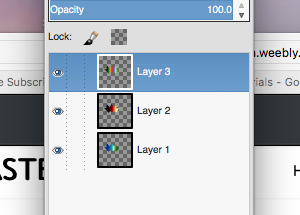 9.) Save a Copy of this brush in .xcf Format, in case you would like to edit it later. 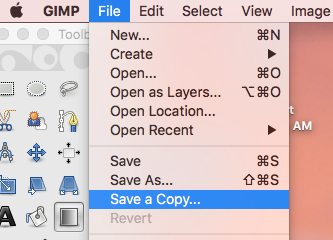 10.) The last step is to save your brush as a GIMP picture brush....(.GIH) Right Click or Control Click on our image.....File-->Export As  Give your file a name and type in the extension..... (.gih). Click Export example...... brush.gih A new window should pop up that says....."Export Image as Brush Pipe"...enter the settings shown below and click "Export" 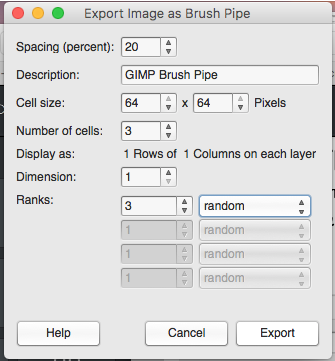 To see your brush go to the Brush Tool and look at the "Tool Options" and look at your Brush Types (your brush should appear in the upper left corner) 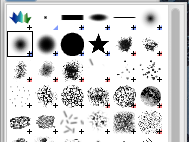 To test your brush, create a new image...size 600 x 600 pxl with a white background. Select your brush tool and try it out! Play around with different sizes of your brush and other tool modes and options - Aspect Ratio - Angle - Opacity **Save your Image and Print for a grade (make sure you at least do one Large Size Stamp of your brush so I can see it) 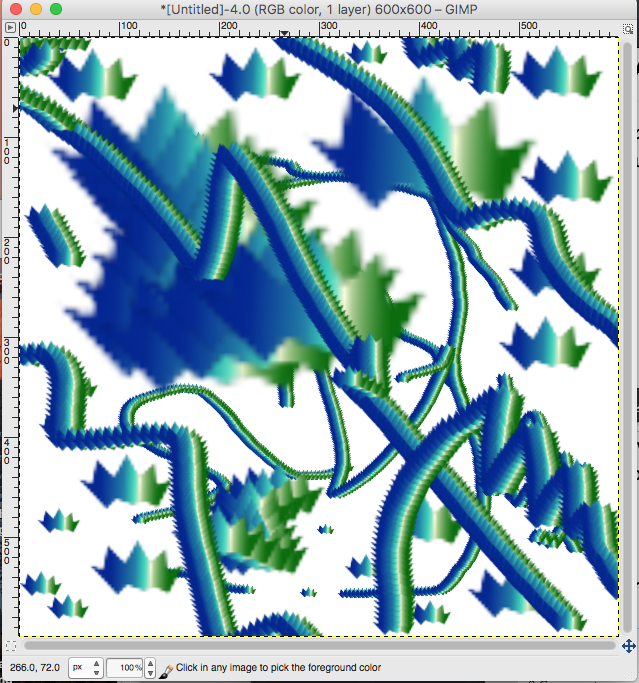
1 Comment
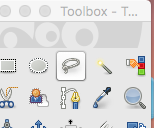
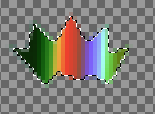
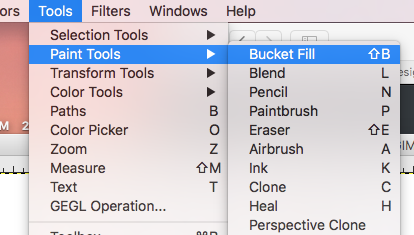
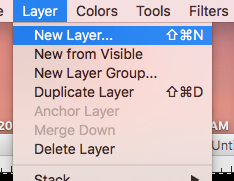
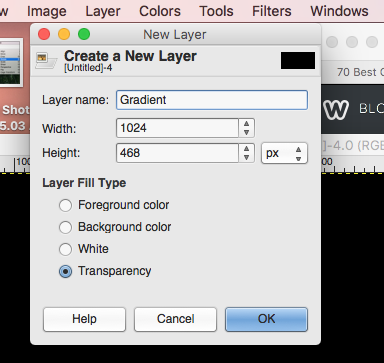
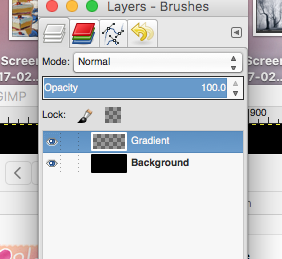
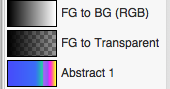
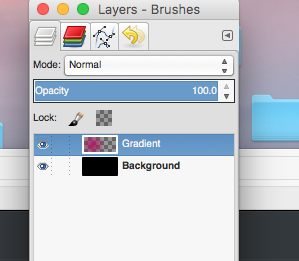
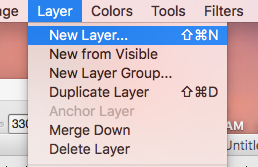
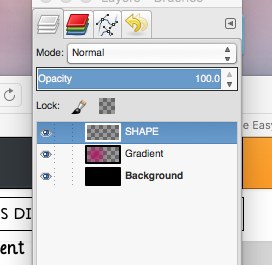
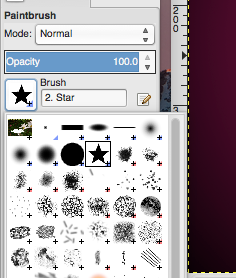
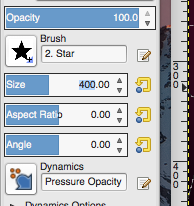
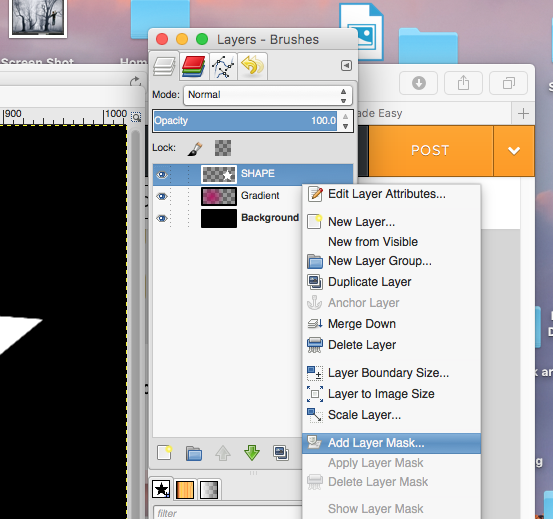
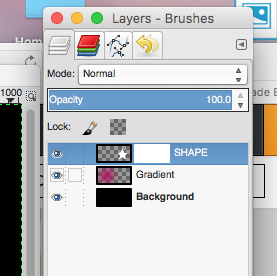
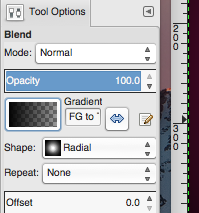
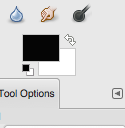
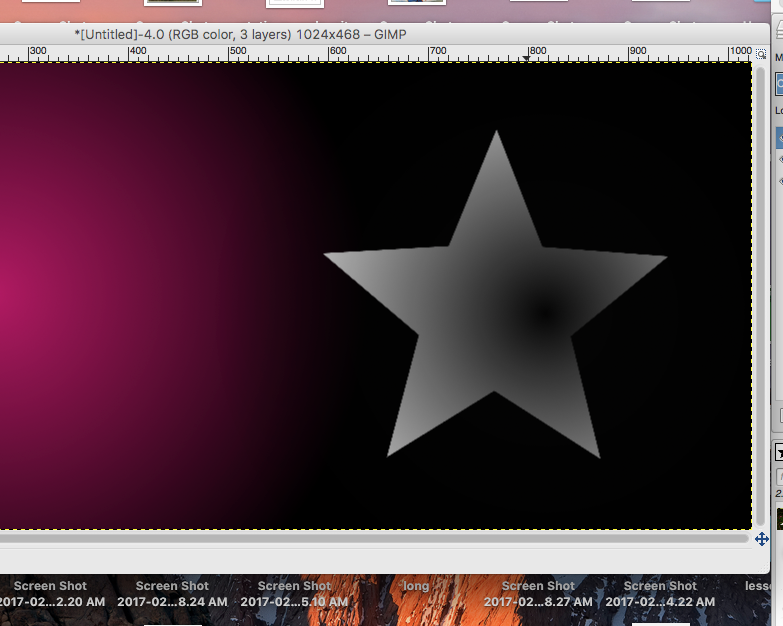
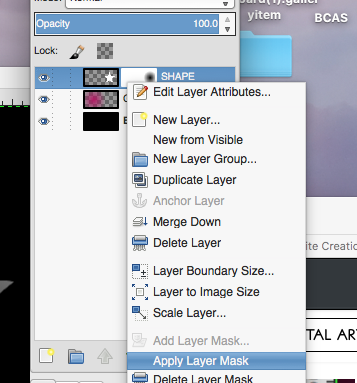
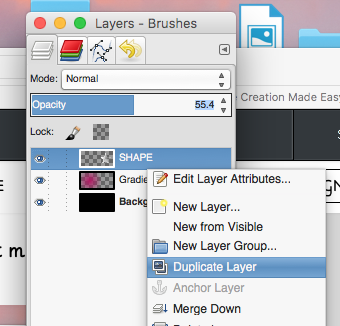
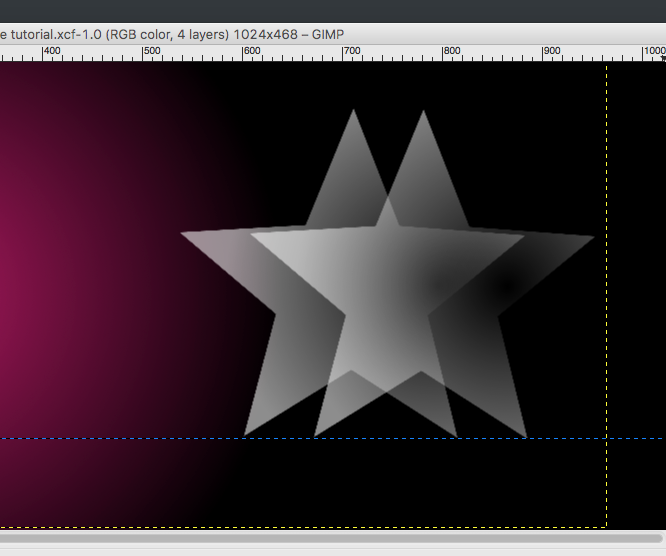
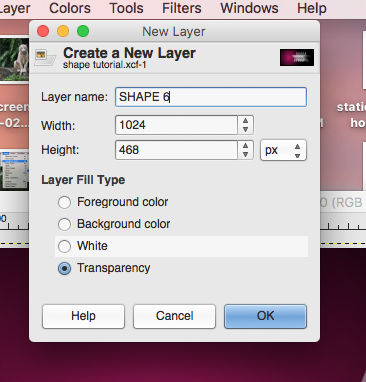
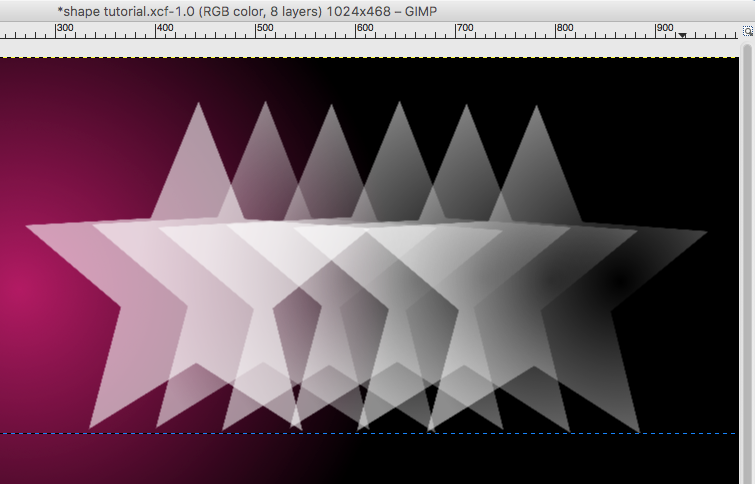
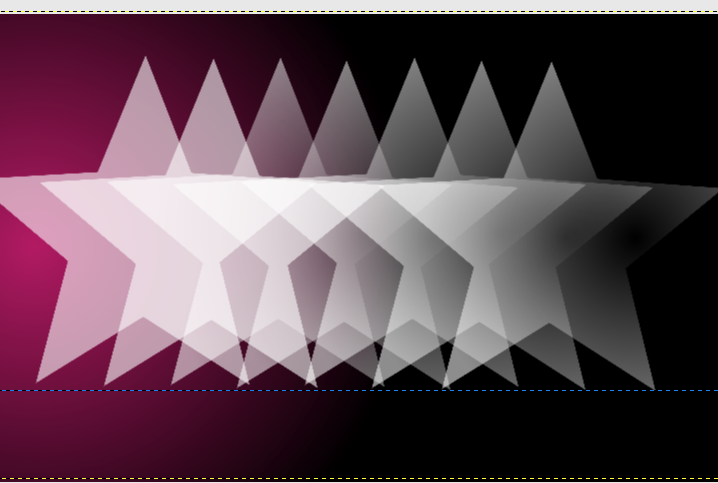
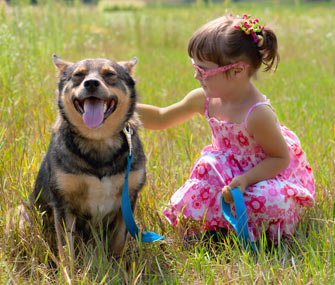
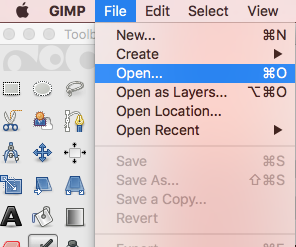
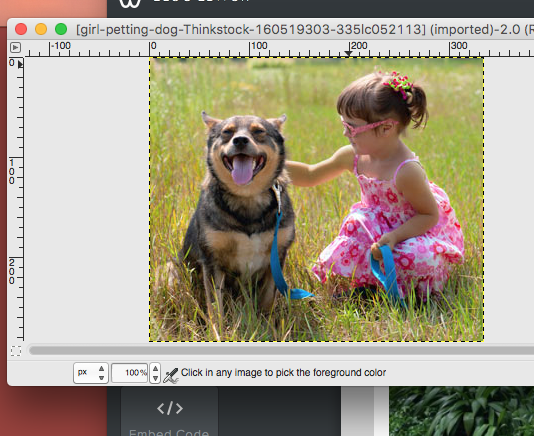
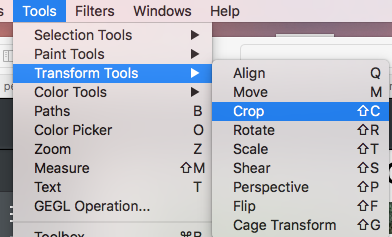
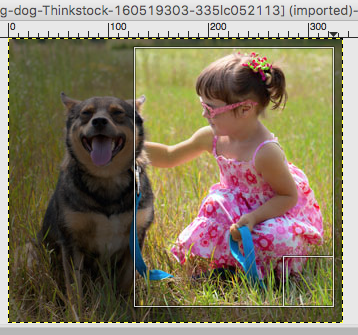
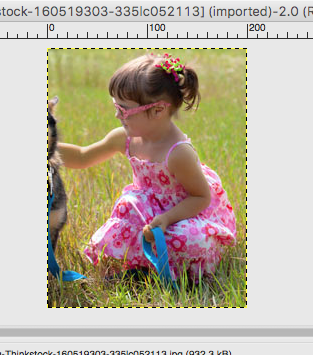
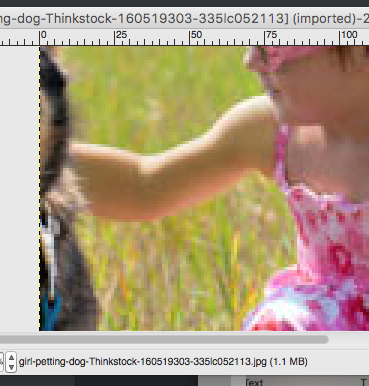
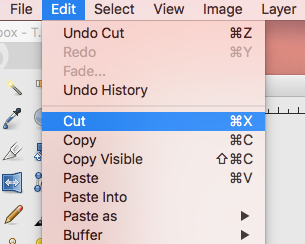
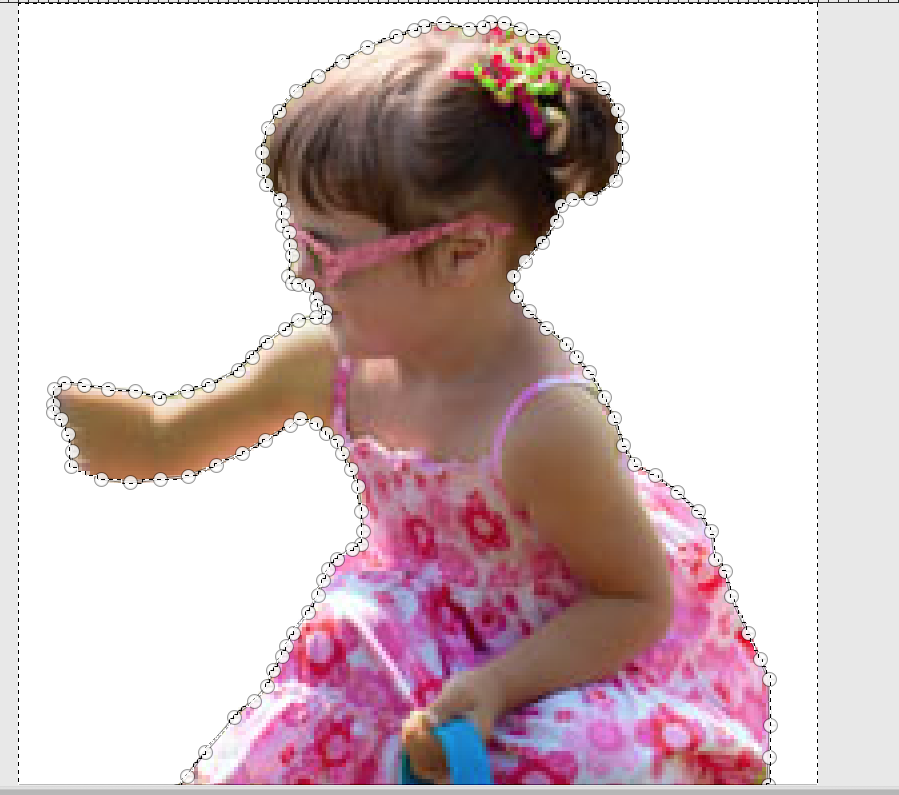
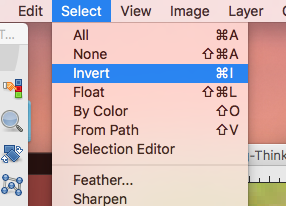
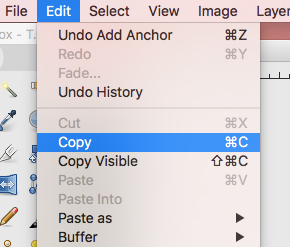
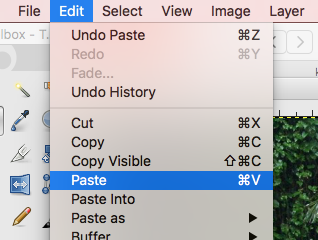
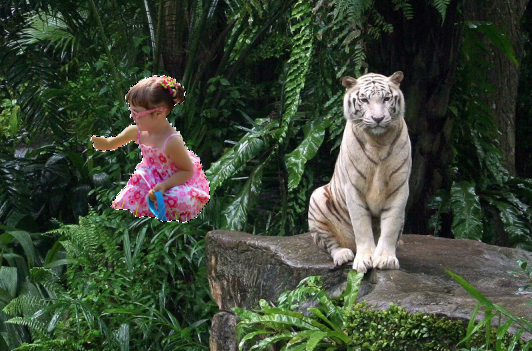
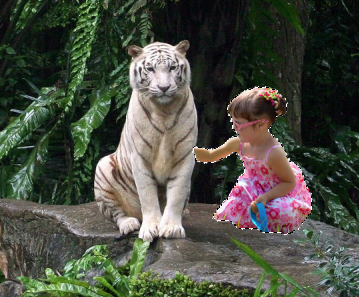
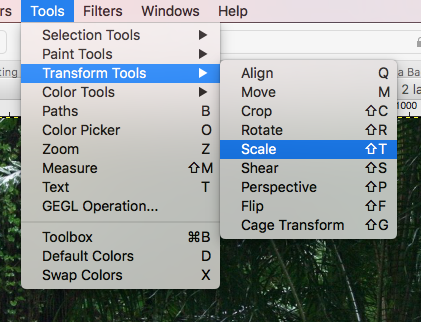
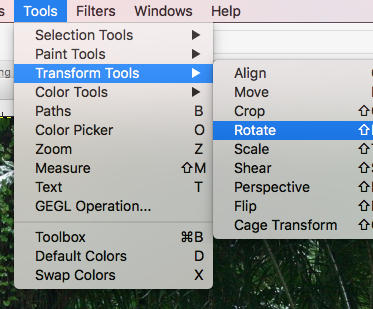
 Create a New File and set the dimensions for 1024X768 Pixels Fill it with Black. Tools-->Paint Tools-->Bucket Fill Create a New Layer and name it "Gradient" Select the Gradient Tool Settings for the Gradient are... -Foreground to Transparent (FG-Transparent) -Shape: Radial -Select a foreground color (any) Click and Drag from left to right (not quite at the edges) to create a gradient on your "Gradient Layer" Create another Layer and name it "SHAPE". Select the "Brush" Tool and change the color to WHITE. In the Paintbrush Tool Options change the Brush Shape to a Star and the Size to 400 Make a Star on the right side of your window (double check to make sure you are on your SHAPE layer) 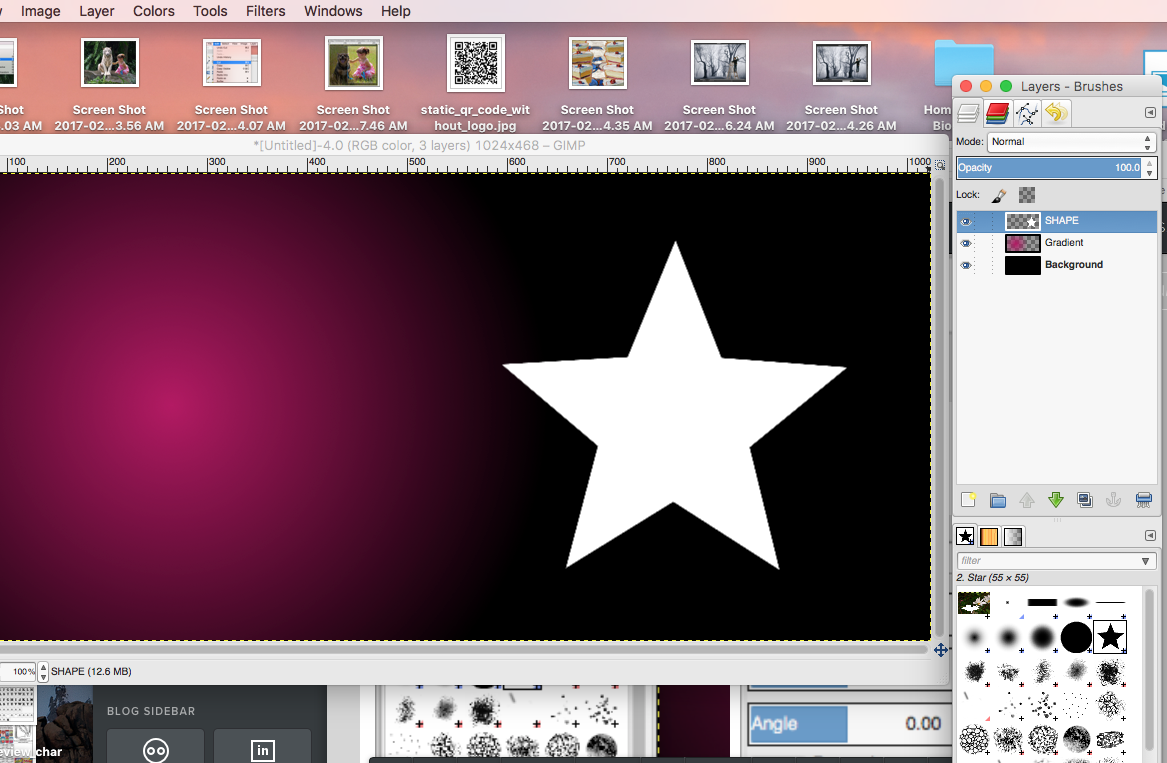 Right Click (or Control Click) on your SHAPE Layer. Select "Add Layer Mask". Initialize to White (full opacity) and click ADD. You will notice a withe image layer appear next to your SHAPE Layer--That is your layer mask. Select your Gradient Tool. Be sure that in your Tool Options it says that your gradient is Foreground to Transparent (FG to Transparent). Also be sure that your Foreground color is set to Black. Click and drag from right to left on your shape to create a gradient. Apply the Gradient to the Layer Mask (Right Click or CONTROL Click on your layer and select "Apply Layer Mask" Add a Guideline to help align your SHAPES (these will not be visible at the end) Put your Pointer (mouse) over the top ruler on your window. Click and drag the Guide down until it is at the bottom of your shape. Decrease the OPACITY of your SHAPE layer to make it more transparent. 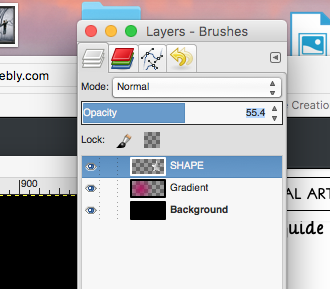 Duplicate your SHAPE layer. Name it "SHAPE 2" to keep yourself organized. 1.) Right Click on your SHAPE layer and select "Duplicate Layer". 2.) Double click on the "SHAPE copy" text to rename it 3.) Reposition your SHAPE 2 next to your original SHAPE layer using your move tool (see below) Repeat this step until you have 5 SHAPE layers (don't forget to name each of the layers) Create a New Layer (Layer-->New Layer) Name it SHAPE 6 with the layer fill type set as "Transparency" With your Brush Tool, add another SHAPE and bring the Opacity down like you did the other layers. Be sure your layers are in order in your "Layers" Window 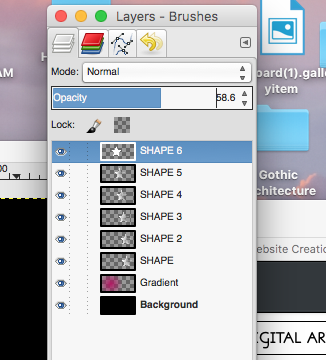 Duplicate your SHAPE 6 layer to create a SHAPE 7 layer. Rename it, SHAPE 7, and move it slightly to the left. 1: Search for and save two images...(or you can save the images I have selected below): A.) An image to use for the background B.) An image to remove the background from 2: Open the image you are removing the background from in GIMP 3: Crop it to the smallest rectangle possible. 4: Select the "PATHS" Tool  5: ZOOM IN on the image (move up close to where you plan to start) 6: Start the "PATH". When creating a path like this, remember less is more. You only want to click to add a "node" where there is some kind of directional change. Continue to do this until you have gone completely around the area you wish to separate. 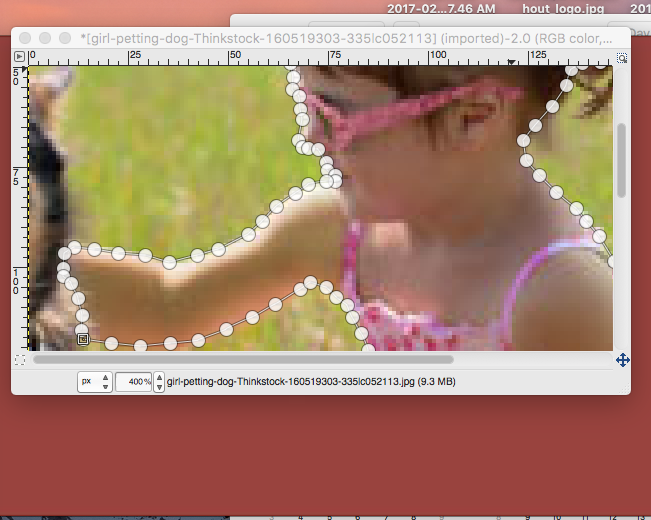 7: At the bottom of your "Toolbox" (left side of screen). Create a "Selection from Path" so that you can eventually invert your selection. 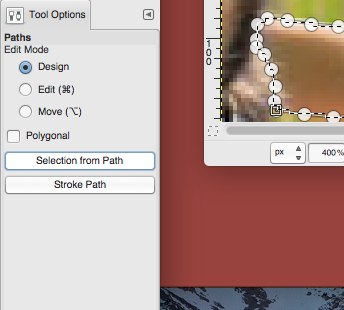 8: Go to "Select"-->"Invert" then hit Delete or go to "Edit"-->"Cut" to Remove your background. 9: "Select"-->"Invert" again. Next, go to "Edit"-->"Copy". 10: Now "File"-->"Open" your background image 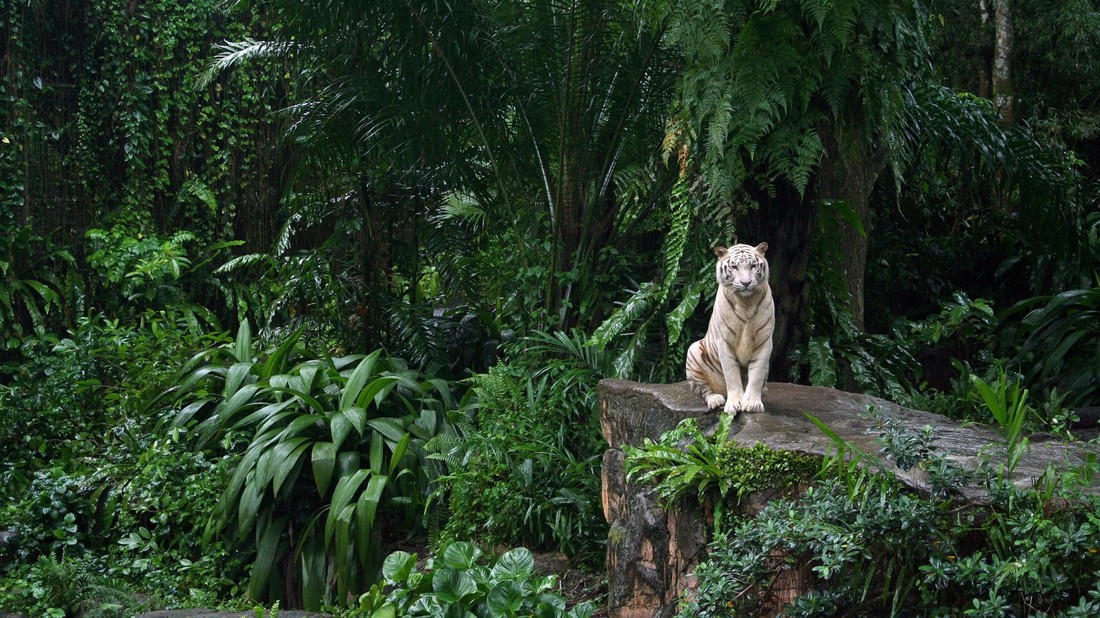 11: Go to "Edit"-->"Paste" to paste your cut out image into your new background. 12: Using the "Move Tool" you can reposition your new layer 13: Using the "SCALE", "ROTATE" or other Transform Tools you can adjust your image however you like. (Tools-->Transform-->Scale or Rotate) 14: When you are happy with your final image. Save and Print for credit. 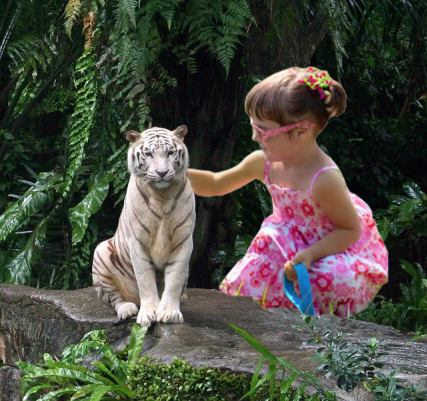 |
Mrs. CastellanoDigital Art Archives
May 2017
Categories
All
|


 RSS Feed