|
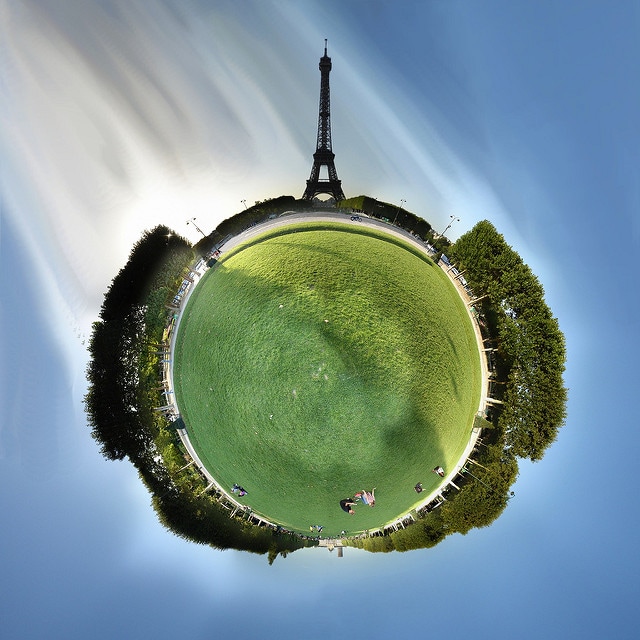
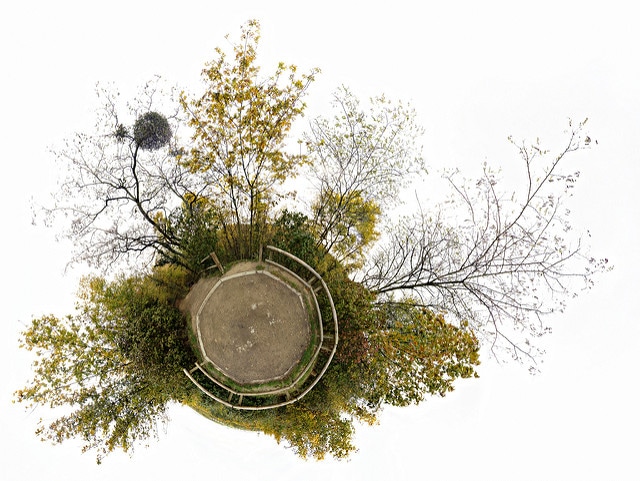
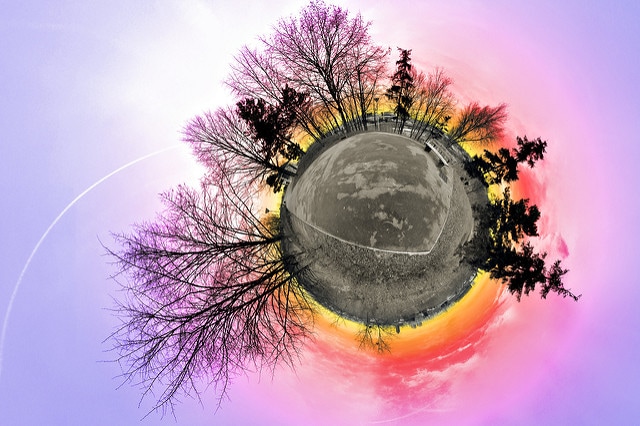
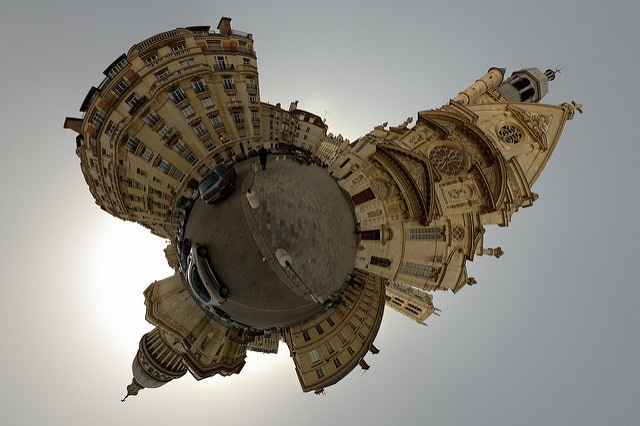
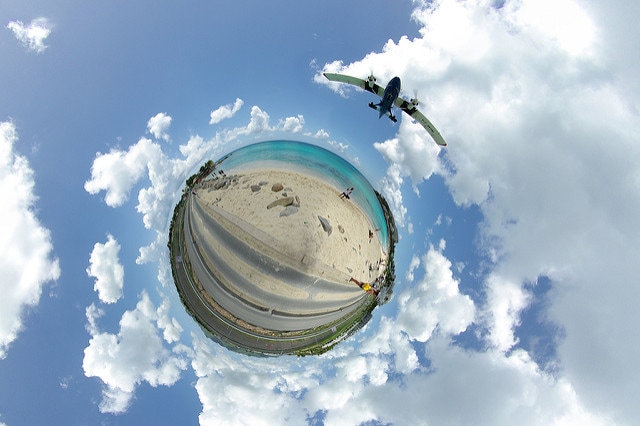
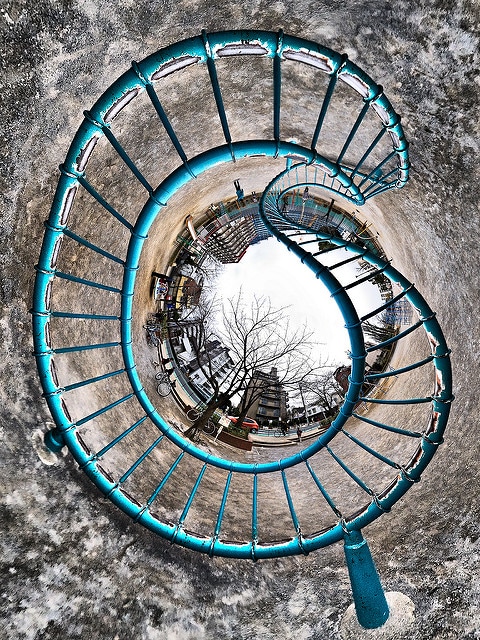
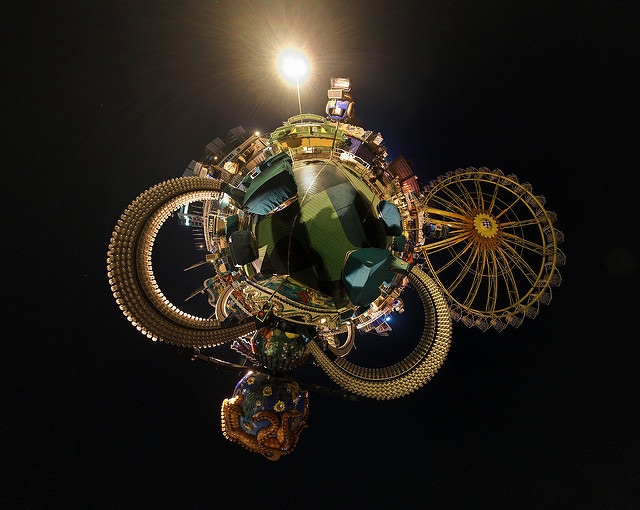
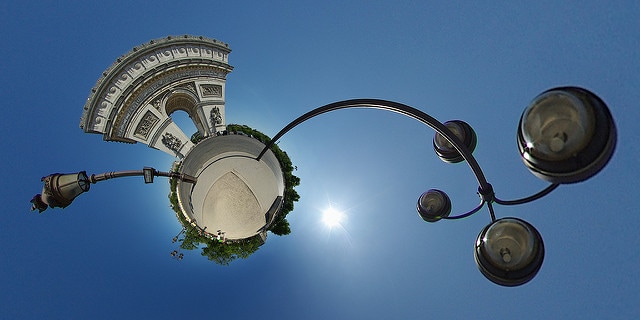
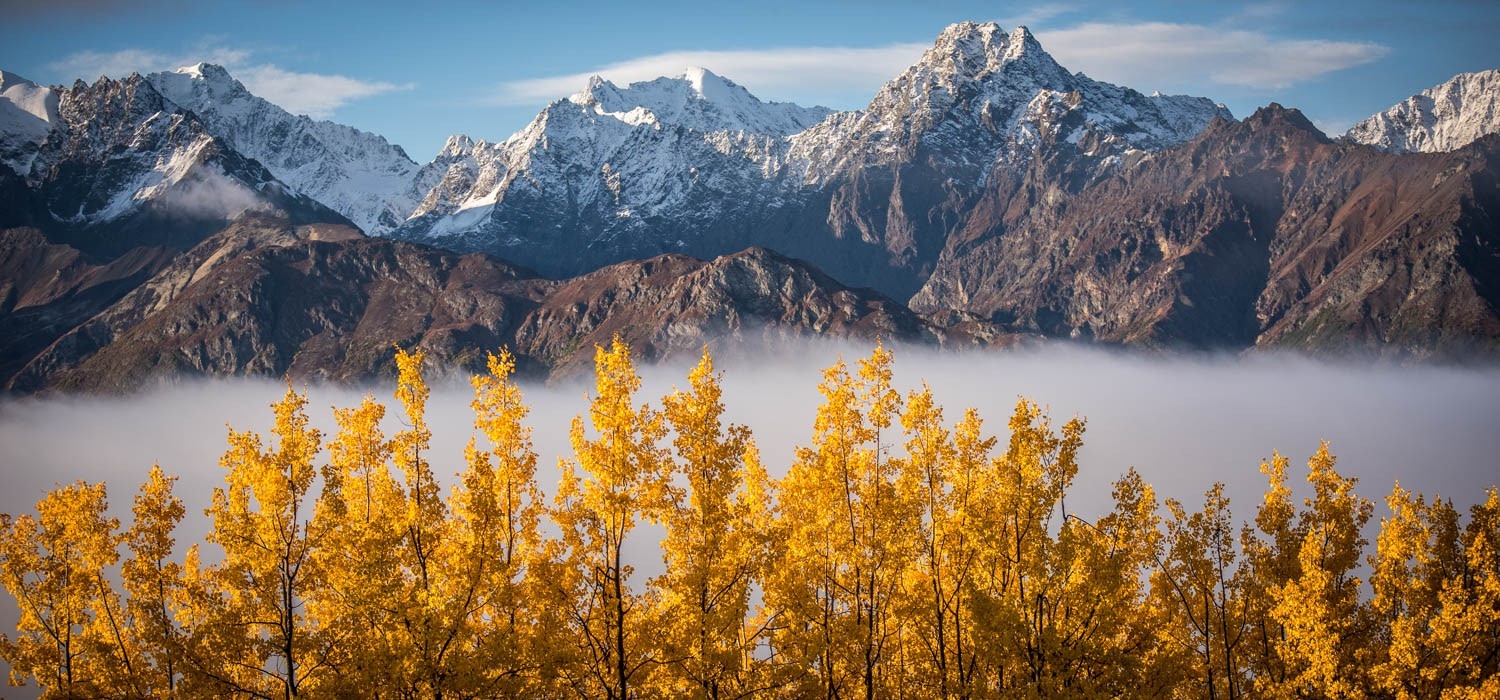
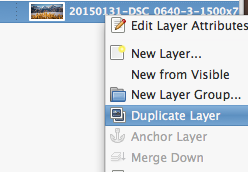
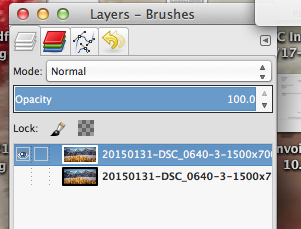
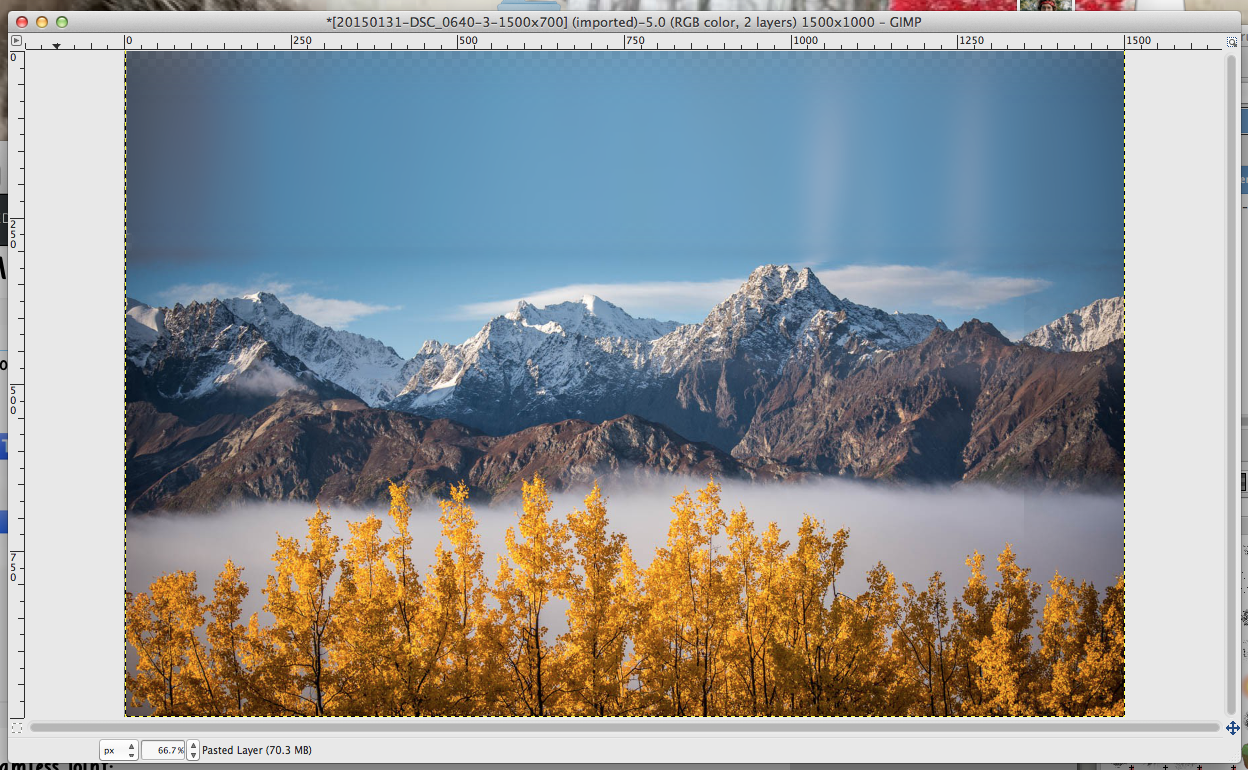
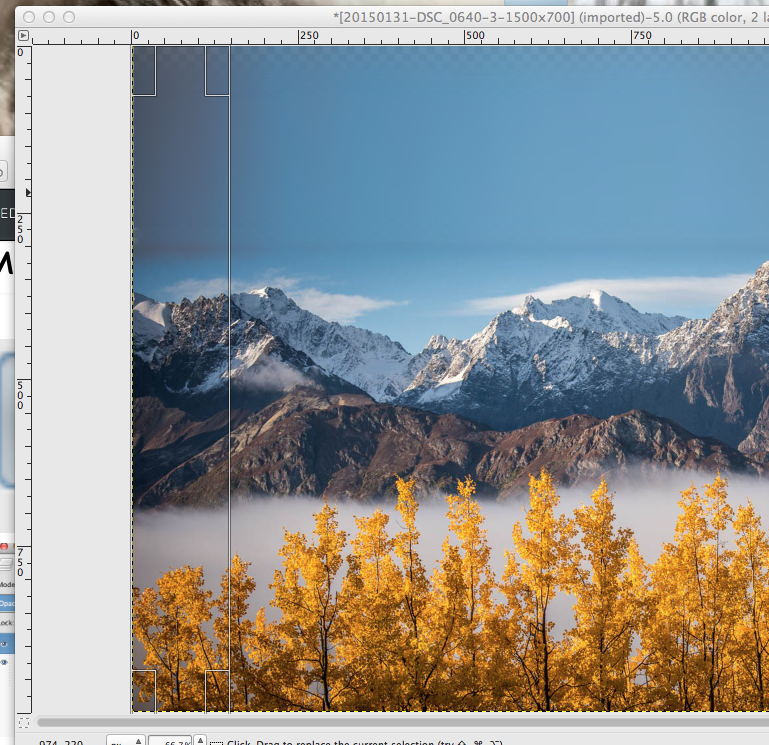
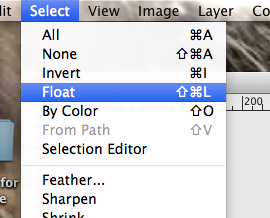
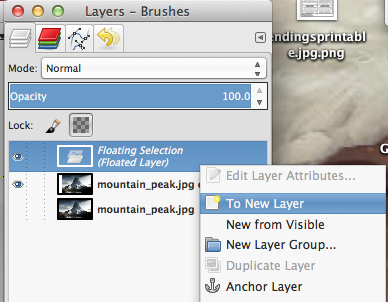
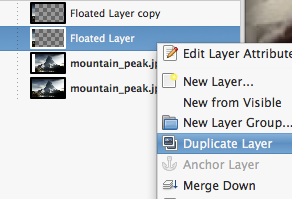
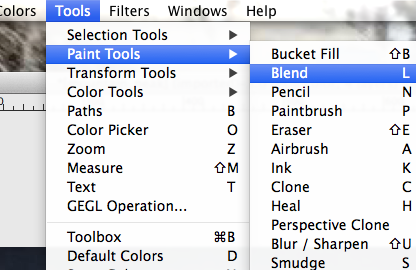
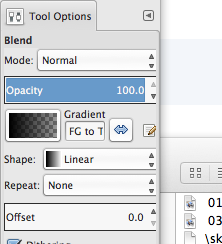
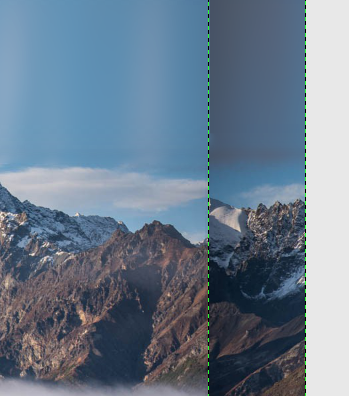
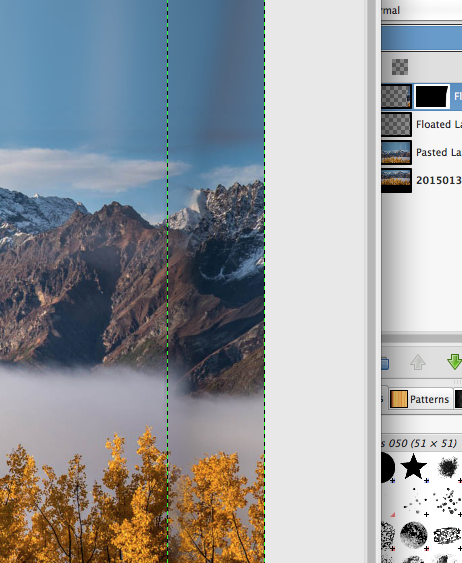
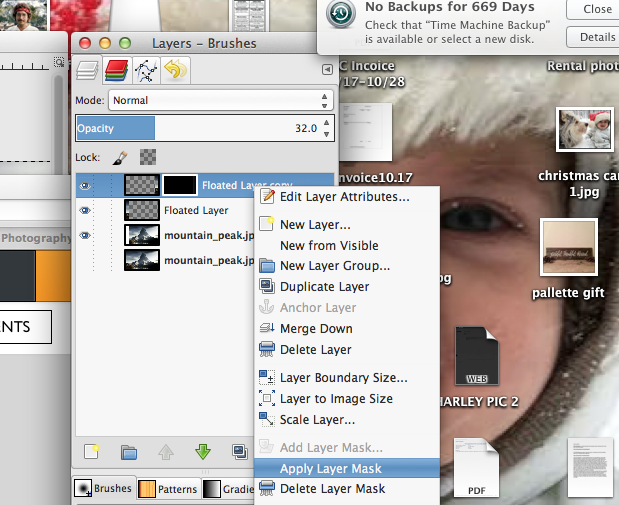
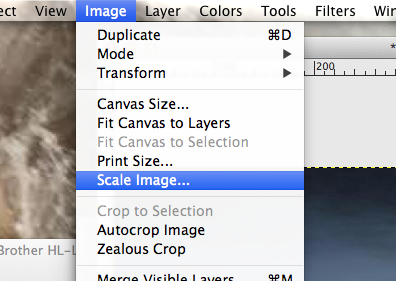
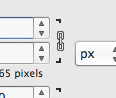
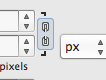
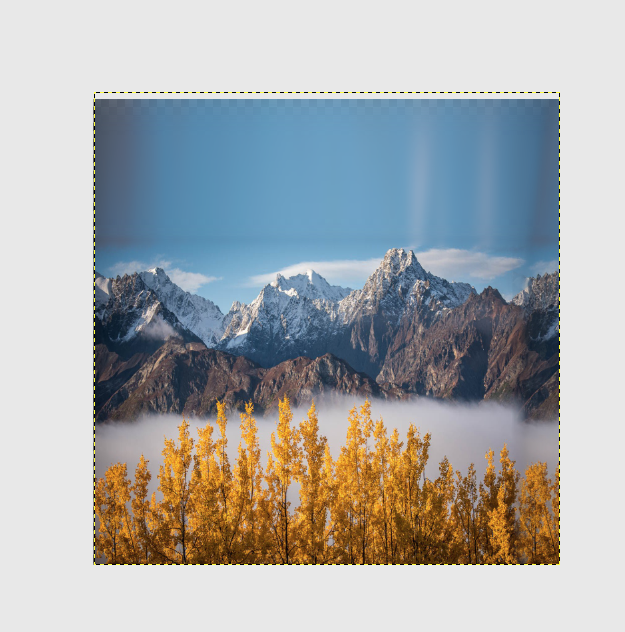
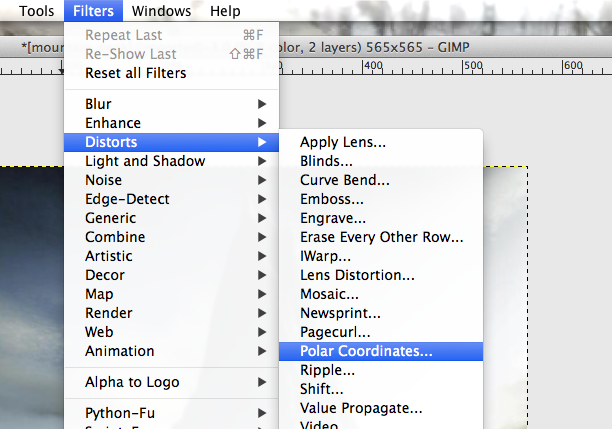
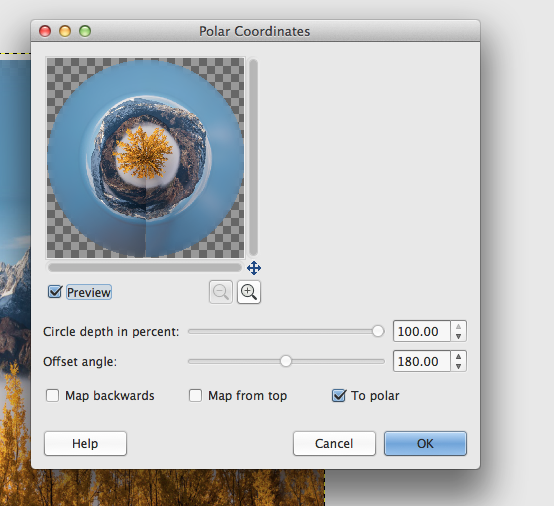
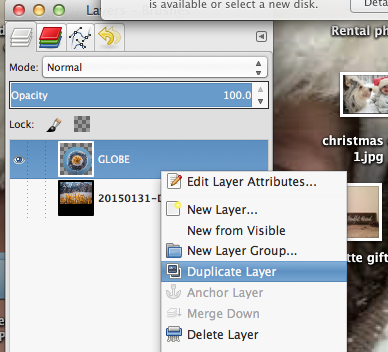
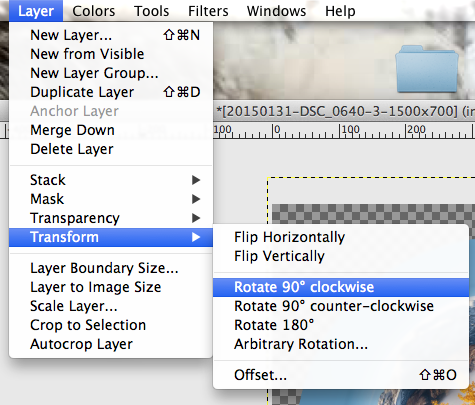
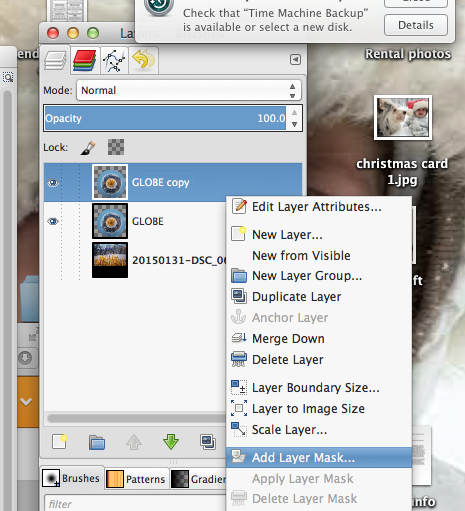
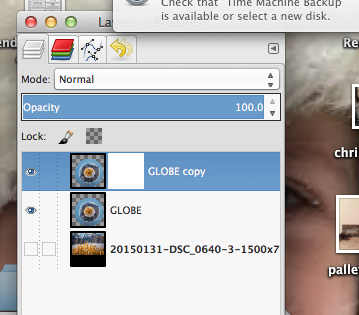
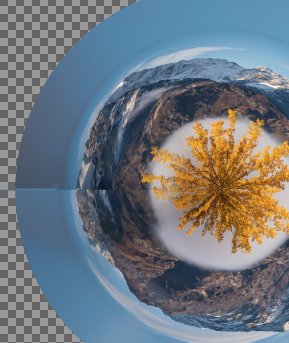
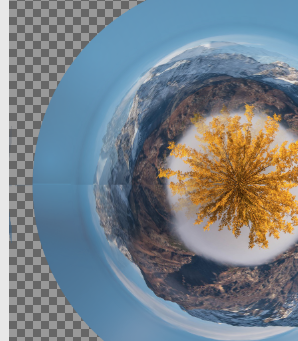
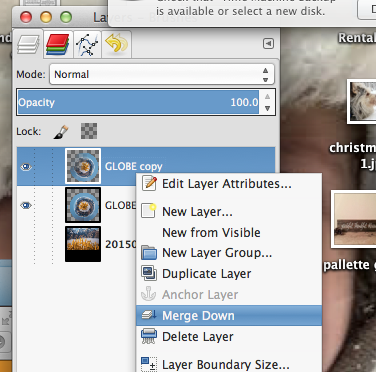
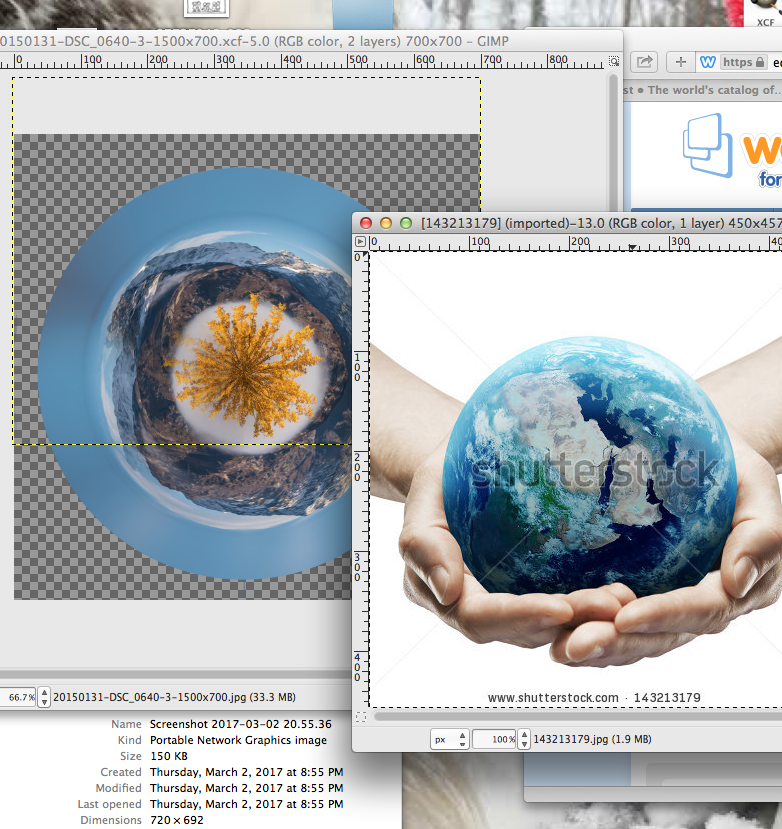
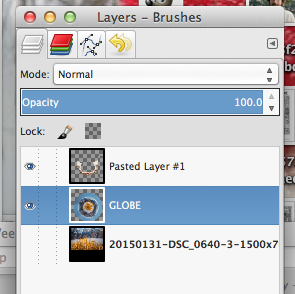
For your 3rd GIMP Project you will be creating Stereographic projection, which takes a standard photograph and stretches it around in a circle creating a globe or planet like image. Take a look at a few examples below. You will need to start off with finding an image you would like to use. Please not that you will want an image where the scenery stretches across the entire photo....otherwise when you wrap it in a circle, you will have large gaps. Also, make sure you choose an image where nothing is cut off on the sides. See an "OK" examples and "NOT OK" example below---you basically want the left and the right side to be similar looking (this will be easier to line things up in the end). ***REMEMBER TO LOOK AT RESOLUTION!!!!!!! Open your image in GIMP. Duplicate your background layer and hide it (Uncheck the Eye Icon) Crop your image so you have an even balance of sky and land (if necessary) Seamless Joint: With your Rectangle Selection tool. Select a rectangle from top to bottom on one side of your image. go to Select-->Float. Create a New Layer and Duplicate it. Move the Floated Layer Copy over to the other side of your image. Add Layer Mask to the Floated Layer Copy (right or control click on the layer and select "add layer mask") Double check that your layer window looks like this. 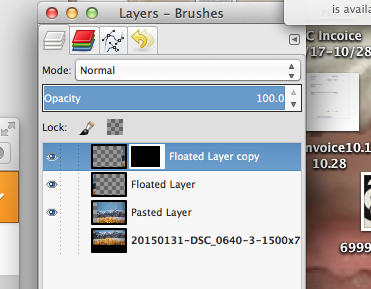 Using the BLEND Tool (Tools-->Paint Tools-->Blend Tool) click and drag in short spurts from left to right across the seam between your original image and your floated layer. Be sure to check your tool settings (Gradient should be FG-->Transparent or black to transparent, and the shape should be linear.) Be sure to adjust your opacity so that the layer looks blended with your image. 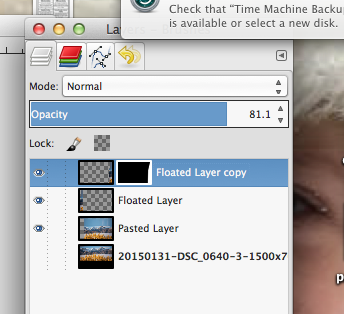 The right side of your picture should now resemble the left side. 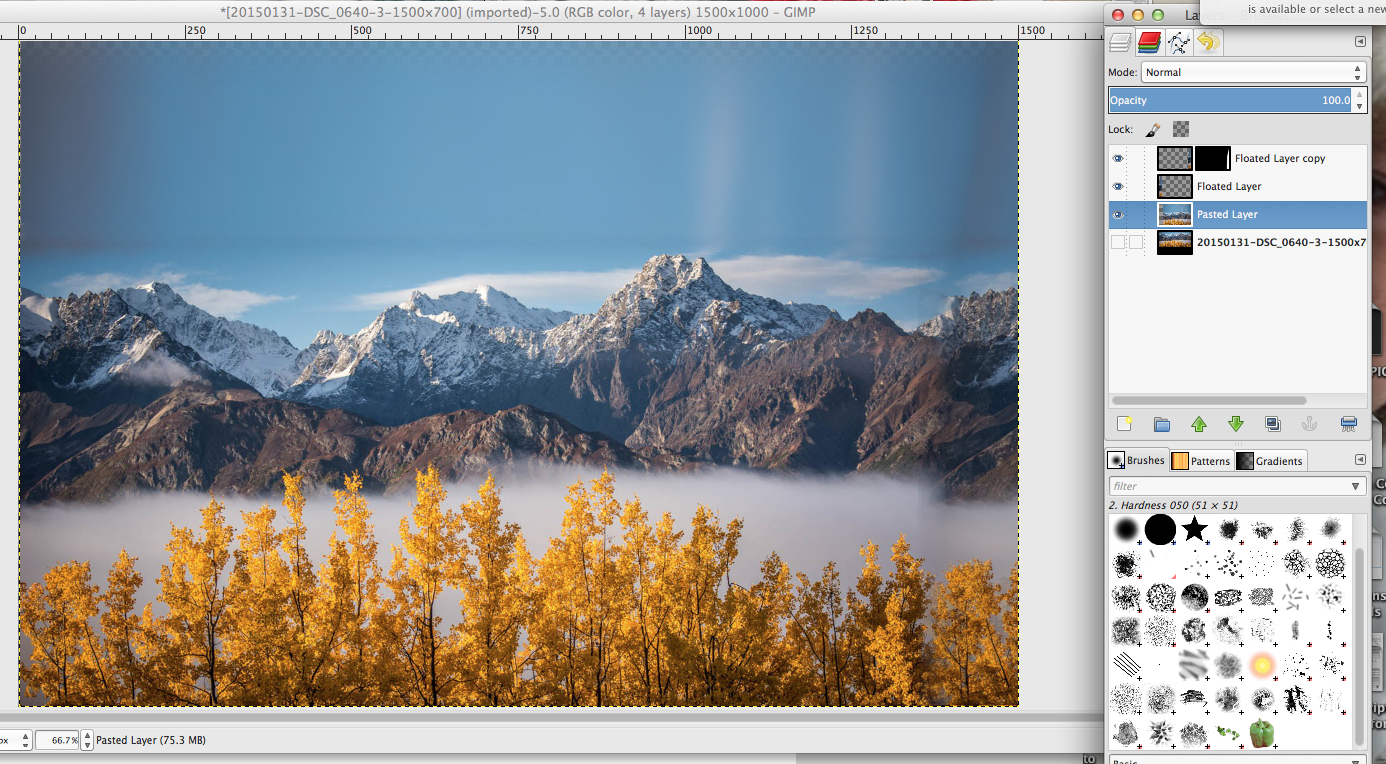 Apply Layer Mask (right/control click-->apply layer mask) Merge down your layers until you are back to two layers....your original image (hidden) and your edited version. Resizing to a square image: We will need a square image so go to IMAGE-->SCALE IMAGE Uncheck the proportions lock. Change your longest dimension to match your shortest (i.e. 1064X700 Pixels-->700X700 Pixels) To make the "Planet" go to FILTERS-->DISTORTS-->POLAR COORDINATES...settings are at 100 and 180 (See image below)....make sure TO POLAR is the only box selected.
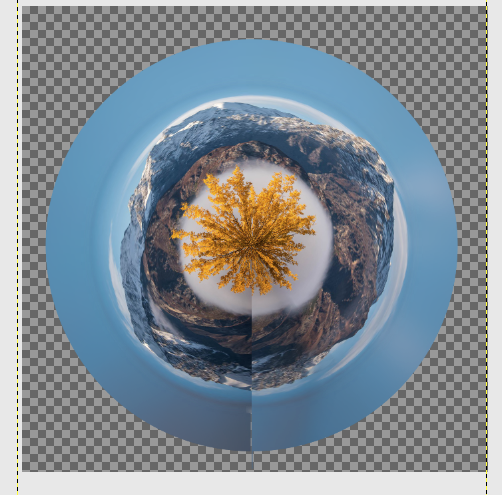
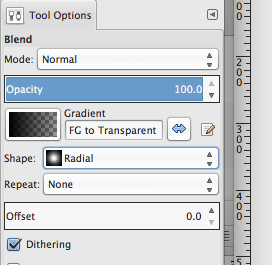
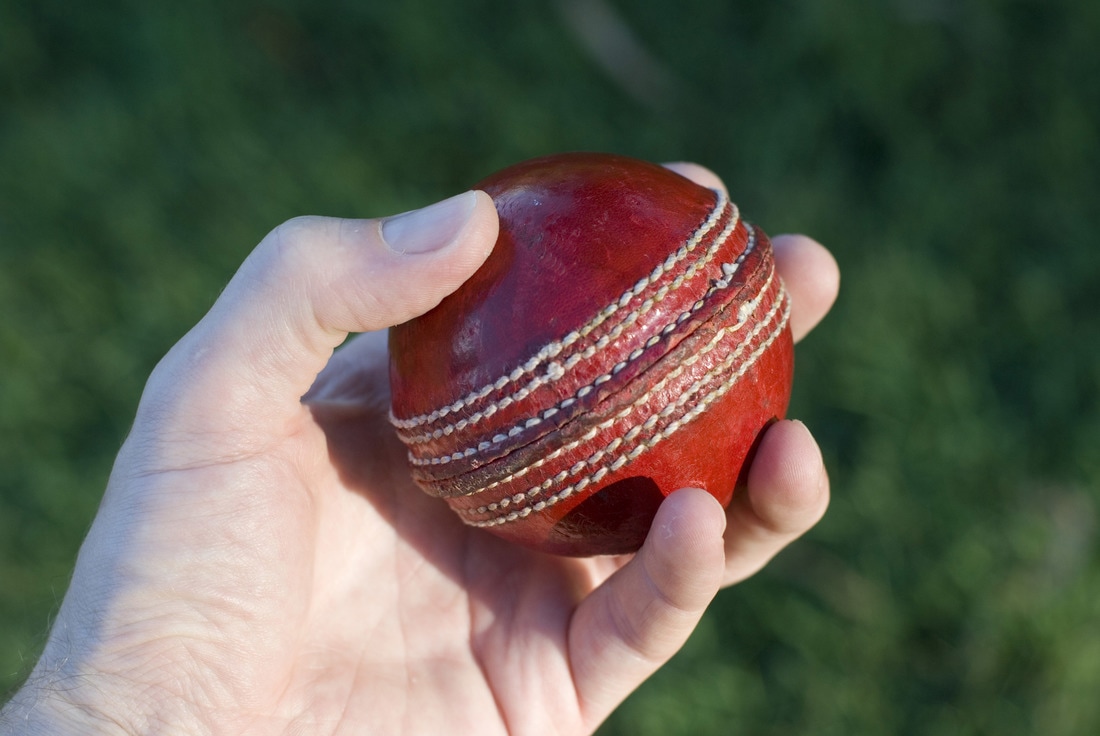
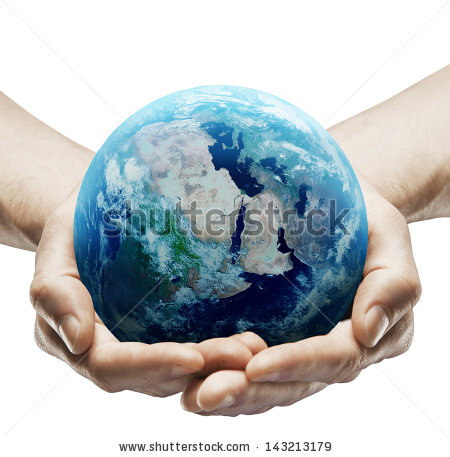
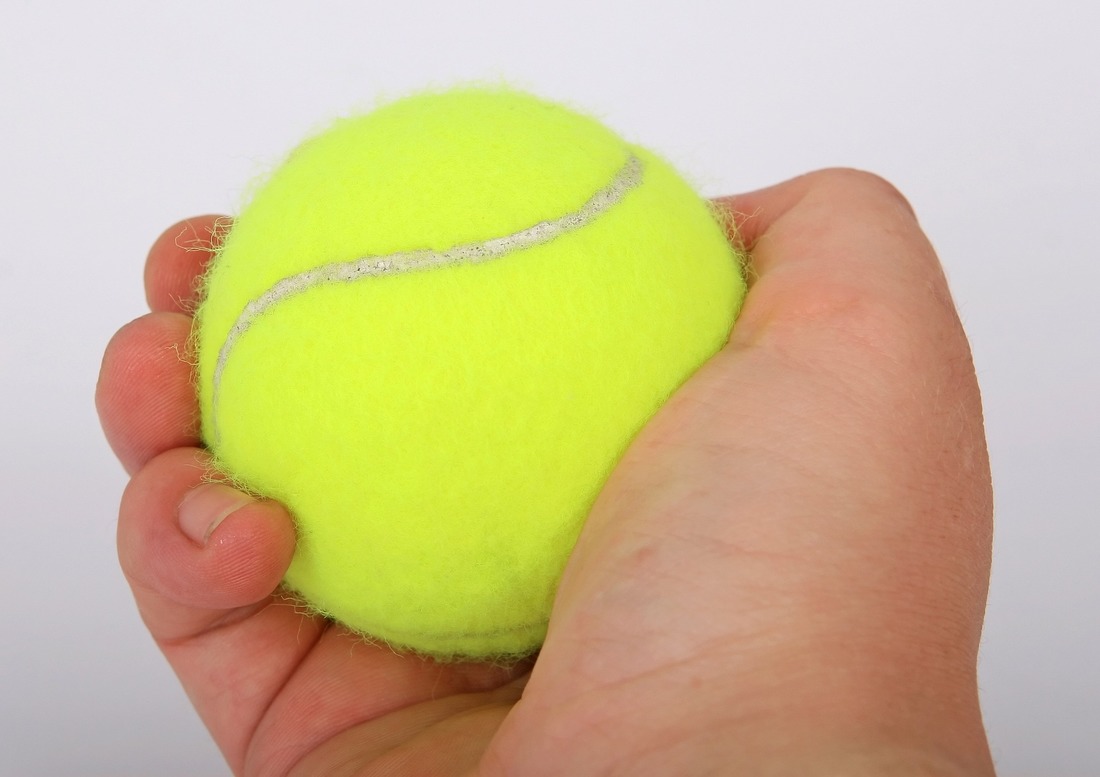
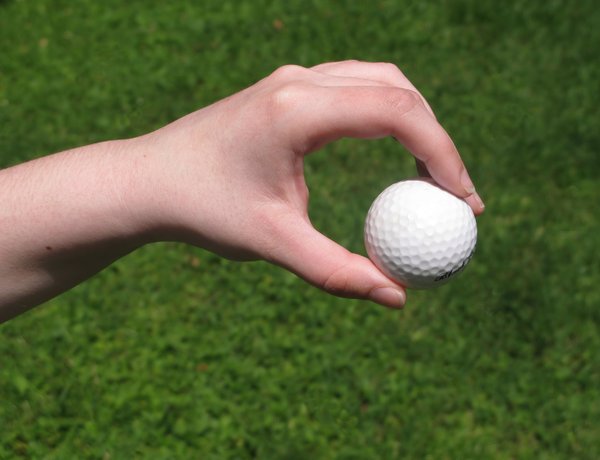
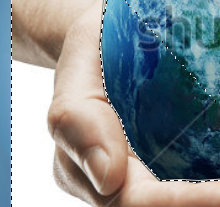
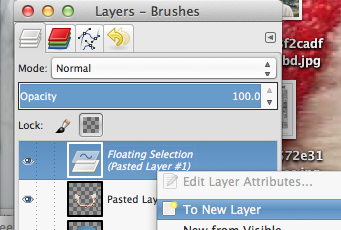
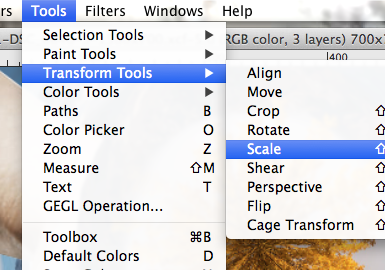
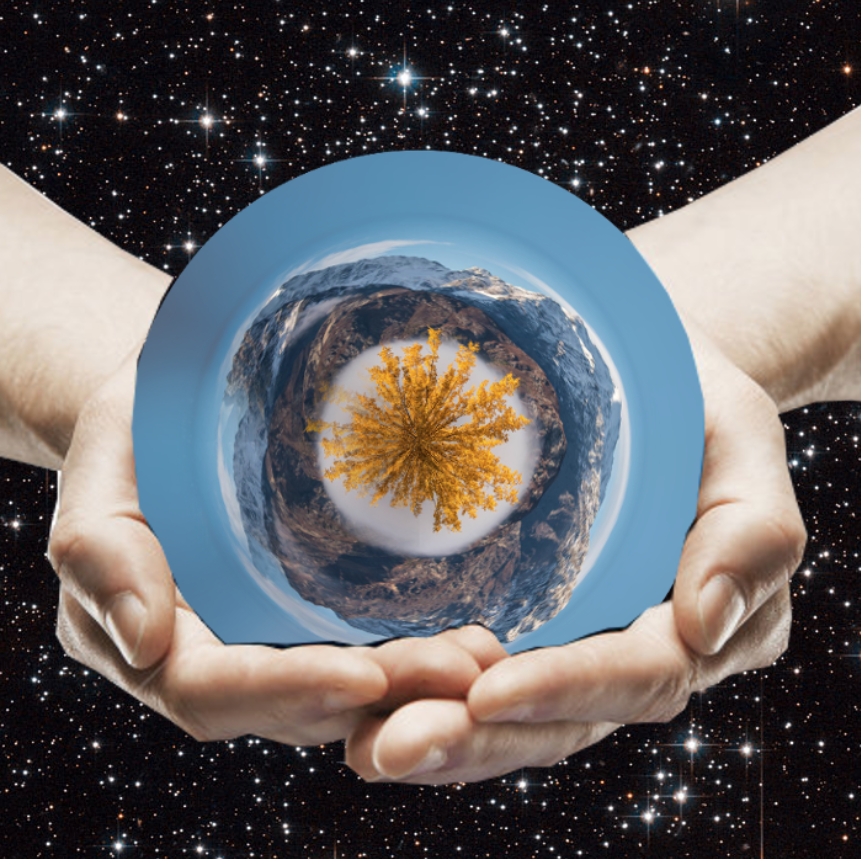
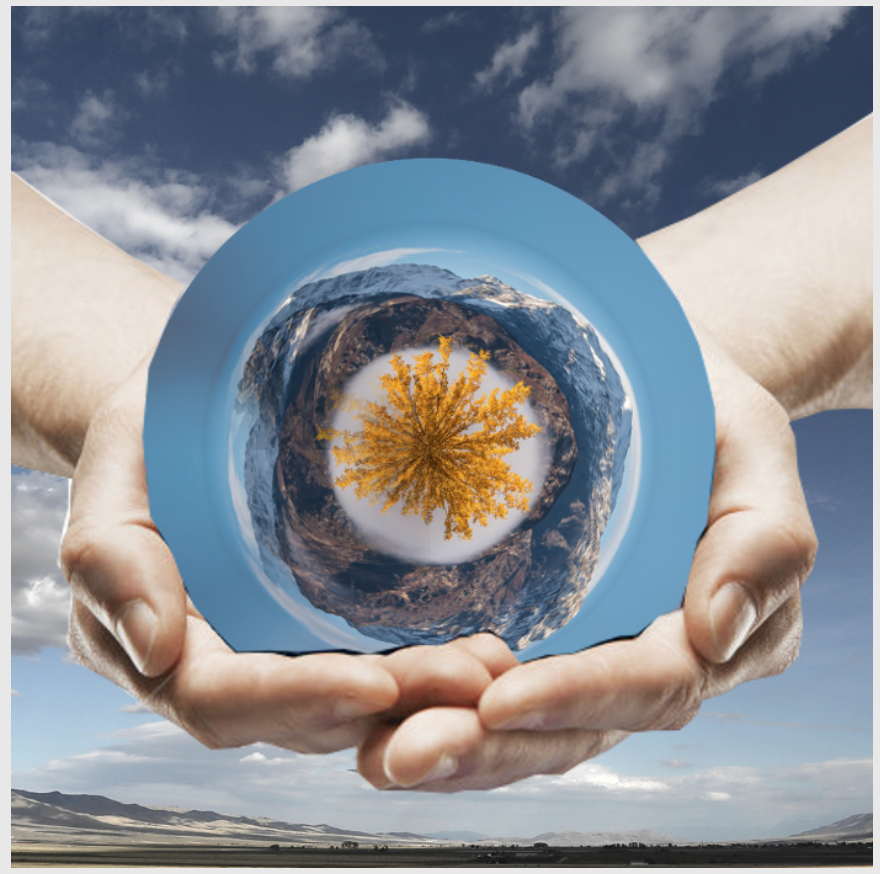
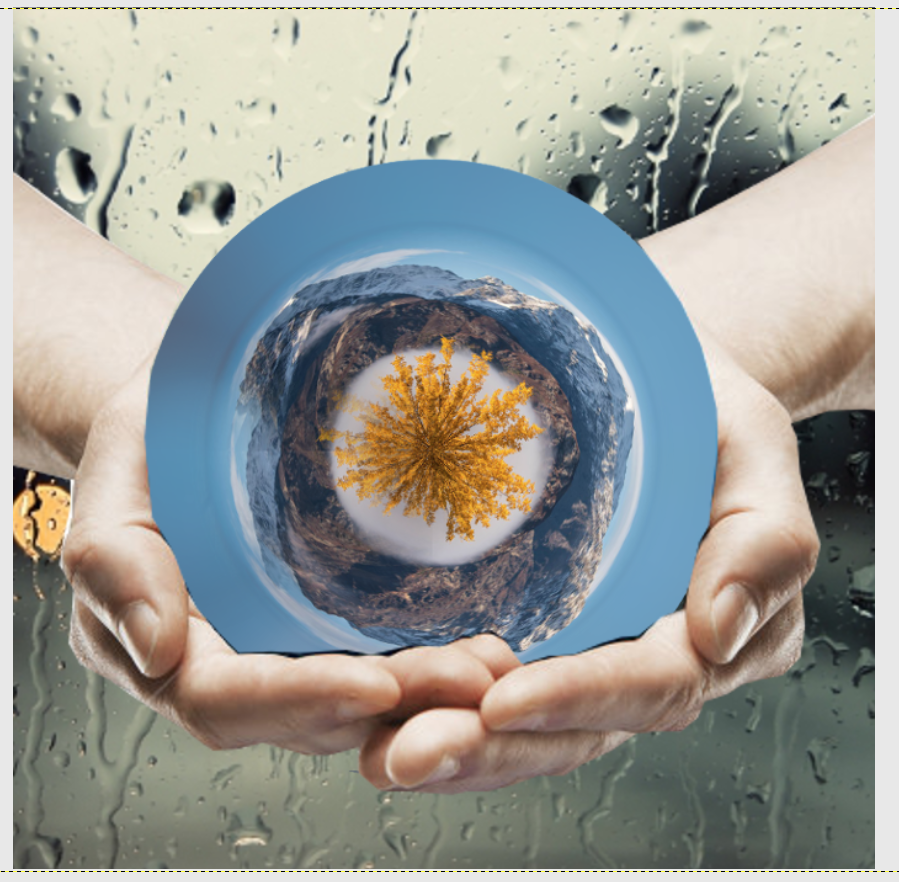
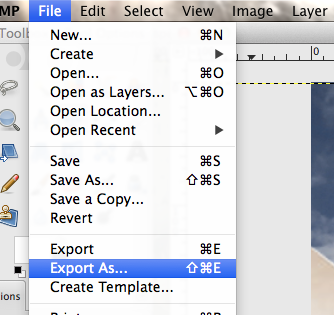
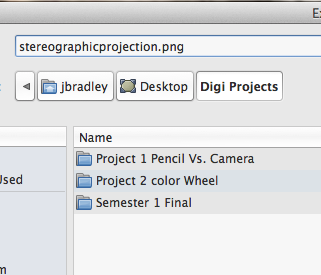
Use the Blend/Gradient Tool. Check your TOOL OPTIONS!!! Make sure that it is set at FG-->Transparent and a radial shape. With short strokes, blend the line/seam. You may have to undo a lot of these small moves if the look off. Command-->Z for Macs and Control-->Z for windows will be your friend. Apply the Layer mask and Merge the two layers together. Your final image should seem seamless. 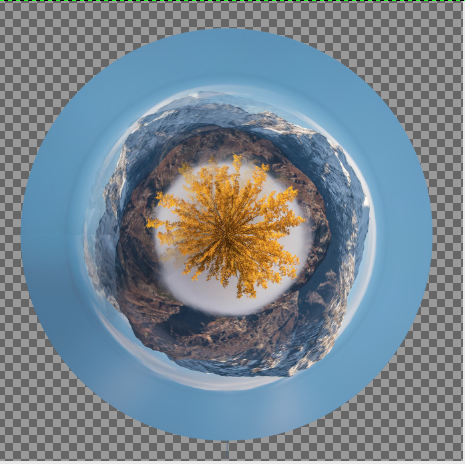 Now you can add a set of hands or a hand holding your "planet". Save one of the hand images below and open it in GIMP.....or you can find your own set of hands to use. click and drag your hand layer onto your stereographic image. make sure the hand layer is on top. Using your lasso tool, select only the hands in the image. Go to Edit-->Copy and Edit-->Paste to create a new layer. Next, Right/Control Click on your Floating Selection and click "To New Layer". Using your Scale Tool (scale) adjust the size of both your planet and your hands so that they fit together. Now play around with different background images When you are finished export the image as a .png or .jpeg (file-->Export As). Make sure you pay attention to where you export it so that you can find it later. Email it to me as an attachment.
0 Comments
|
Mrs. CastellanoDigital Art Archives
May 2017
Categories
All
|


 RSS Feed