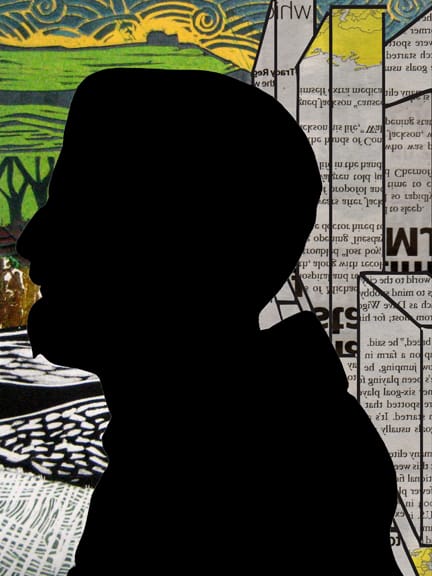
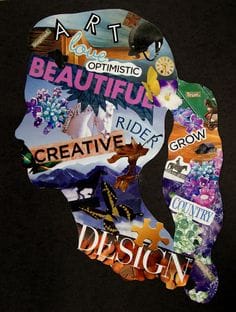
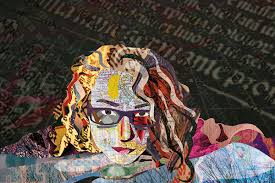
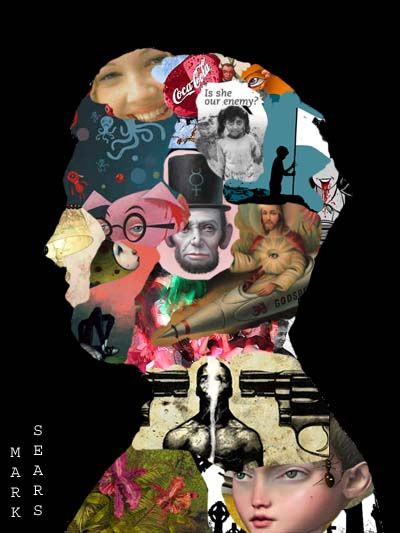
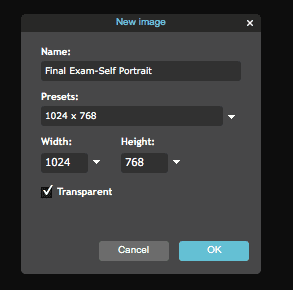
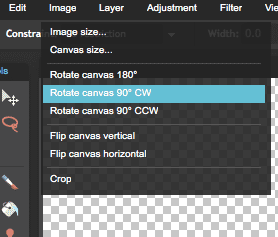
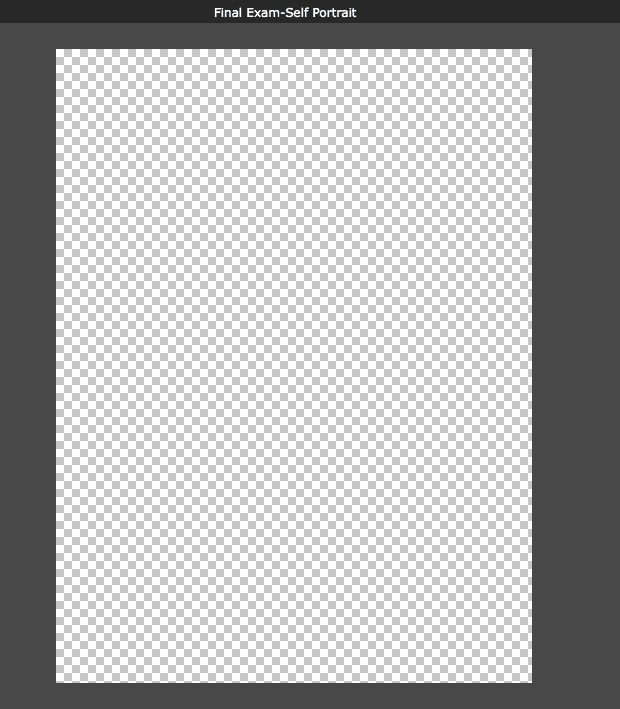
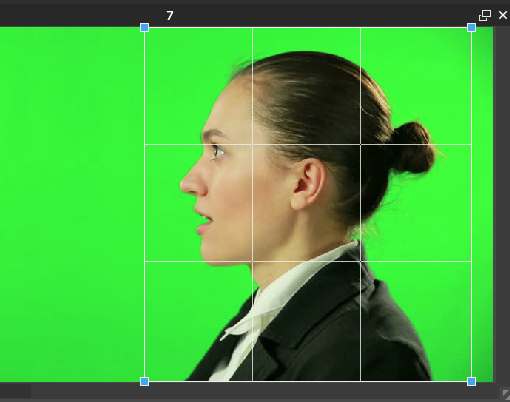
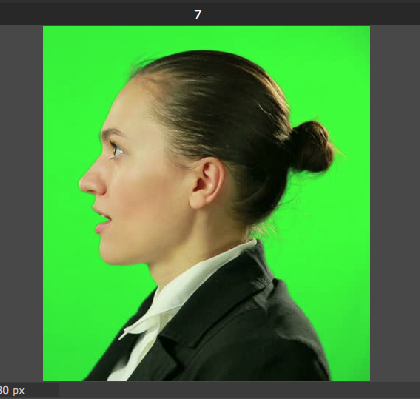
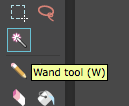
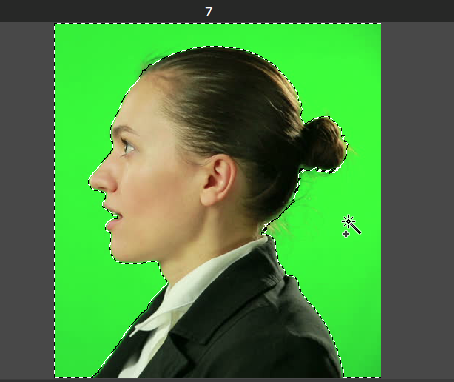
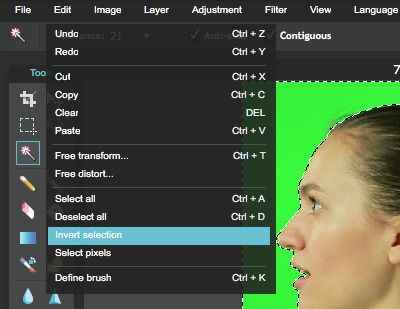
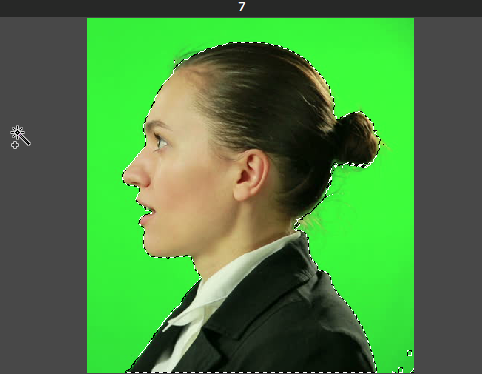
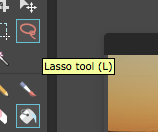
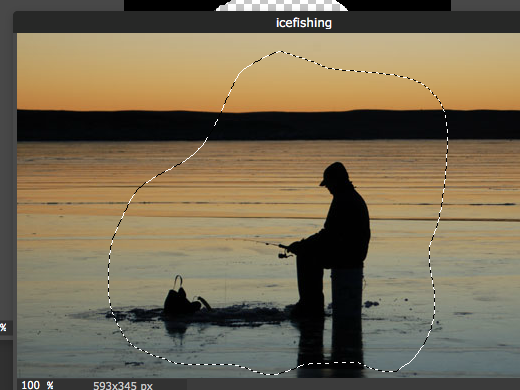
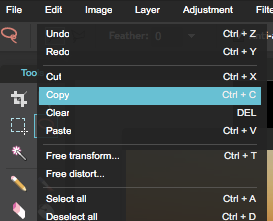
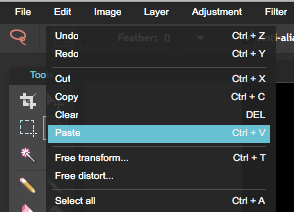
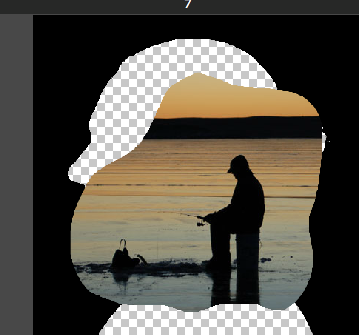
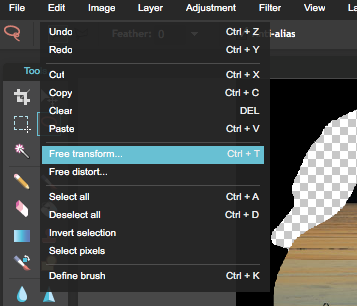
Step By Step Tutorial: 1.) Start by creating a new image. 2.) Title your project: Final Exam Semester 1 (or something like that) 3.) In your Presents--Select 1024x768 to select your canvas size. 4.) Click "OK" 5.) Go to "Image" and "Rotate Canvas 90 degrees CW" to rotate your canvas into PORTRAIT ORIENTATION 6.) Take a profile photo in front of the Green Screen. 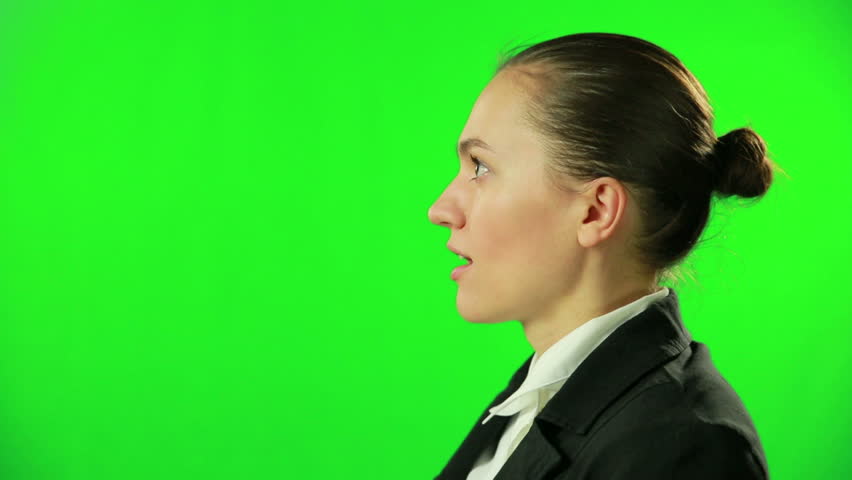 7.) Open in Pixlr Editor. 8.) Unlock the background layer 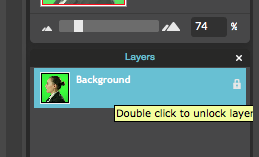 9.) Crop image. 10.) Use the Wand Tool to select the green backround. 11.) INVERT your selection by going to "Edit-->Invert Selection" Only your profile should be selected now rather than the background. 12.) Delete your portrait so that the green is all that is left. You should see the gray and white checkered print when you delete your face. 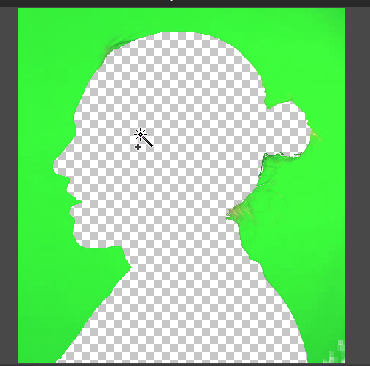 13.) Now you need to change the green so that it is black. The easiest way to do this is to go to.... - "Adjustment-->Hue and Saturation" - Pull the Saturation slider all the way to the left (-100) - Pull the Lightness slider all the way to the left (-100) 14.) now you are ready to find images to layer behind your silhouette. 15.) find and save images of things that you like or that represent you. One at a time, open them in Pixlr. 16.) Use the lasso tool to select the part of the image you would like to use. 17.) Edit-->Copy 18.) In your Silhouette window go to Edit-->Paste 19.) you will need to resize your image using Edit-->Free Transform 20.) Layering and Placement: - You need to have your black silhouette as your "TOP" layer. To do this you need to drag it up above your image layers. -This way you can place images at the edge of your silhouette and the black will overlap the image so we can still see your silhouette. 21.) Repeat this process with all of your images. You should have roughly 25-30 images in your Self Portrait. I will be flexible with this number but I just wanted to give you a ballpark number. SAVING!!!!!!! Each day when you save your file... -Save it in your Pixlr Library -File Format Should be PXD-Layered Pixlr Image  Otherwise your work will be flattened into one image and can no longer work with individual layers. This means you will most likely have to START OVER :( YOU WILL BE GRADED ON.....
- Craftsmanship - Effort (you have two weeks to work on this project, it should not only take you 2-3 days to get done.) - Use of editing tools (don't just drag every photo as is onto your artwork) it should be edited or manipulated in some way--(cut out, use a filter, change the hue and saturation etc) - Number of images--I will be flexible with this number--but shoot for 25-30 images. - Include a Text/Type element--See Pixlr Tutorial #4
0 Comments
|
Mrs. CastellanoDigital Art Archives
May 2017
Categories
All
|


 RSS Feed