|
For this project you may partner up and choose an ecosystem....I have listed the ecosystems below (only one group per ecosystem-once you choose your ecosystem let the sub know and they will write names down.) Forest Ecosystems: Tropical Evergreen Forest Tropical Deciduous Forest Temperate Evergreen Forest Temperate Deciduous Forest Taiga Desert Ecosystem Grassland Ecosystems Savanna Grassland Prairie Grassland Mountain Ecosystem Marine Aquatic Ecosystem: -Oceanic -Profundal: Deep or Bottom Water -Inter-Tidal -Estuaries -Coral Reef -Salt Marshes Freshwater Aquatic Ecosystem -Lentic -Lotic -Wetlands Open this document to see a list of sites that will work for your research.
0 Comments
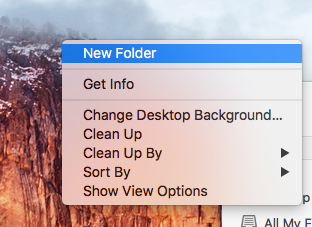
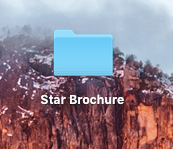
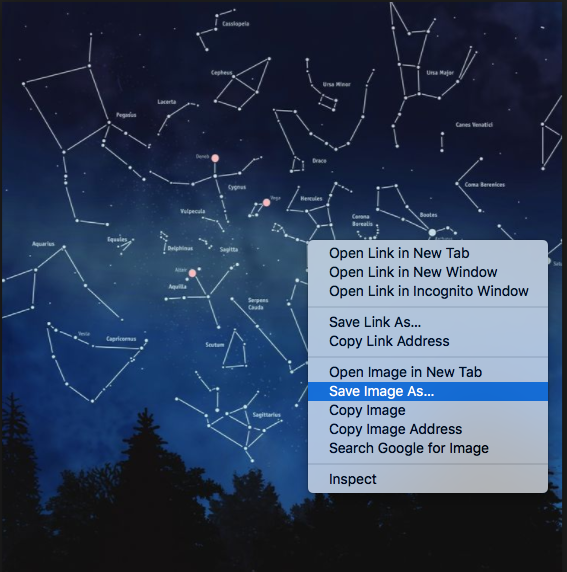
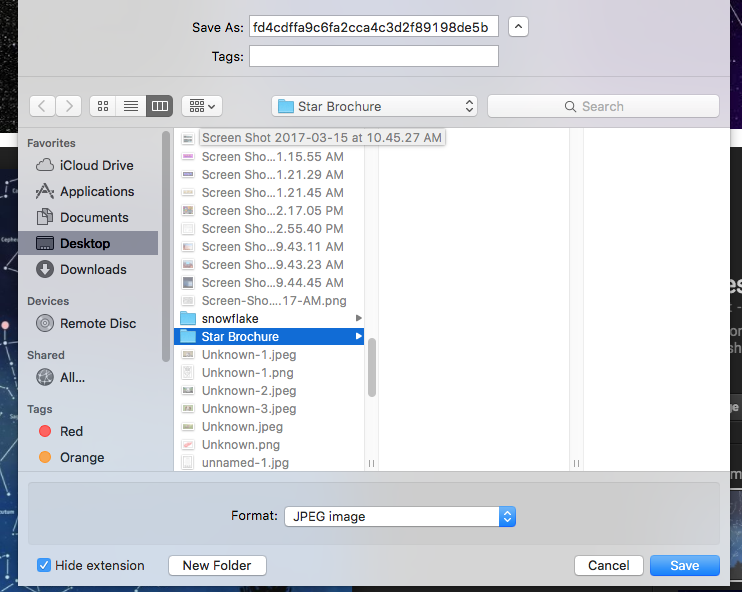
We are going to take a step backwards and learn about constellations in general. To do this you will complete the web quest. Follow the link below and read through the Webquest while answering questions when prompted. This will help you begin to look specifically at the constellation you have chosen to research. You MAY work with your parter! Complete the worksheet and submit to Mrs. Castellano--INCLUDE BOTH NAMES! **skip the part of the web quest that teaches about Latitude!! 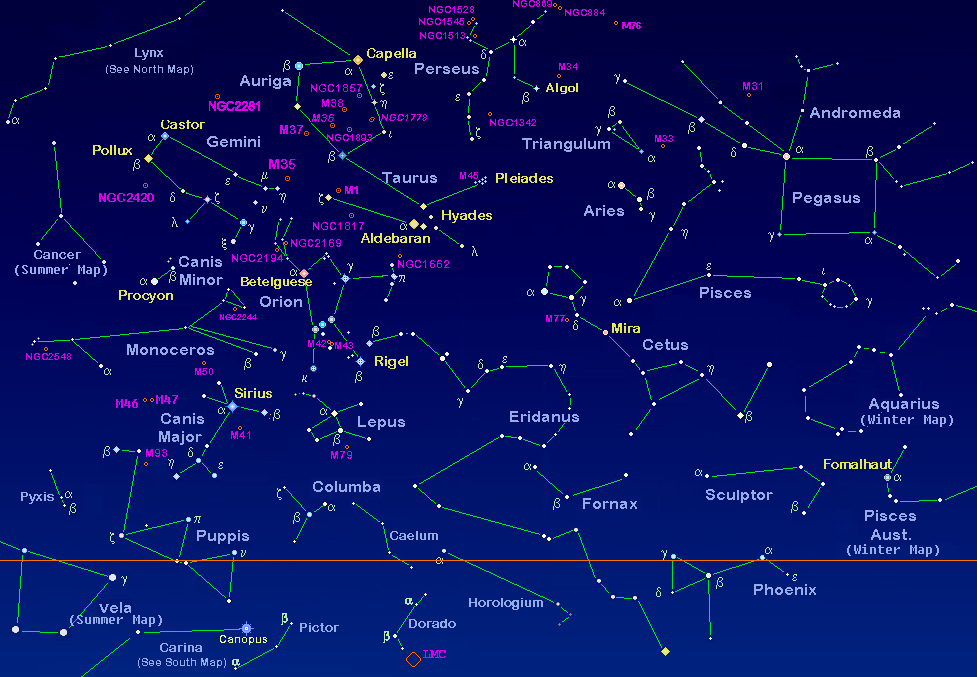 1.) Go to Canva.com and create an account for yourself. Password: same as typing web 2.) Sign up with email and use your school email. [email protected] 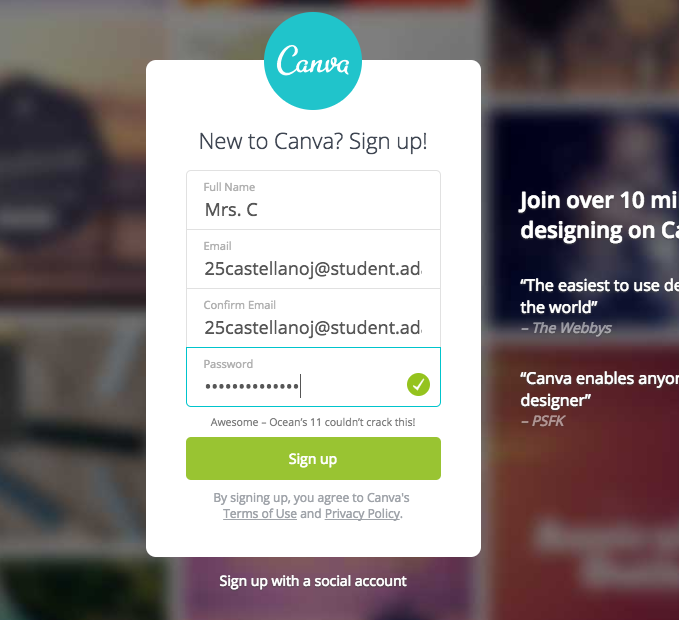 3.) Create a folder on the desktop of your computer (your background). - hold control and click on your background - select New Folder - Title your folder "ecosystem" **This is where you will save all of your research for your ecosystem info graphic. 4.) Start to research images that you may want to use for your brochure. 5.) When you find an image you like, hold CONTROL and click on the image. Go to Save Image As. Save the file to your desktop folder you created "Star Brochure". Today you will be designing a Graffiti "tag" using an online program called Graffiti Creator
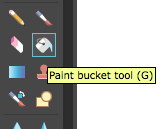
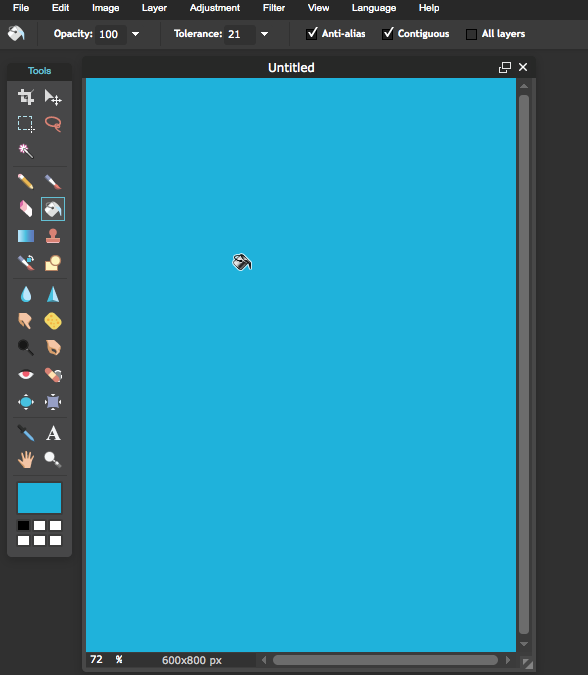
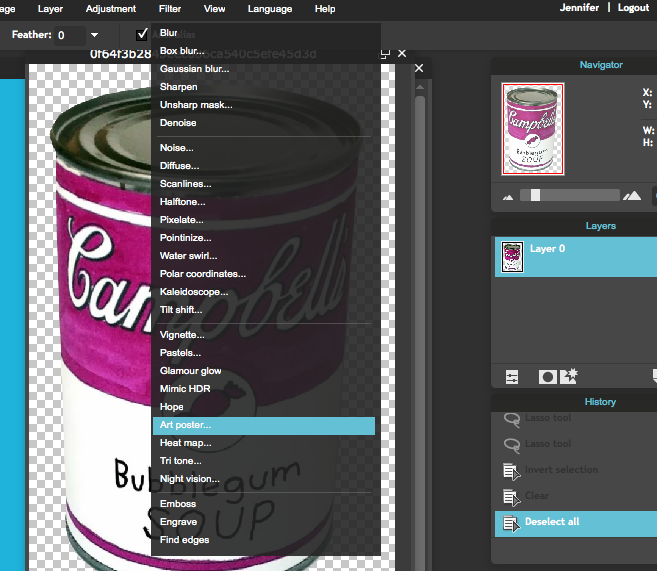
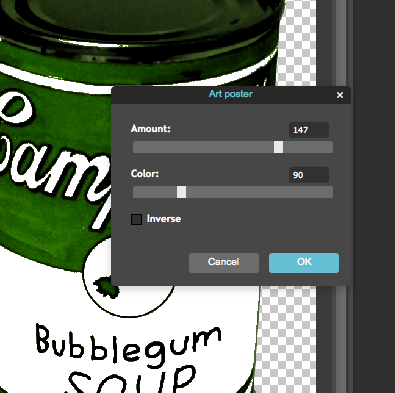
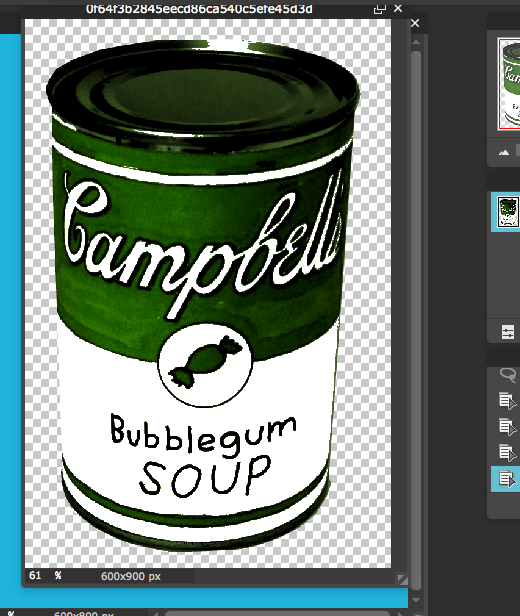
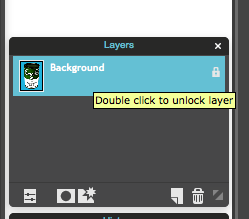
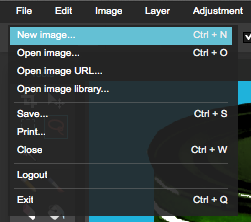
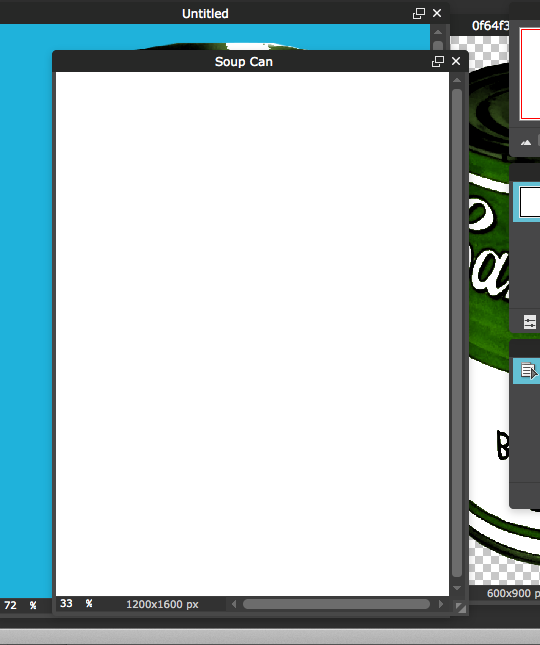
Go to Graffiti Creator 1.) Go to Pixlr Editor 2.) Create a New Image. Set the Pixel dimensions to Height: 800 and Width: 600 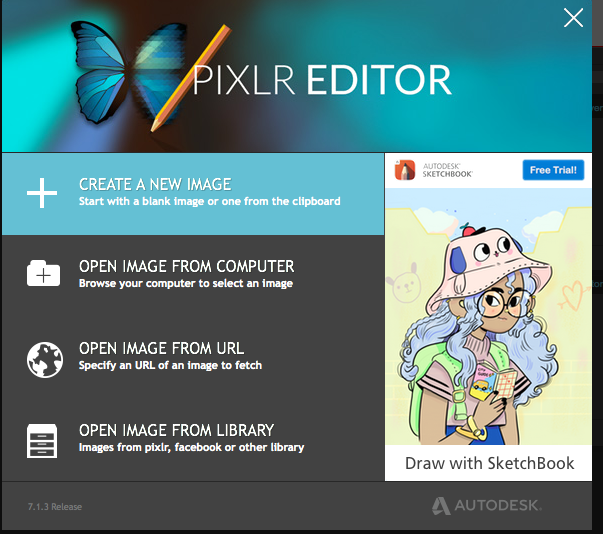 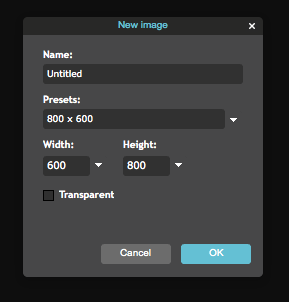  3.) Fill your back ground with any color using the Paint Bucket Tool. The Soup Can1.) Go to File-->Open Image to open your photo of your soup can (I sent it to you in an email). 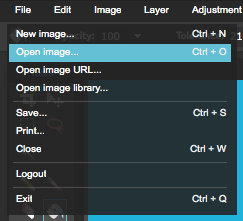 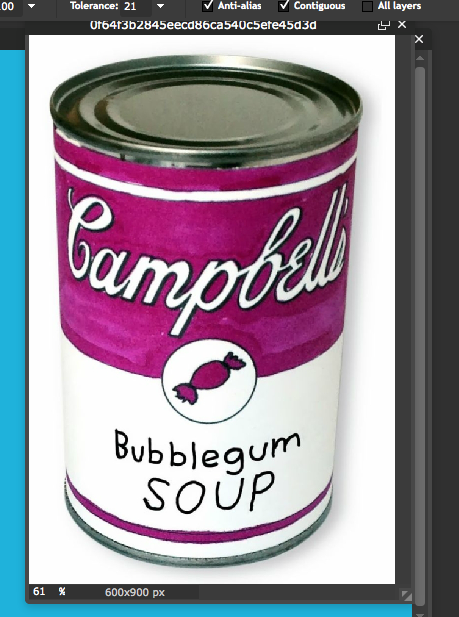 2.) UNLOCK YOUR BACKGROUND!!!!!!! (double click the lock) 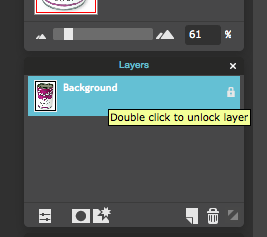 3.) Select the Lasso Tool. At the top of the screen in Tool Options click on the Polygonal Lasso Option. This will allow you to click around an object rather than draw (demonstration).   4.) Click around your soup can to select it (Hint!!! start on a straight side of your soup can) As you come around to where you started, double click the mouse to complete your selection. Go to Edit-->Invert Selection Hit the Delete button to erase your background. 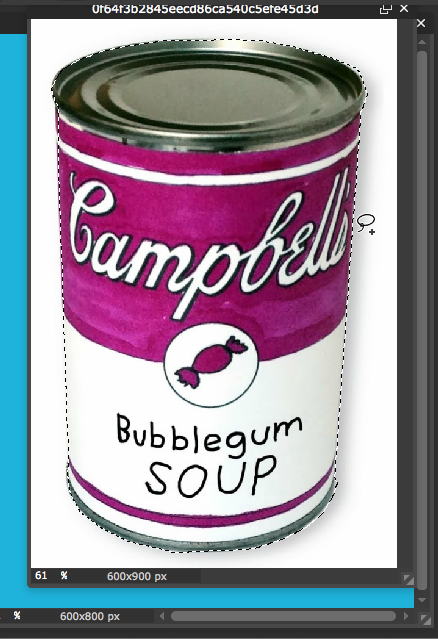 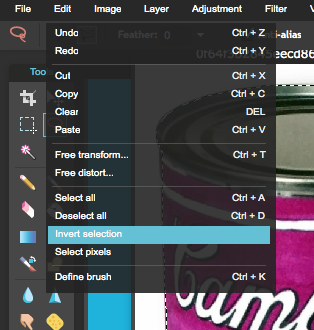 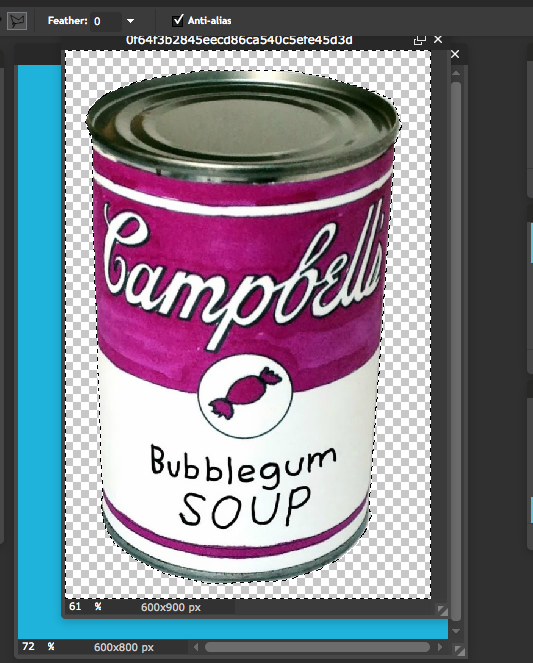 5.) go to Edit-->Deselect all to clear your selection. 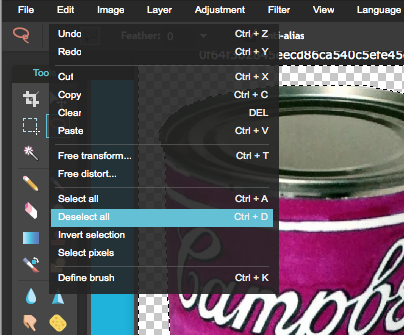 6.) Go to Filter-->Art Poster. Play around with the Amount and the Color Until you get the look you want. 7.) Drag your Soup can Layer onto your original background canvas (ask a neighbor if you don't understand this)  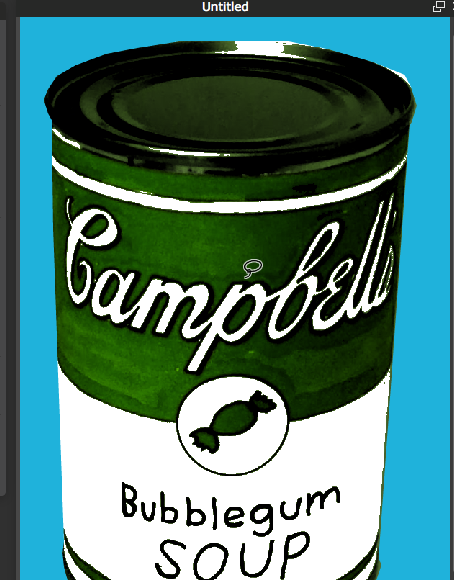 8.) Go to Edit-->Free Transform and scale your soup can down to the right size......hold shift while you are changing the size to keep the proportions the same. 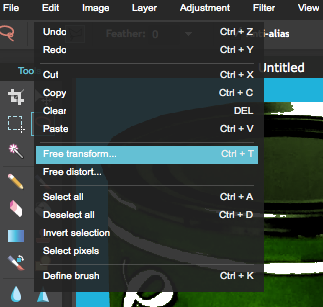 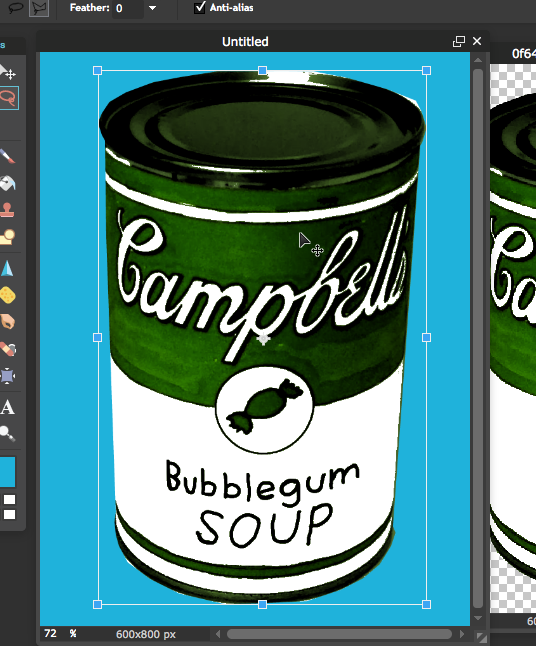 9.) Merge your layers together. Layers-->Merge Visible (this makes all of your work squished down into one picture) Double click the lock to unlock the combined layer. 10.) Go to File-->Save and save your image in your Pixlr Library, as a PXD file. WOO HOO!!!!! You are done with part 1!!!!! Putting it ALL Together!1.) Go to File-->New Image. Set the Dimensions to Height: 1600 and Width: 1200 2.) Open your Soup Can (with the colored background) that you worked on before. File-->Open Image You should see two windows at once (your "new" window and your soup can) 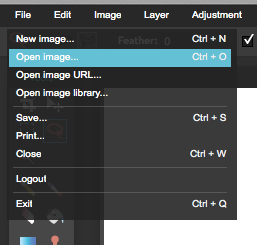 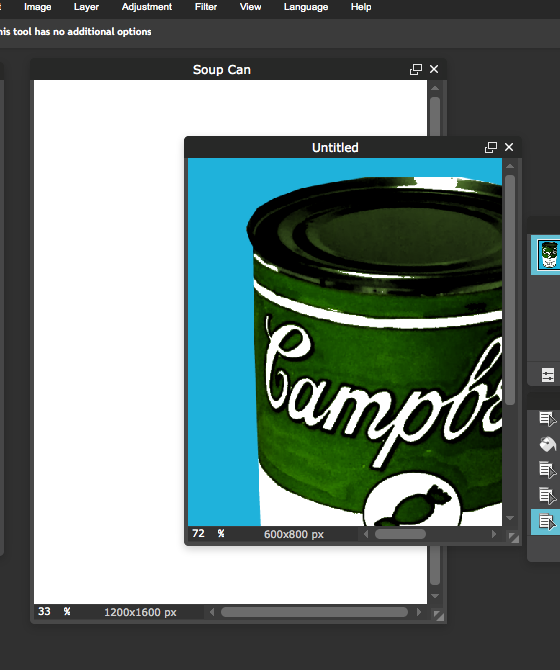 3.) Click and drag your soup can and colored background image to the new canvas you just created.   4.) Duplicate your soup can layer (Layer-->Duplicate Layer). Use the move tool to position it right next to the original. 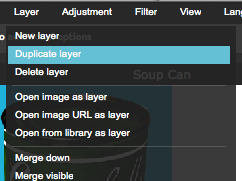 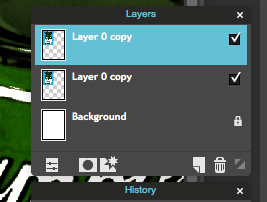 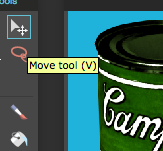  5.) While selected on the second soup can layer, go to Adjustment-->Hue and Saturation. Play around with the HUE toggle until you get the color combination you want. 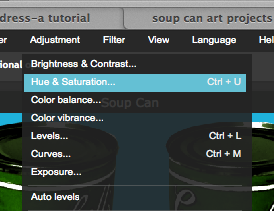  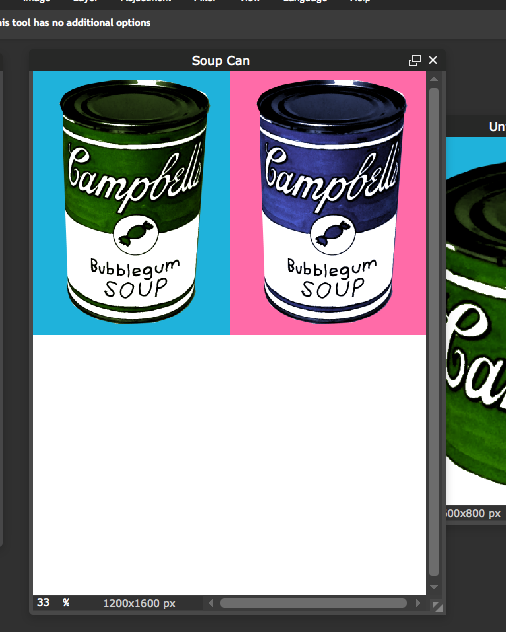 6.) Duplicate this layer AGAIN. Layer-->Duplicate Layer Use the MOVE Tool to position the new layer at the bottom of you page.   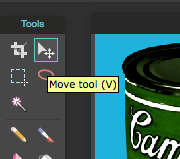  7.) go to Adjust-->Hue and Saturation. Play around with the HUE toggle until you get the color combination you want. 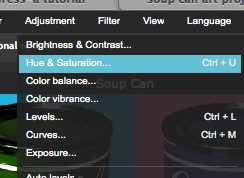 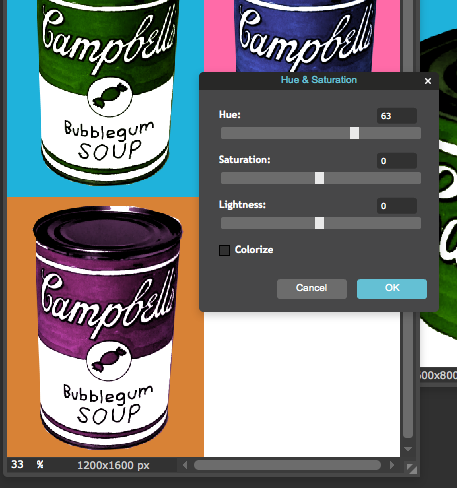 8.) Duplicate this layer AGAIN. Layer-->Duplicate Layer Use the MOVE Tool to position the new layer to the last quarter. 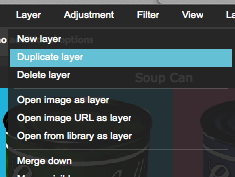 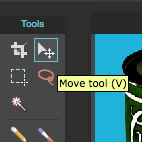 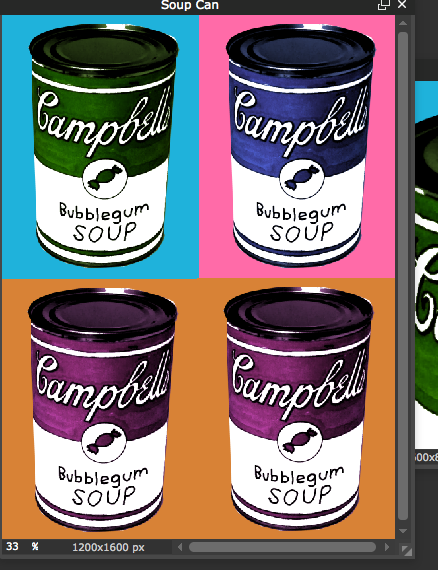 9.) While selected on the final soup can layer, go to Adjustment-->Hue and Saturation. Play around with the HUE toggle until you get the color combination you want.    10.) go to File-->Save. Save it to your Pixlr Library Give your file a name Make sure the format is a .jpeg (picture file) 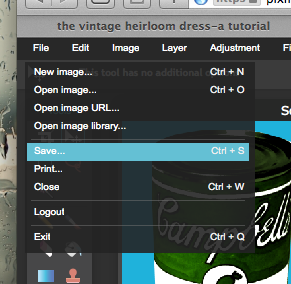 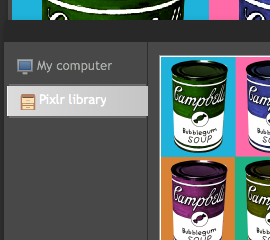  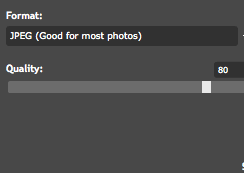 11.) Now save it AGAIN....... but this time..... go to File-->Save Make sure you select "MY COMPUTER" Make sure your FORMAT is JPEG click "OK" save this image to your technology folder. 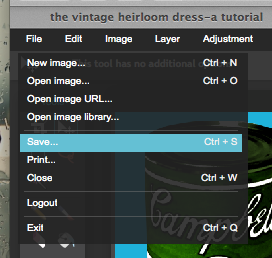 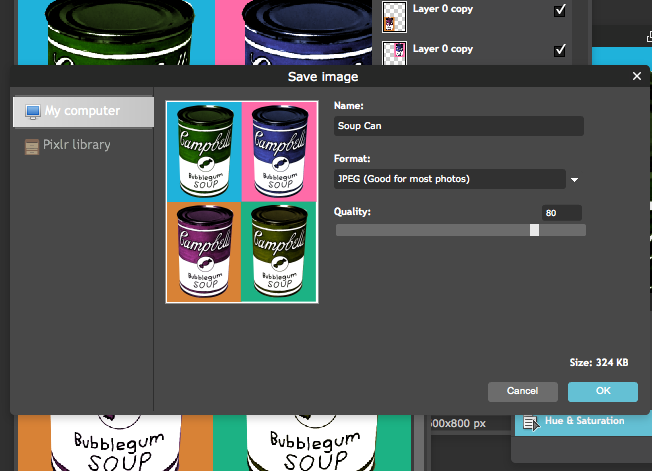 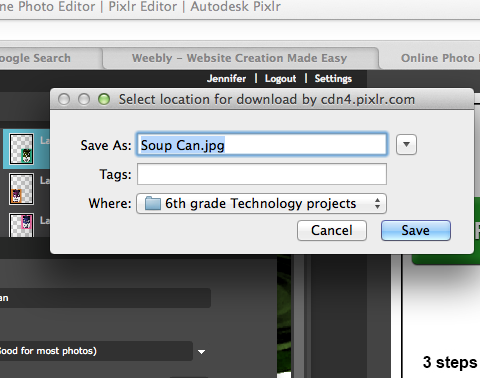 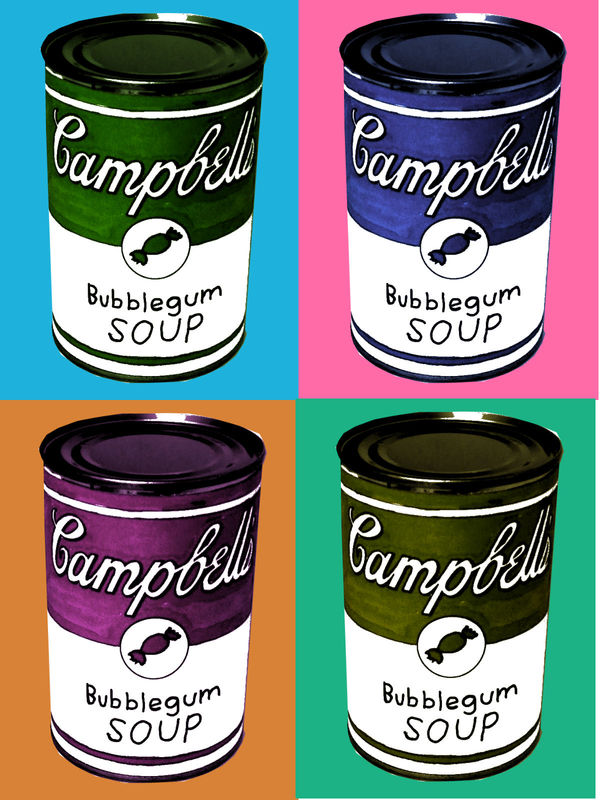 |
AuthorWrite something about yourself. No need to be fancy, just an overview. ArchivesCategories |
||


 RSS Feed