|
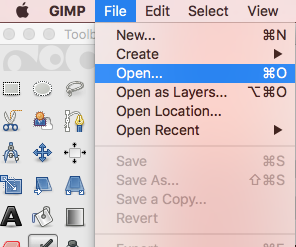
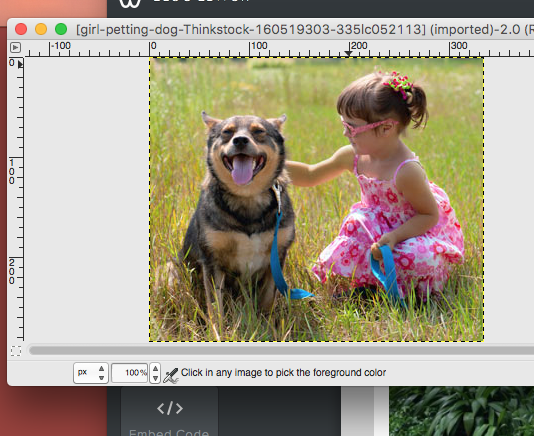
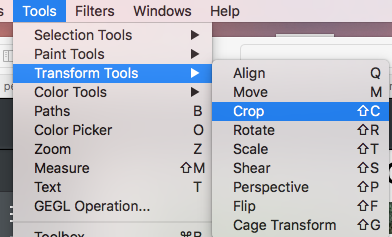
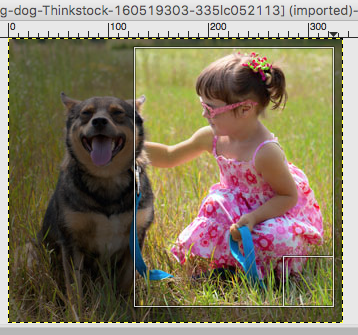
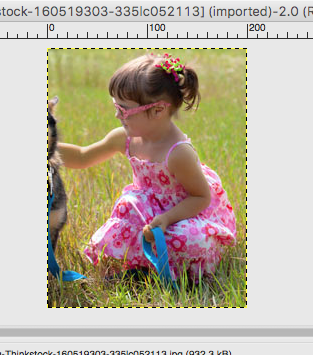
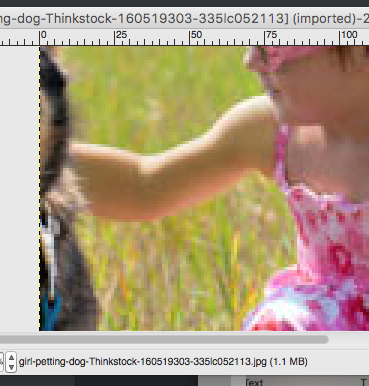
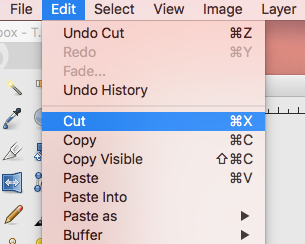
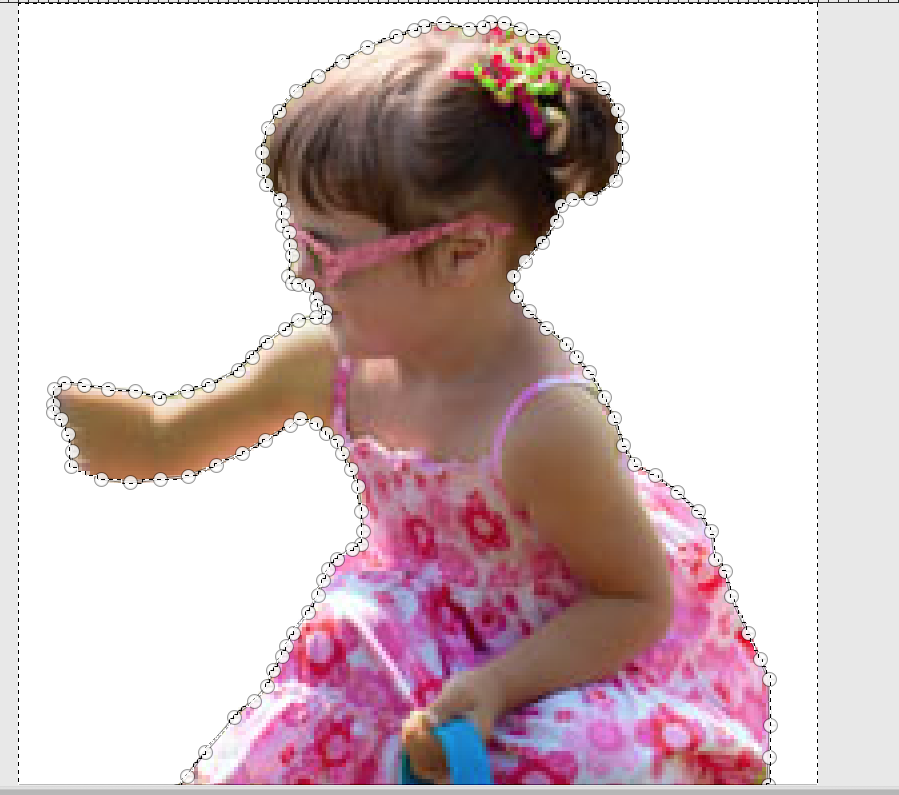
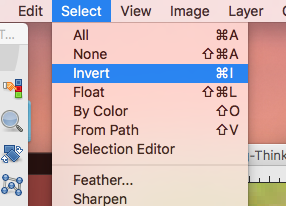
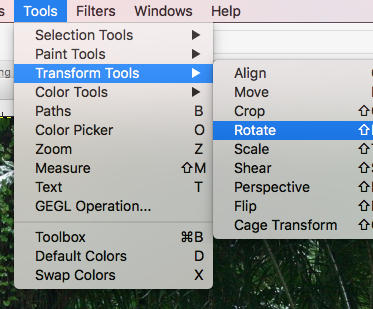
1: Search for and save two images...(or you can save the images I have selected below): A.) An image to use for the background B.) An image to remove the background from 2: Open the image you are removing the background from in GIMP 3: Crop it to the smallest rectangle possible. 4: Select the "PATHS" Tool  5: ZOOM IN on the image (move up close to where you plan to start) 6: Start the "PATH". When creating a path like this, remember less is more. You only want to click to add a "node" where there is some kind of directional change. Continue to do this until you have gone completely around the area you wish to separate. 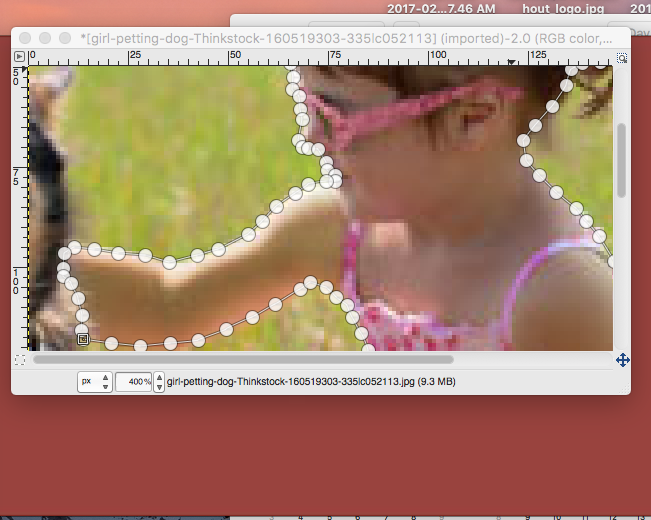 7: At the bottom of your "Toolbox" (left side of screen). Create a "Selection from Path" so that you can eventually invert your selection. 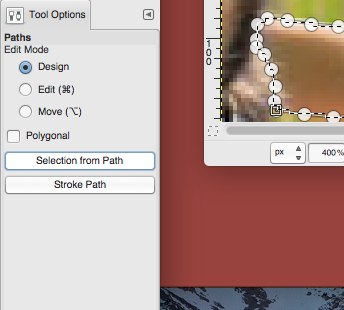 8: Go to "Select"-->"Invert" then hit Delete or go to "Edit"-->"Cut" to Remove your background. 9: "Select"-->"Invert" again. Next, go to "Edit"-->"Copy". 10: Now "File"-->"Open" your background image 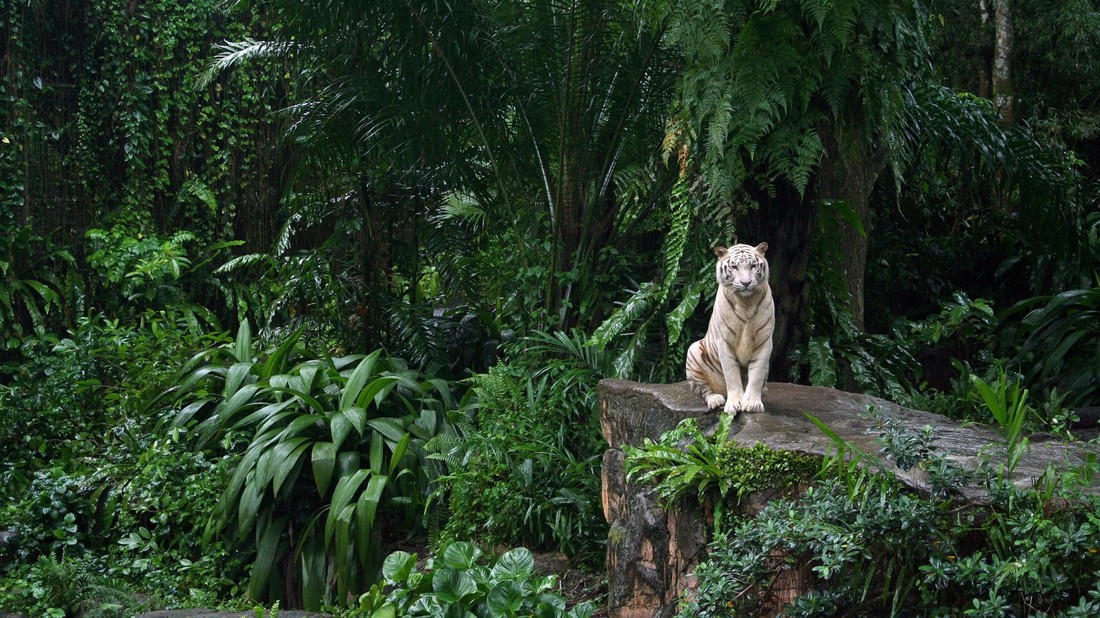 11: Go to "Edit"-->"Paste" to paste your cut out image into your new background. 12: Using the "Move Tool" you can reposition your new layer 13: Using the "SCALE", "ROTATE" or other Transform Tools you can adjust your image however you like. (Tools-->Transform-->Scale or Rotate) 14: When you are happy with your final image. Save and Print for credit. 
0 Comments
Leave a Reply. |
Mrs. CastellanoDigital Art Archives
May 2017
Categories
All
|


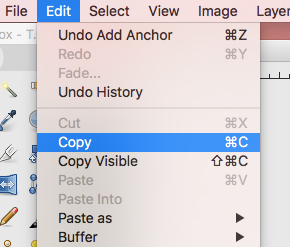


 RSS Feed
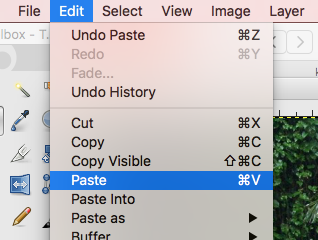