|
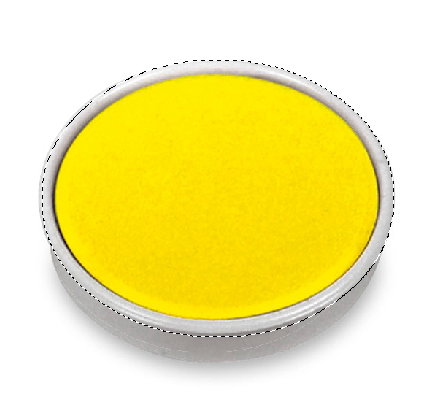
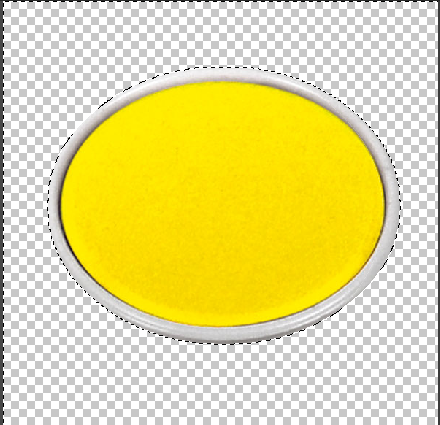
Most of you are still working on the Floating Logo Tutorial in GIMP. Instructions for that are in the second drawer of the teacher desk. When you finish, make sure you print out a copy of your "floating logo" to submit for a grade. You can put your printouts in the second drawer as well (be sure to include your name).
When finished you may work on a blog post or sketchbook assignment due next week. We have taken a short break from blog posts because I have been gone so much but we are going to return to completing them on a weekly basis. Blog Post #6: Post about an upcoming event related to your theme.....a game, a concert, a trip. - your post must include a picture - your post must have text explaining the event - extra credit for things like surveys and links Alternate Sketchbook Assignment (you can do this instead of the blog post if you prefer: - Draw your hand...one of the most difficult things to draw in art is a human hand. Take some time to sketch your hand with all of the details you see. Be sure to include shading and value to create depth and contrast.
0 Comments
For the next few days we will be completing tutorials to get us familiar with some of the tools in the GIMP Software. For today, you need to complete the "Simple Floating Logo" tutorial.  *Mrs. Castellano has instruction packets available.*
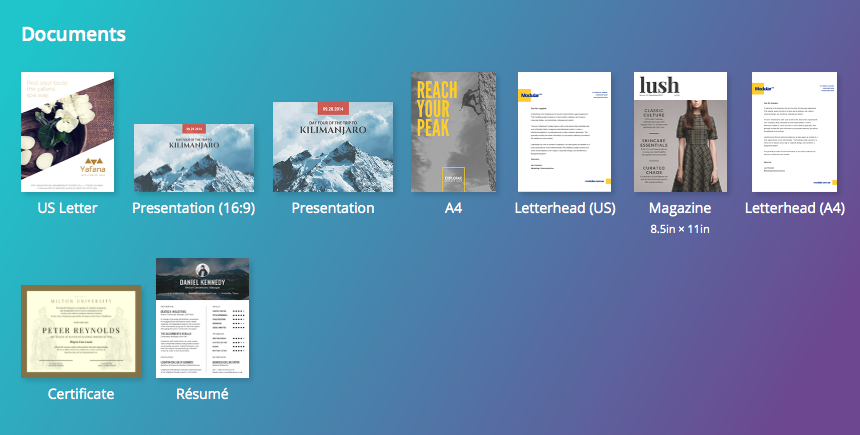
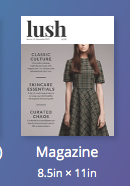
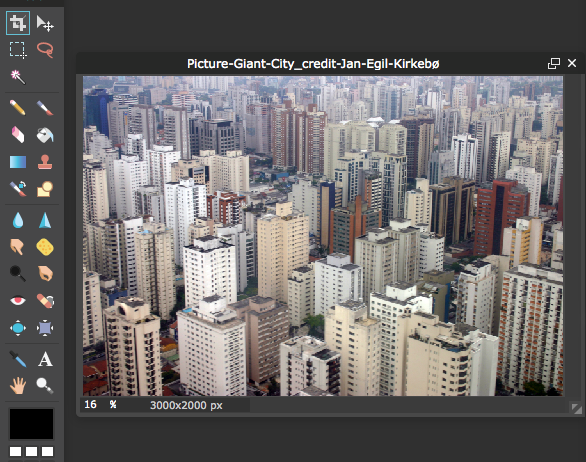
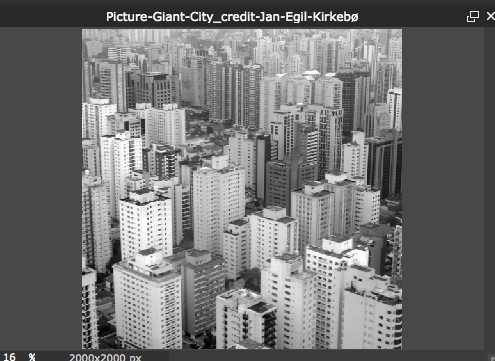
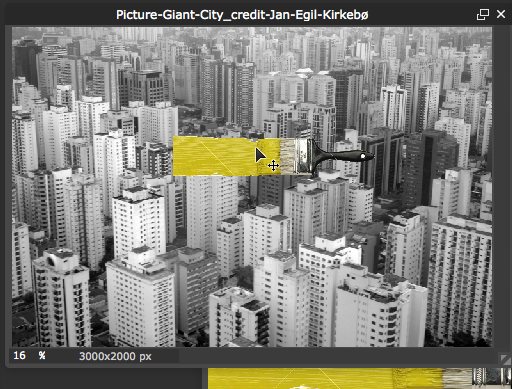
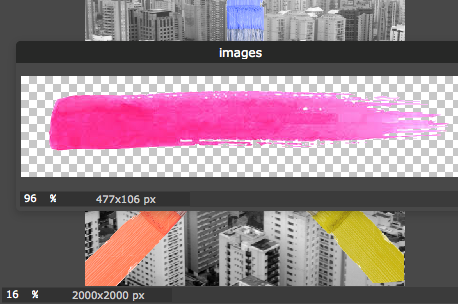
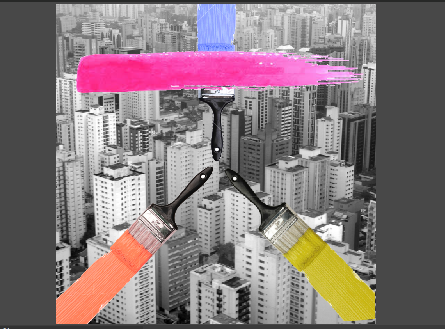
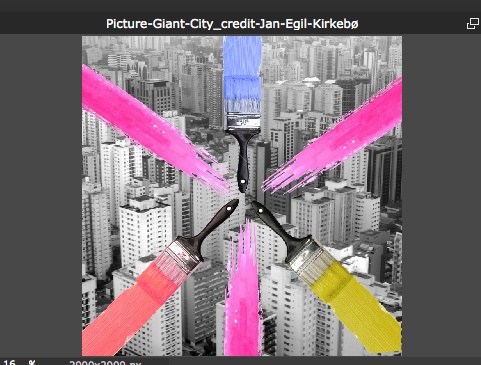
1st: Edits to Homecoming Profile Posters Ms. Raether would like some edits to be made to some of your posters. I have copied and pasted the changes she would like on slips for each of you. If you have corrections to be made...please do so and share them with both myself and Ms. Raether. [email protected] [email protected] **If you are looking for the printed out personal information on each student, I have copies in the 2nd drawer of my desk. 2nd: GIMP Tutorials We are beginning to use a new software called GIMP. 1.) Follow this link 2.) Open GIMP on you computer (look in your applications) 3.) follow the instructions (you will need to use the photo below)  I know many of you have not finished your posters using PikToChart from last weeks assignments. Please set those projects aside for now and focus on this because we are on a timeline to get these projects completed. Your assignment for this week will be to create a Magazine Cover Profile for one of the Homecoming Court Candidates. You will be assigned a person and must create a profile page for them. I will assign you a student tomorrow (tuesday). Today, you need to create an account through Canva (the program we will be using) and begin to design the layout of your Magazine Cover. See project requirements below. 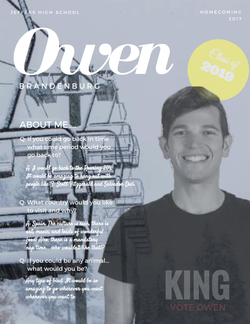 First you need to create an account at CANVA After you have registered, you will need to CREATE A NEW PROJECT  Scroll down to DOCUMENTS and select the MAGAZINE option. Select your design layout and start designing!
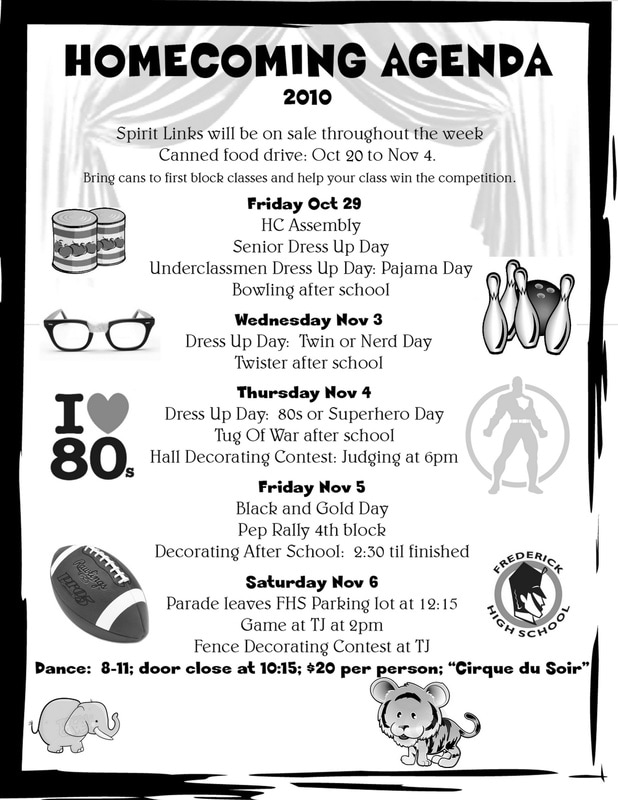
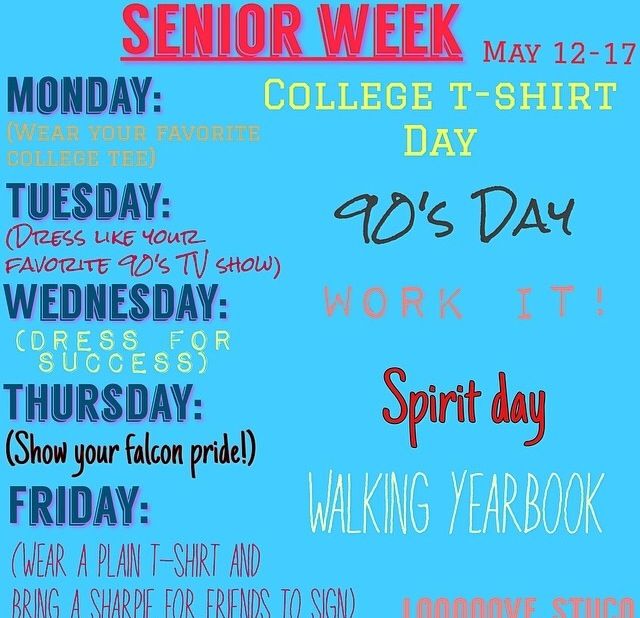
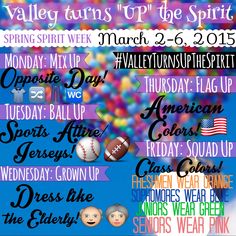
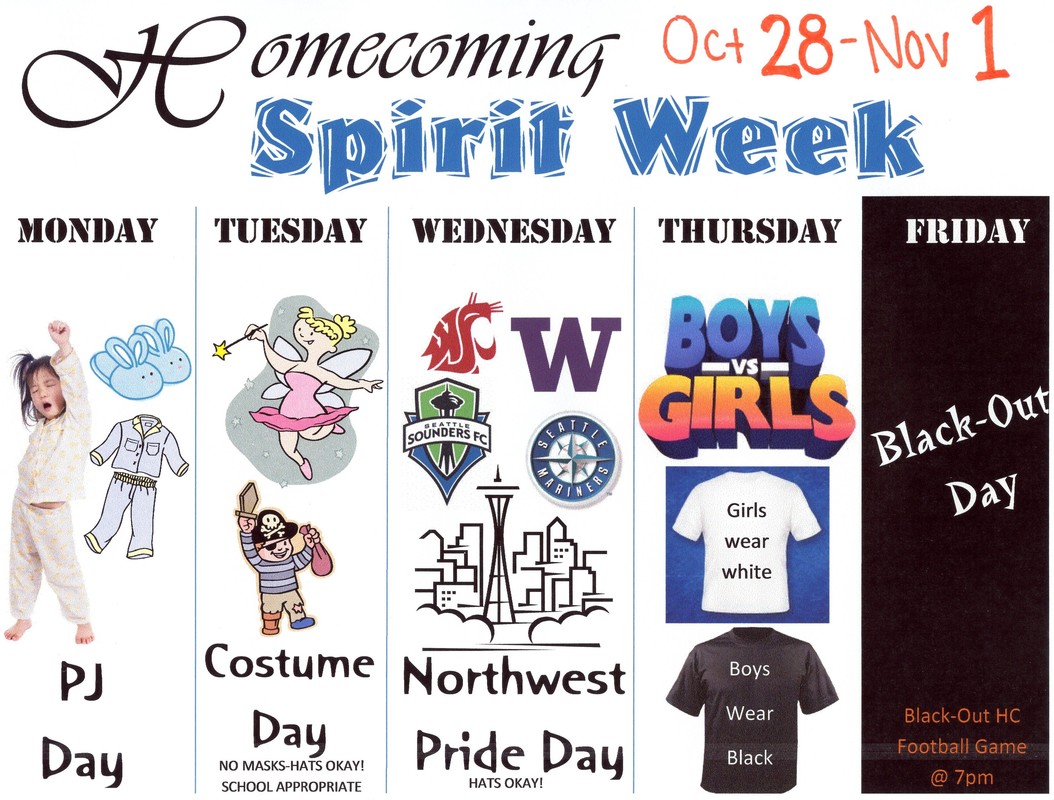
Your Profile MUST include.... 1.) a portrait (with green background removed in pixlr) 2.) Student's name 3.) Homecoming 2017 4.) Student's Grade 5.) Court Option 6.) 3-4 Pieces of Info from their Profile Sheet **REMEMBER: you will be assigned a member of the Court tomorrow. Today you only need to start to create your layout For this project you will be creating two posters: 1.) A schedule of events for the week of homecoming.....particularly focused on your themed dress up days. You will be graded on: - Accuracy of information - Design Quality: Contrast, emphasis, color scheme, unity, etc. - Photos/Graphics - At least one photo, graphic or text must be manipulated in pixels (cut out background--must save file as a png, hue and saturation, and/or use of filters) - You poster should be created on Piktochart--Should not look like it was created in Word or Google Docs. - You MUST alter the original template you have chosen to use. (i.e. change the opacity, change the color and size of objects, include photos, alter text, etc.) **YOUR POSTER MUST BE VERY DIFFERENT FROM THE ORIGINAL TEMPLATE YOU CHOSE.** 2.) A poster highlighting one dress up day in particular. You will be graded on: - Accuracy of information--Include day of the week as well as the date--explain the theme - Design Quality: Contrast, emphasis, color scheme, unity, etc. - Photos/Graphics - At least one photo, graphic or text must be manipulated in pixels (cut out background--must save file as a png, hue and saturation, and/or use of filters) - You poster should be created on Piktochart--Should not look like it was created in Word or Google Docs. - You MUST alter the original template you have chosen to use. (i.e. change the opacity, change the color and size of objects, include photos, alter text, etc.) **YOUR POSTER MUST BE VERY DIFFERENT FROM THE ORIGINAL TEMPLATE YOU CHOSE.** Over the next week or so will be doing a series of 3 poster design assignments using Piktochart.
Assignment 1: Your first assignment with Piktochart is to create a poster advertising for "Pack the Gym" night or "Pack the Rink" night. Your Poster Must Include: Photos Text Information (times, admission, team roster, about the opponents etc.) **Extra Credit for students who use Pixlr to manipulate their photos (color, filters, cut outs etc.) To start off the new semester we will be doing a short poster/ad design project. We are doing this in partnership with some of the homecoming events. To do this we will be using a program called Piktochart. I do not have all of the details yet so your assignment today is to simply create a Piktochart account and begin playing around with some of the features on the site. Blog/Sketchbook Assignments:From this point forward you will have a choice to complete a weekly blog assignment OR a weekly sketchbook assignment your choices will be listed each week on Monday and are due on Friday. BLOG Post #5: Use Google Forms to create a Poll or Survey for your site. Use a Button to link your survey to your Blog Page. If you are not sure how to create a Google Form follow the link below and I can also help you tomorrow in class. Sketchbook Assignment: Compass Composition Begin layout of composition by using a pencil and compass
 If you would like to add text to your pixlr project, the TYPE tool is what you will need to start with. 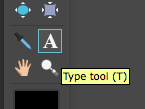 Click anywhere on your image. A New Layer will automatically be created. Type whatever you want. Your new layer will be labeled whatever text you type. 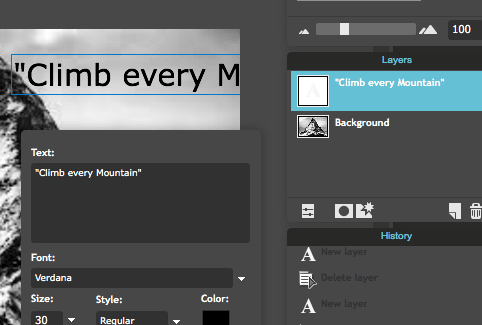 Edit your font, color and size. 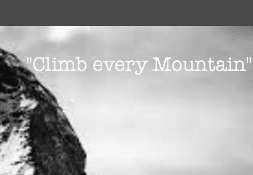 Click ok. At this point you can move your text wherever you would like on your canvas. However, you cannot use any of the transform tools or other editing tools because it is still a text format. You will need to RASTERIZE the layer. go to "Layer" and down to "Rasterize Layer" 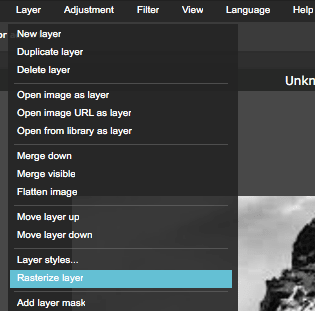 By Rasterizing a layer, it makes it into an editable layer versus a text layer. You can now use the transform, color adjustment and other editing tools. **NOTE: be sure you are done typing any text before you rasterize. Once you do this you will no longer be able to edit the content of your text. 
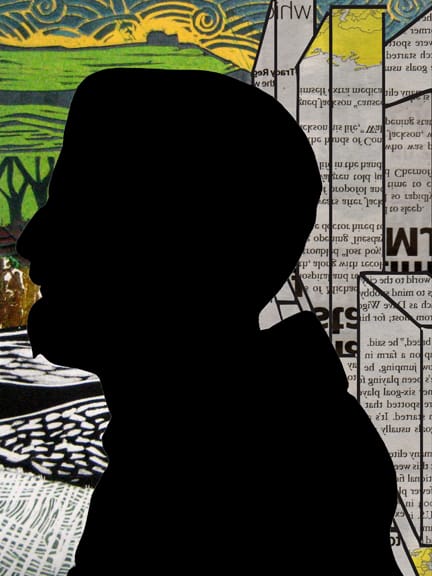
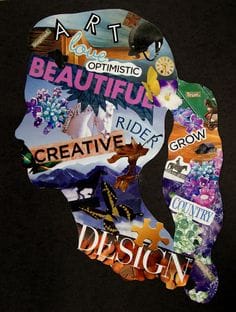
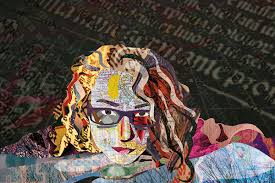
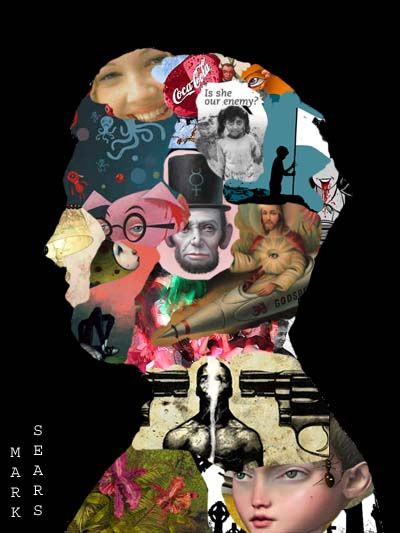
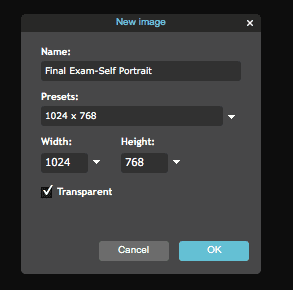
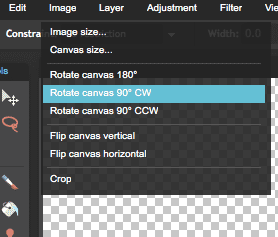
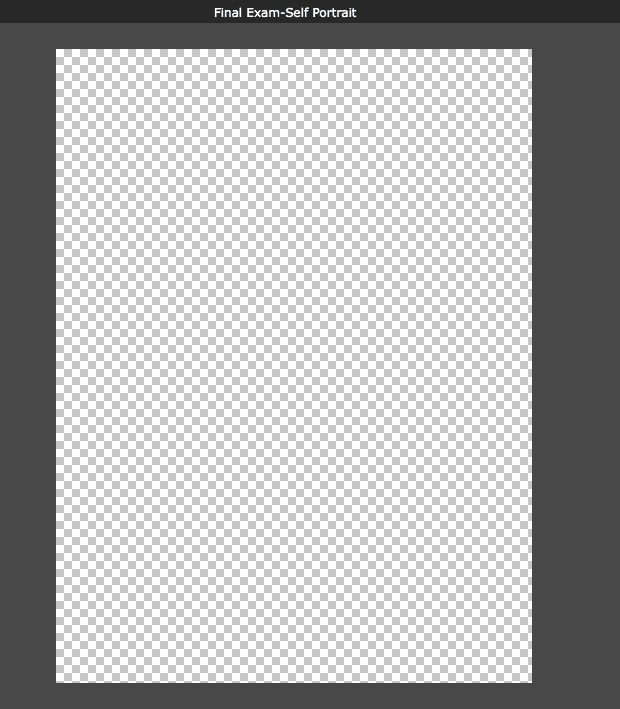
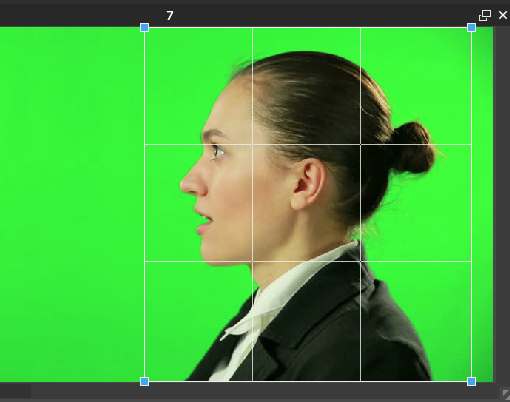
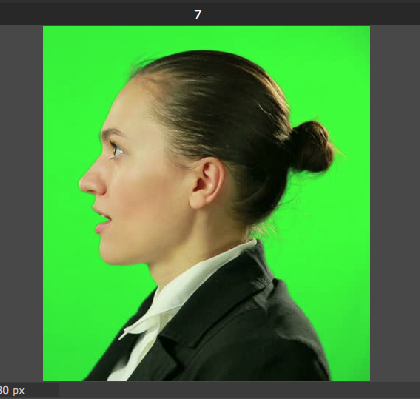
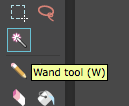
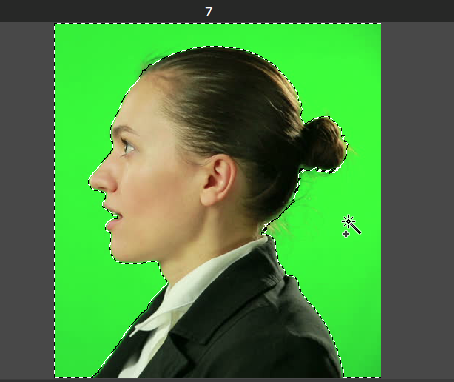
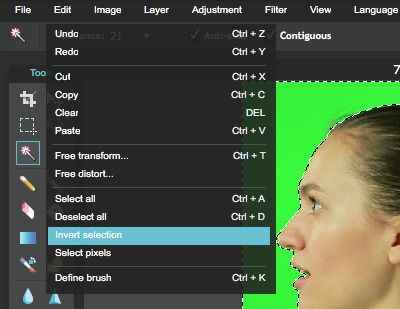
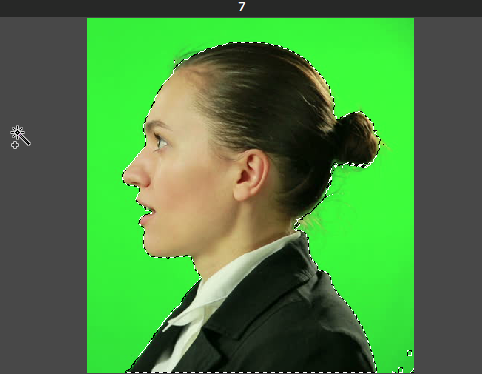
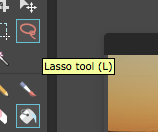
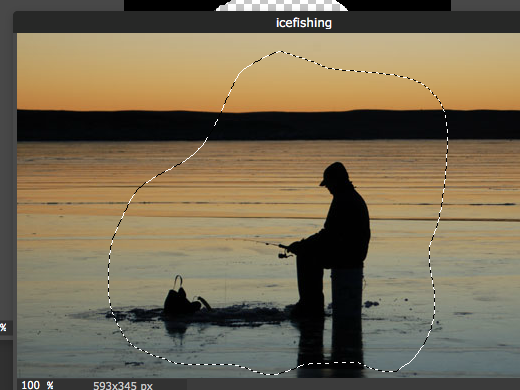
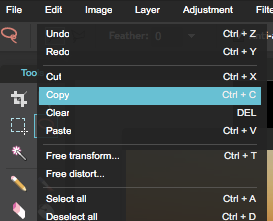
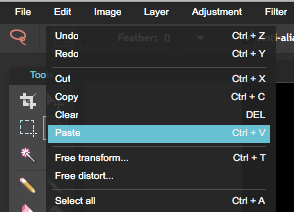
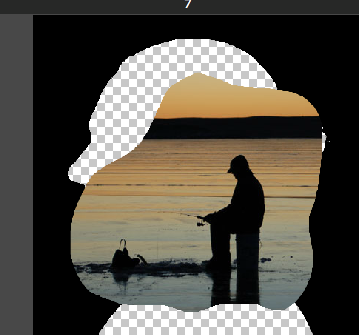
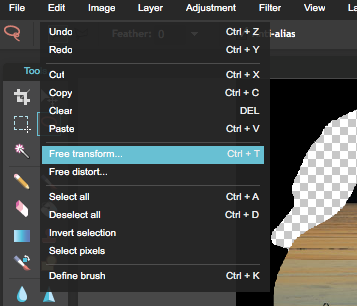
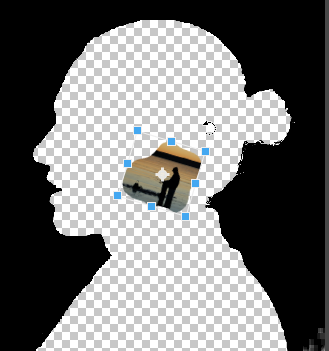
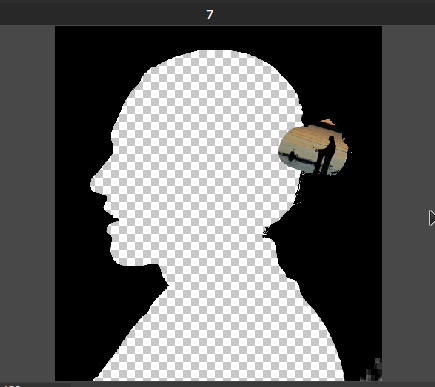
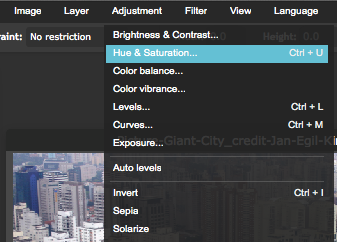
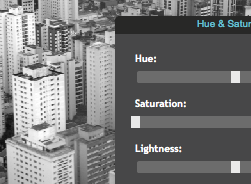
Step By Step Tutorial: 1.) Start by creating a new image. 2.) Title your project: Final Exam Semester 1 (or something like that) 3.) In your Presents--Select 1024x768 to select your canvas size. 4.) Click "OK" 5.) Go to "Image" and "Rotate Canvas 90 degrees CW" to rotate your canvas into PORTRAIT ORIENTATION 6.) Take a profile photo in front of the Green Screen. 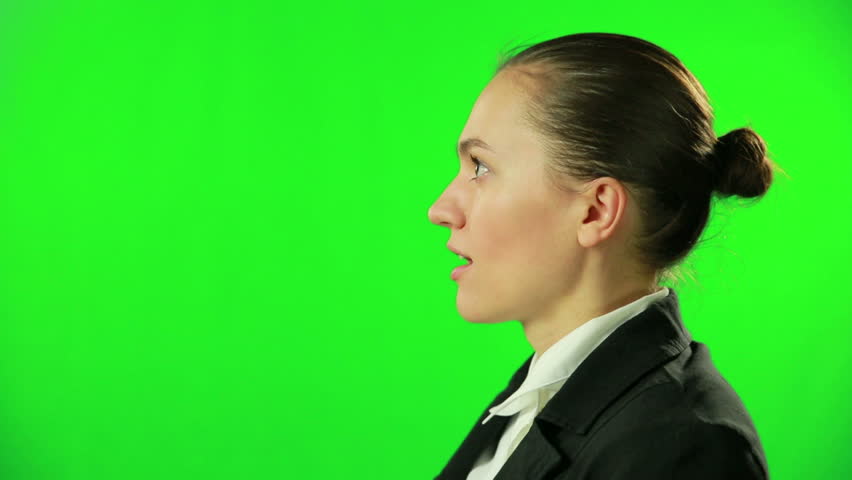 7.) Open in Pixlr Editor. 8.) Unlock the background layer 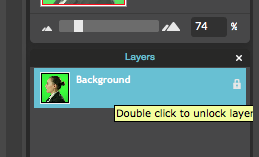 9.) Crop image. 10.) Use the Wand Tool to select the green backround. 11.) INVERT your selection by going to "Edit-->Invert Selection" Only your profile should be selected now rather than the background. 12.) Delete your portrait so that the green is all that is left. You should see the gray and white checkered print when you delete your face. 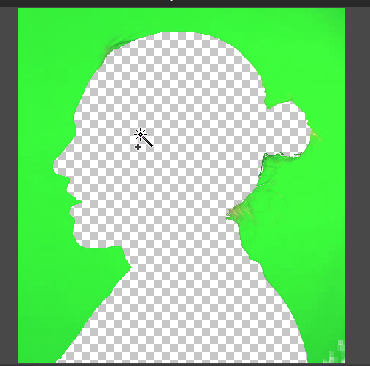 13.) Now you need to change the green so that it is black. The easiest way to do this is to go to.... - "Adjustment-->Hue and Saturation" - Pull the Saturation slider all the way to the left (-100) - Pull the Lightness slider all the way to the left (-100) 14.) now you are ready to find images to layer behind your silhouette. 15.) find and save images of things that you like or that represent you. One at a time, open them in Pixlr. 16.) Use the lasso tool to select the part of the image you would like to use. 17.) Edit-->Copy 18.) In your Silhouette window go to Edit-->Paste 19.) you will need to resize your image using Edit-->Free Transform 20.) Layering and Placement: - You need to have your black silhouette as your "TOP" layer. To do this you need to drag it up above your image layers. -This way you can place images at the edge of your silhouette and the black will overlap the image so we can still see your silhouette. 21.) Repeat this process with all of your images. You should have roughly 25-30 images in your Self Portrait. I will be flexible with this number but I just wanted to give you a ballpark number. SAVING!!!!!!! Each day when you save your file... -Save it in your Pixlr Library -File Format Should be PXD-Layered Pixlr Image 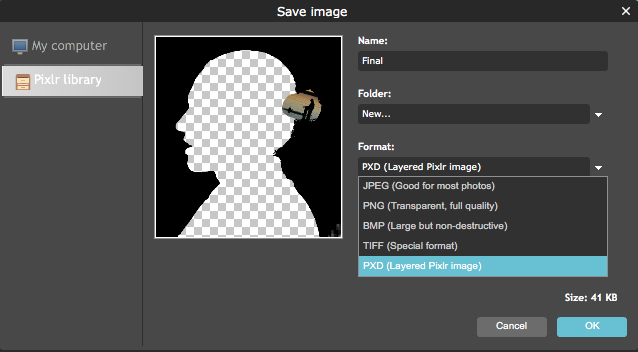 Otherwise your work will be flattened into one image and can no longer work with individual layers. This means you will most likely have to START OVER :( YOU WILL BE GRADED ON.....
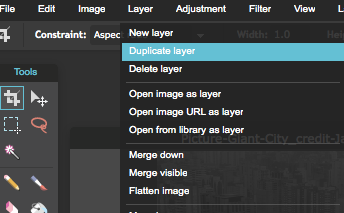
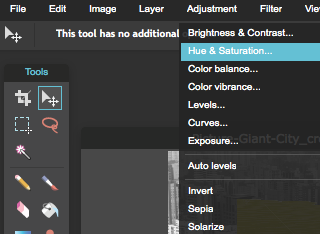
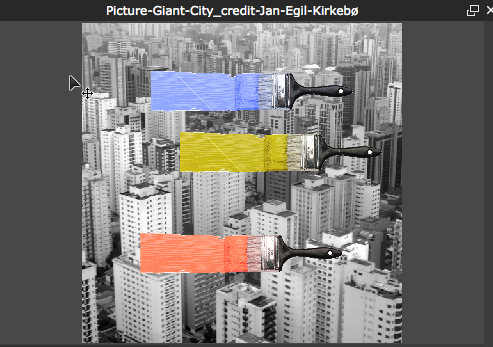
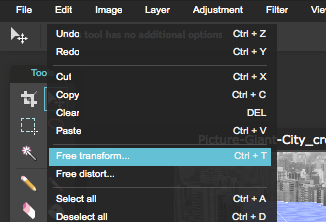
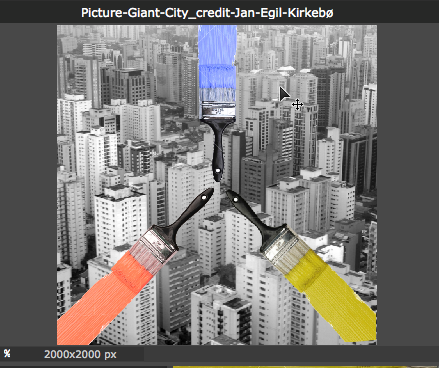
- Craftsmanship - Effort (you have two weeks to work on this project, it should not only take you 2-3 days to get done.) - Use of editing tools (don't just drag every photo as is onto your artwork) it should be edited or manipulated in some way--(cut out, use a filter, change the hue and saturation etc) - Number of images--I will be flexible with this number--but shoot for 25-30 images. - Include a Text/Type element--See Pixlr Tutorial #4 This is a step by step tutorial of how I created my color wheel. This does not have to be the way you do your project. It is simply a starting point if you are stumped. 1.) Go to Pixlr Editor 2.) Find an image for the background. Go to "Adjustments"-->"Hue and Saturation" to Desaturate your photo (black and white). 3.) Crop your background image so you have a square. 4.) Find an object to use for your Primary Colors. Unlock the background layer. Delete the background, and drag the layer onto your black and white image. **Hint! it will be easiest if you select an image of the object with a plain background. It will be easier to select and delete the background. 5.) Go to "LAYER-->Duplicate" Layer to duplicate this layer twice so that you have three of the same images. 6.) Go to "Adjustments-->Hue and Saturation" to change the HUE of each layer so that you have the PRIMARY COLORS (Red, Blue, Yellow). 7.) Go to "Edit-->Free Transform" to rotate and resize your images so they are in the right place. 8.) Find an object to use for your Secondary Colors . Unlock the background layer. Delete the background, and drag the layer onto your black and white image. **Hint! it will be easiest if you select an image of the object with a plain background. It will be easier to select and delete the background. 9.) Duplicate the layer twice. You should have three of the same layer to create your Secondary Colors.. Using "Edit-->Free Transfrom" Arrange each element where they belong to represent the secondary colors. 10.) Using "Adjustments-->Hue and Saturation" you should be able to change the Hue to match that of the Secondary Colors (Green, Orange, Purple) 11.) Find an object to use for your Tertiary Colors. Duplicate and arrange that object in your composition. 12.) Adjust the Hue and Saturation to create a minimum of 12 Tertiary Colors. 13.) if you finish and have time to spare you can add tints and shades for extra credit. Print you final color wheel to submit. Email it to me as well. [email protected] 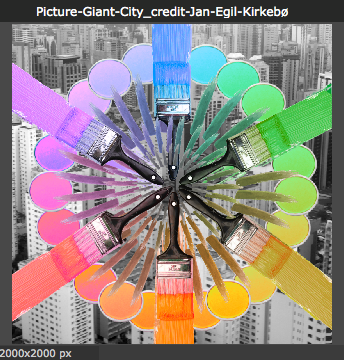 |
Mrs. CastellanoDigital Art Archives
May 2017
Categories
All
|


 RSS Feed